Simply marvelous Marble cake

Hey everyone! Halloween’s here so everyone get their spooks ready! I have already seen so many great costumes Today of little kiddos dressed up and even adults dressing up to take the theme another step forward and have you all seen the various decors people have already put together!

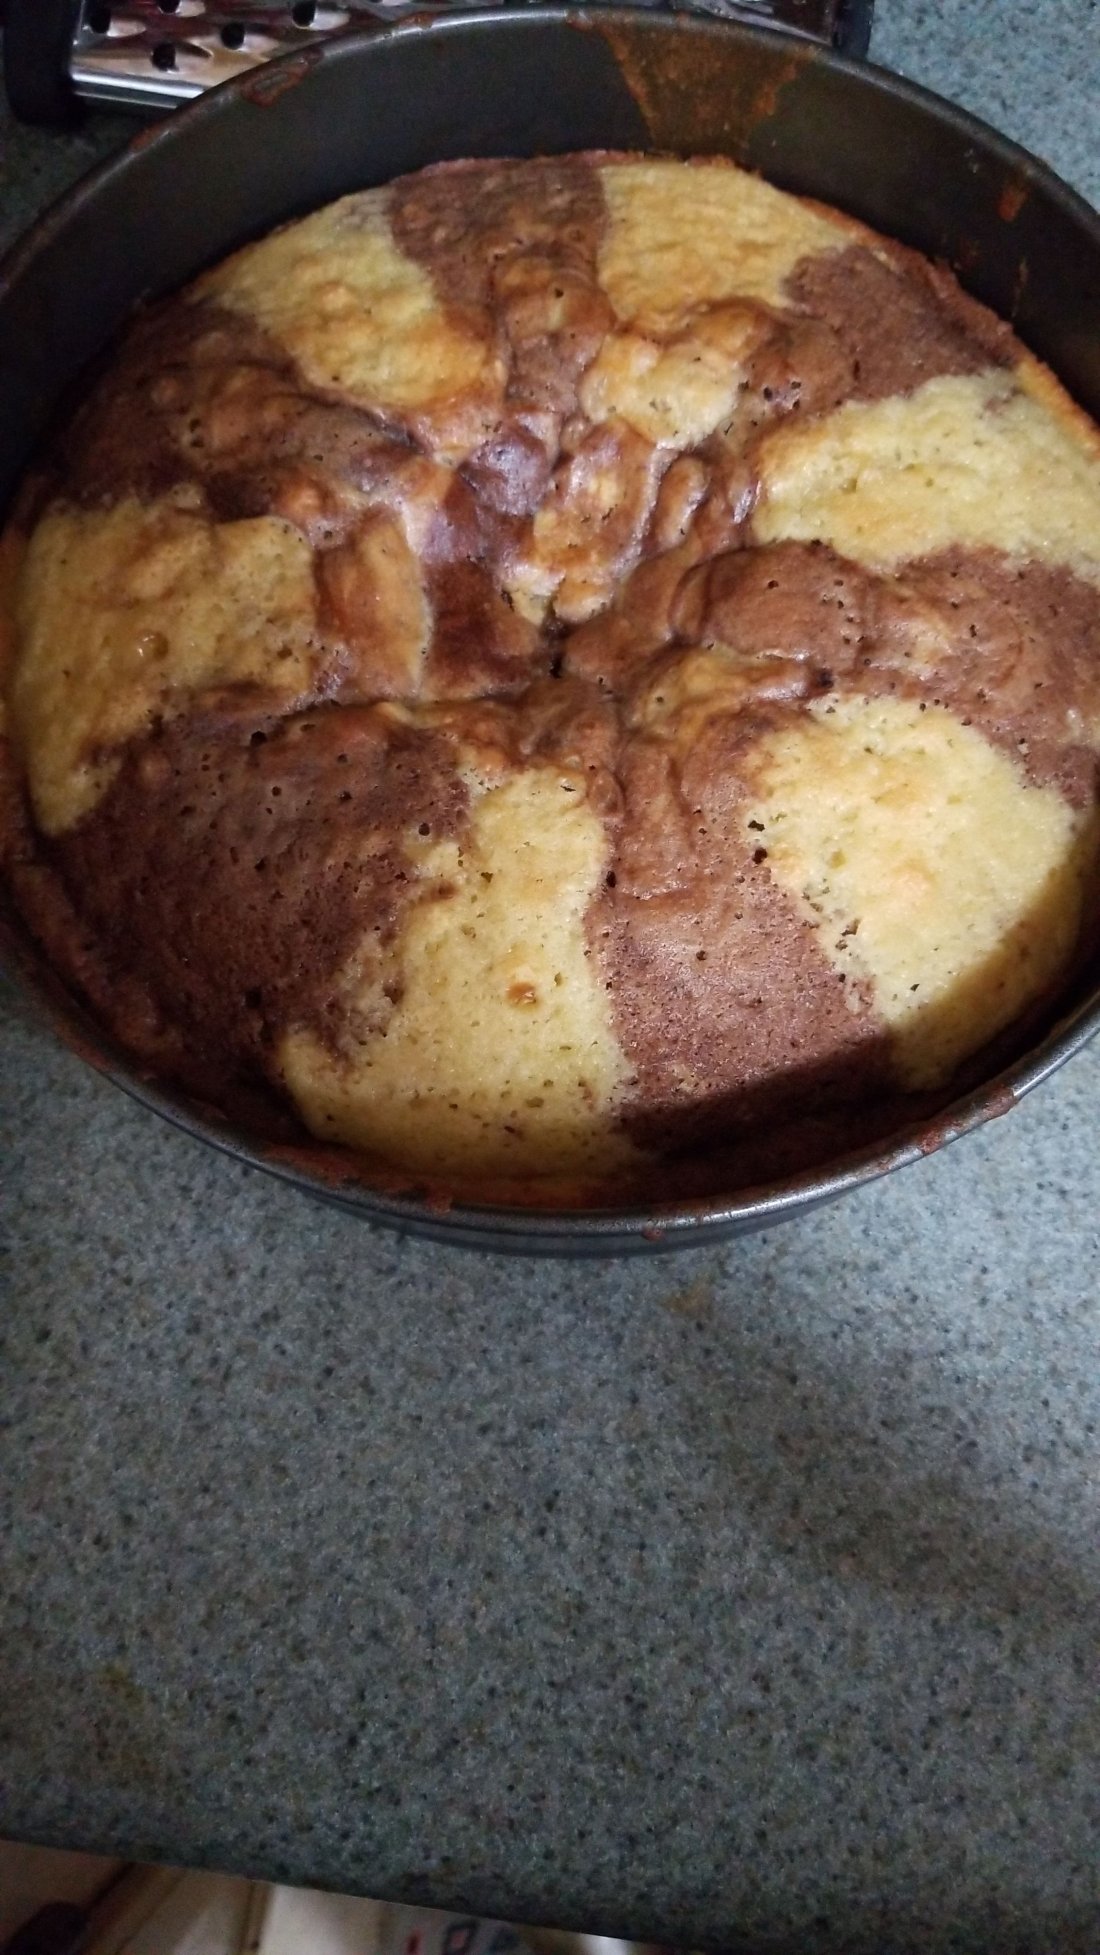
Anyhooooo..today’s receipe is simply marvelous. It’s a simple marble cake which has some chocolate sections and some vanilla sections. Some people have made this into a checkered designs or whatnot. But for this receipe I’ll be sticking to the basic round cake.

For the ingredients you will need the following;
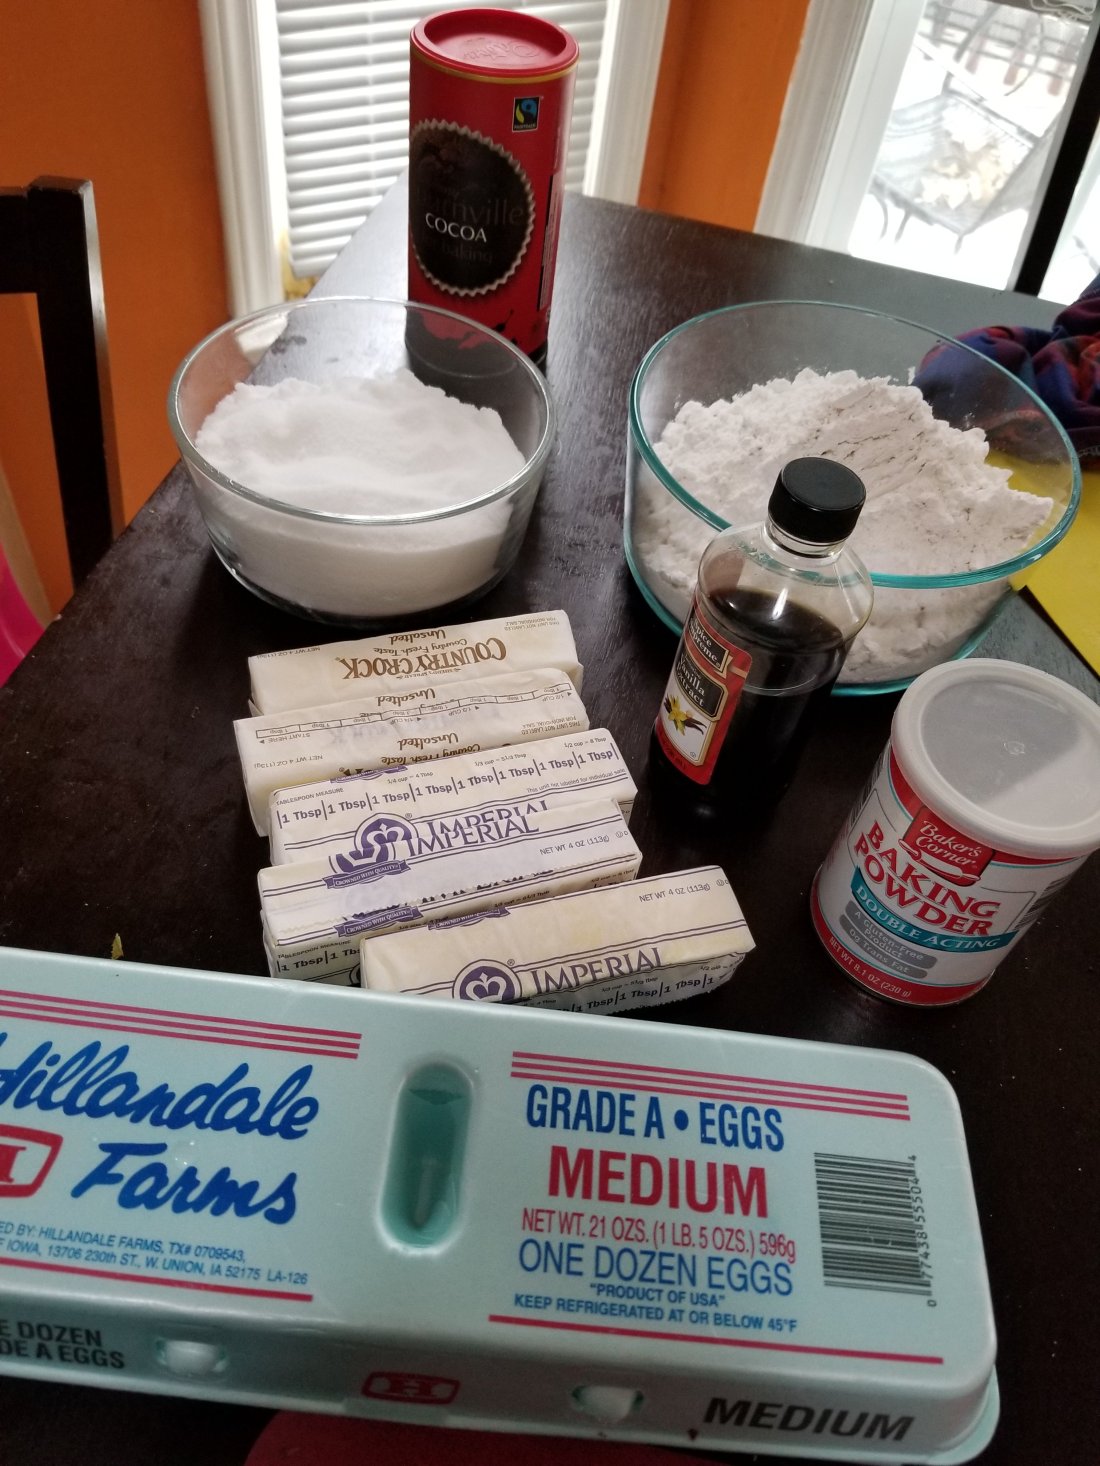
12 oz butter

12oz sugar

12 oz all purpose flour

6 eggs

2 tbsp cocoa powder

4tsp vanilla essence
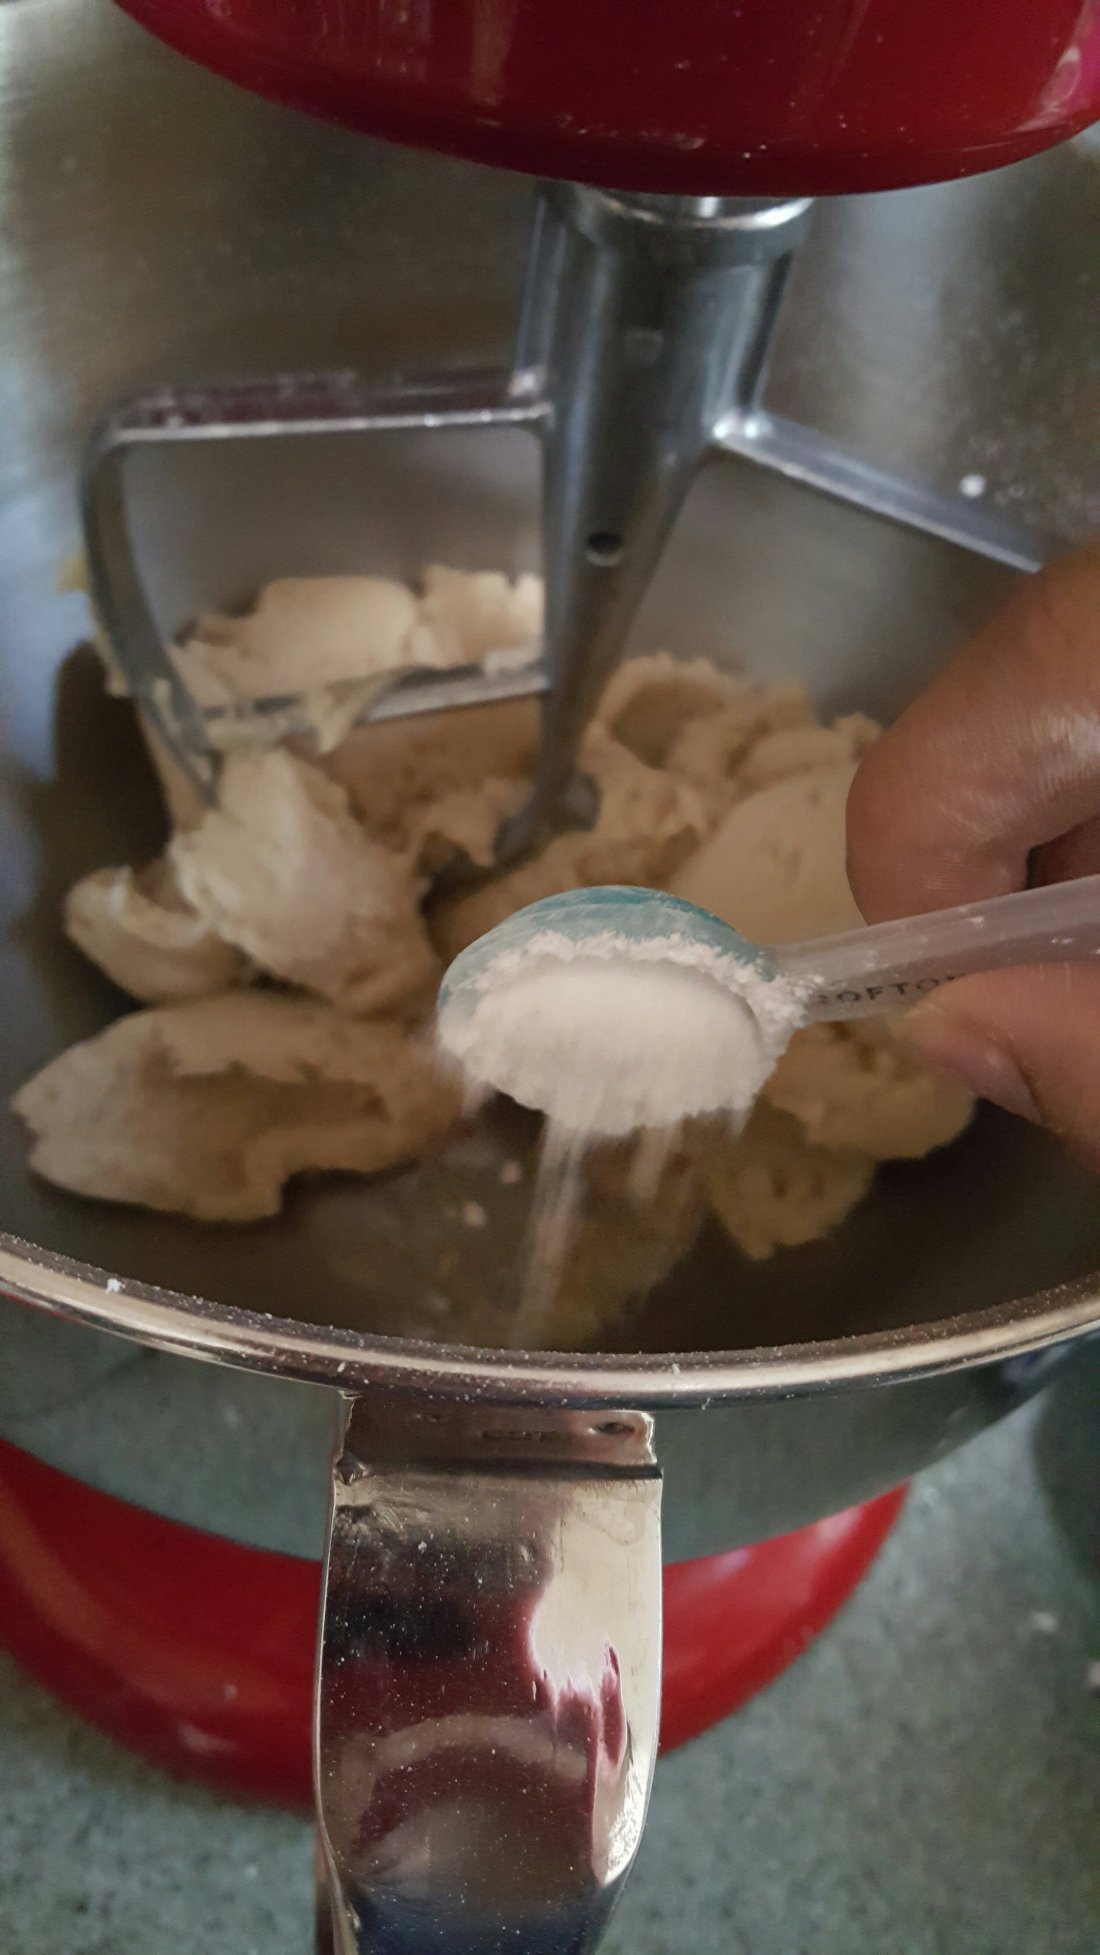
3tsp baking powder

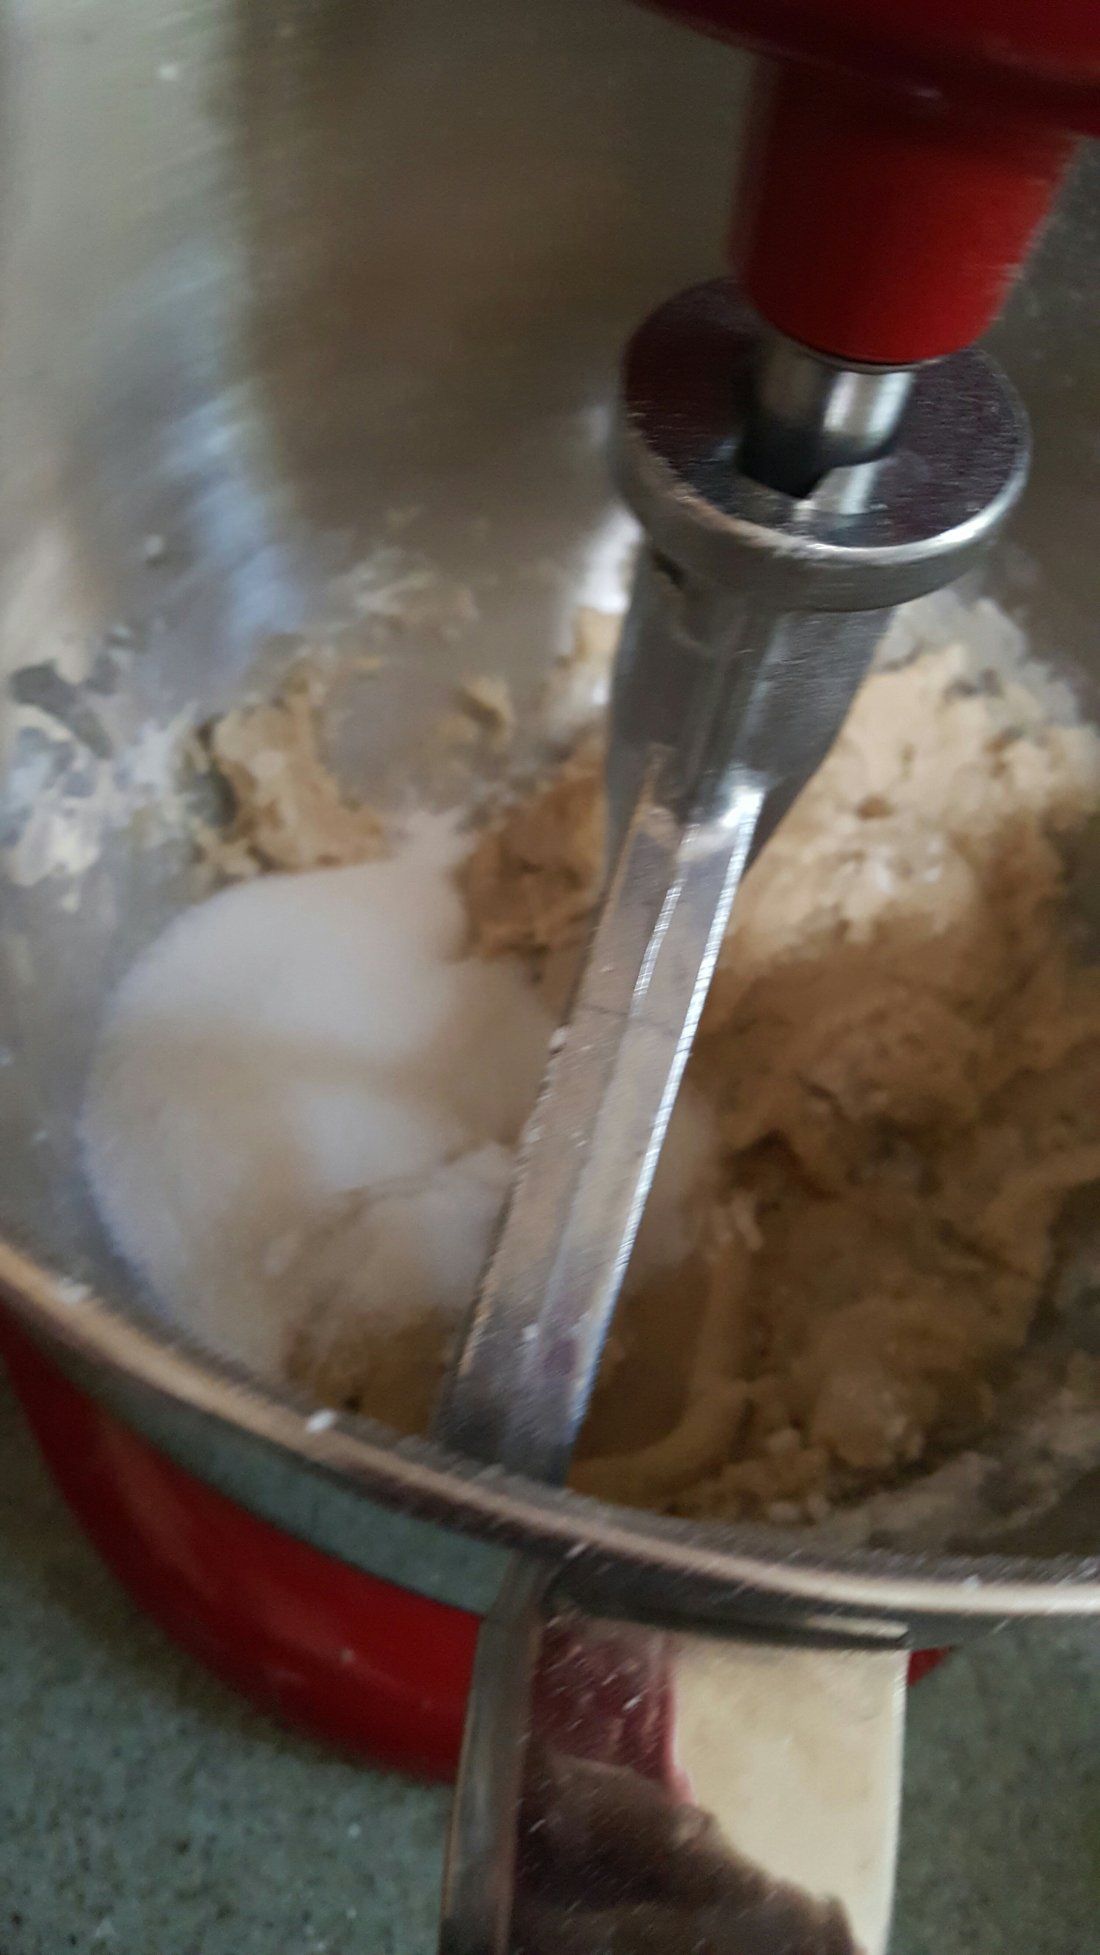
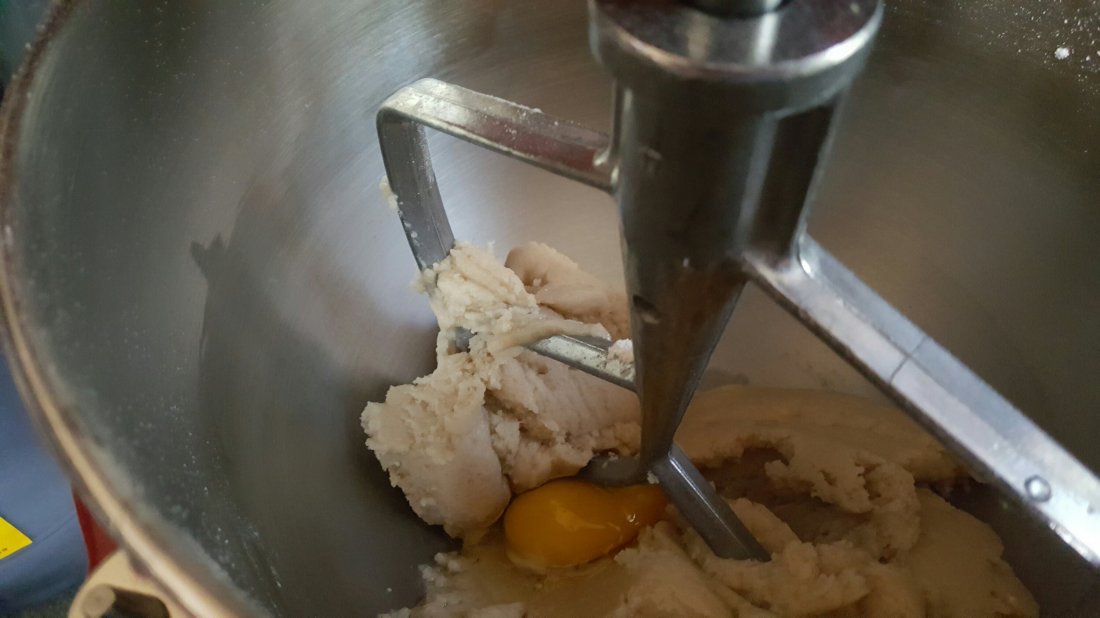
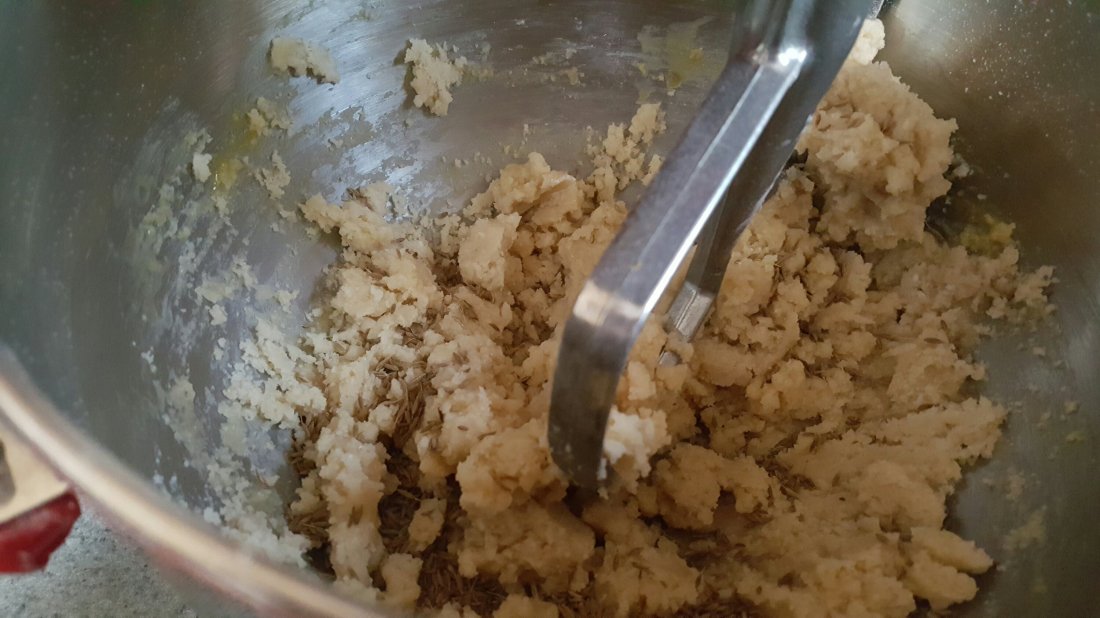
Preheat the oven to 350′ f. And also grease a 9″ springform cake mould. Once these are prepped we put them to the side and get on with the cake batter by creaming the butter and the sugar, then add in the egg, vanilla essence and flour alternatively. This way the batter will mix in evenly.

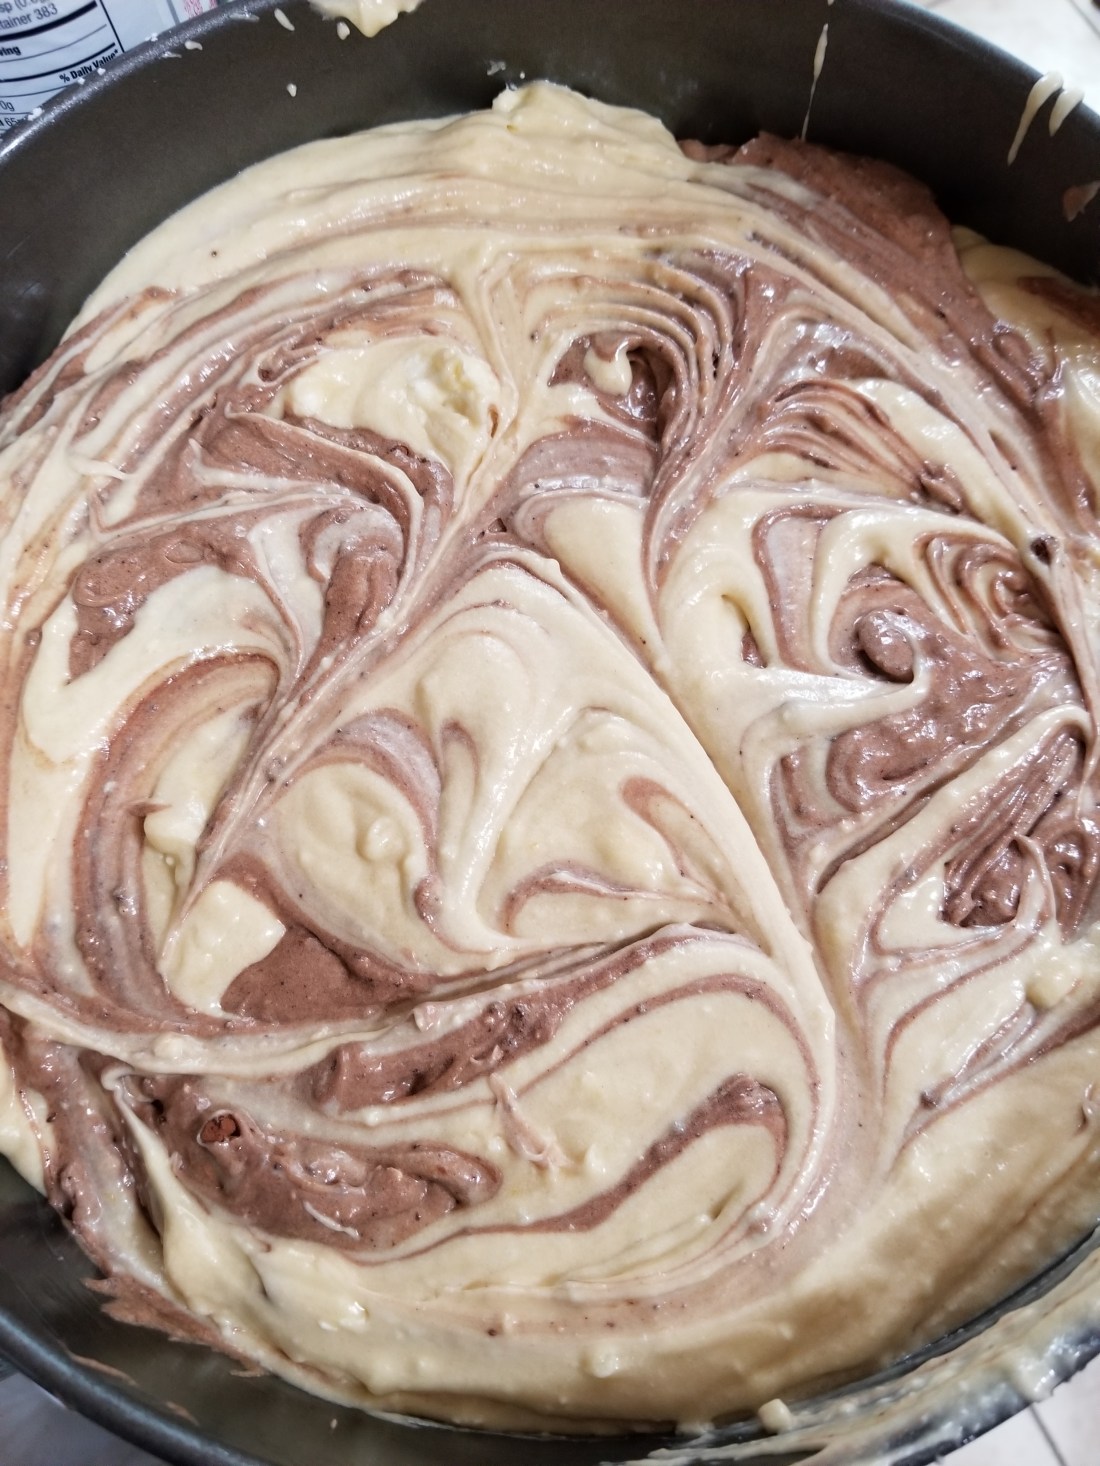
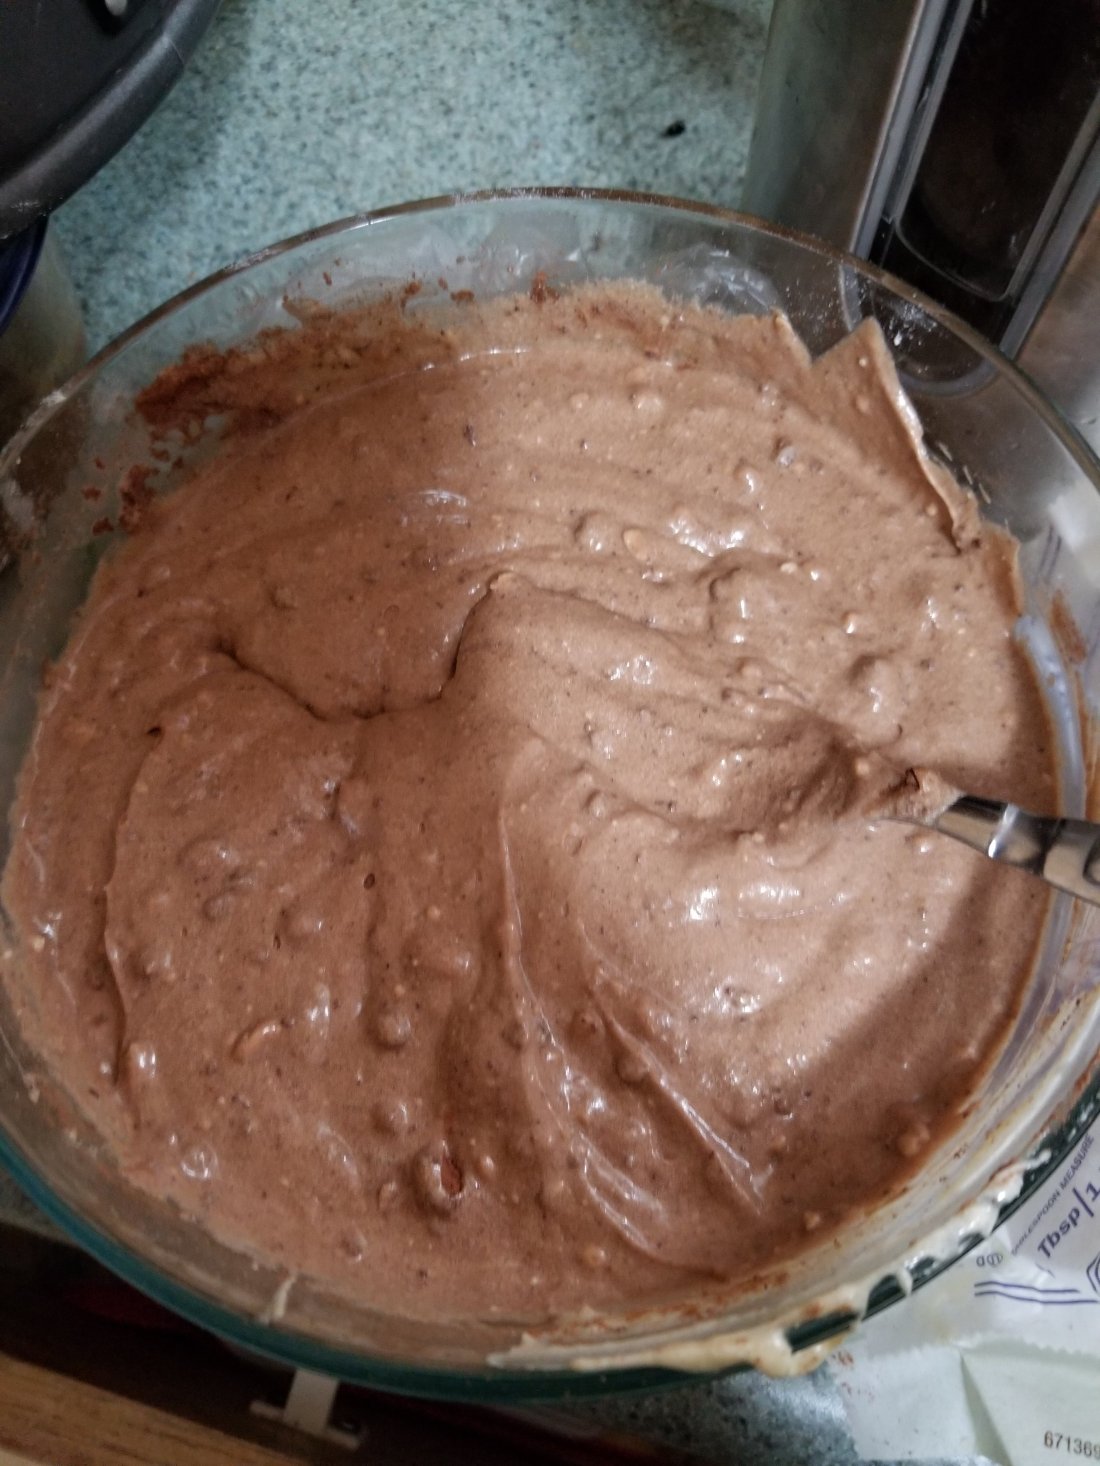
Once the batter is mixed in separate half of the batter into a separate bowl and mix in 2 tbsp of cocoa powder till the mixture resembles the batter of a chocolate batter in color.

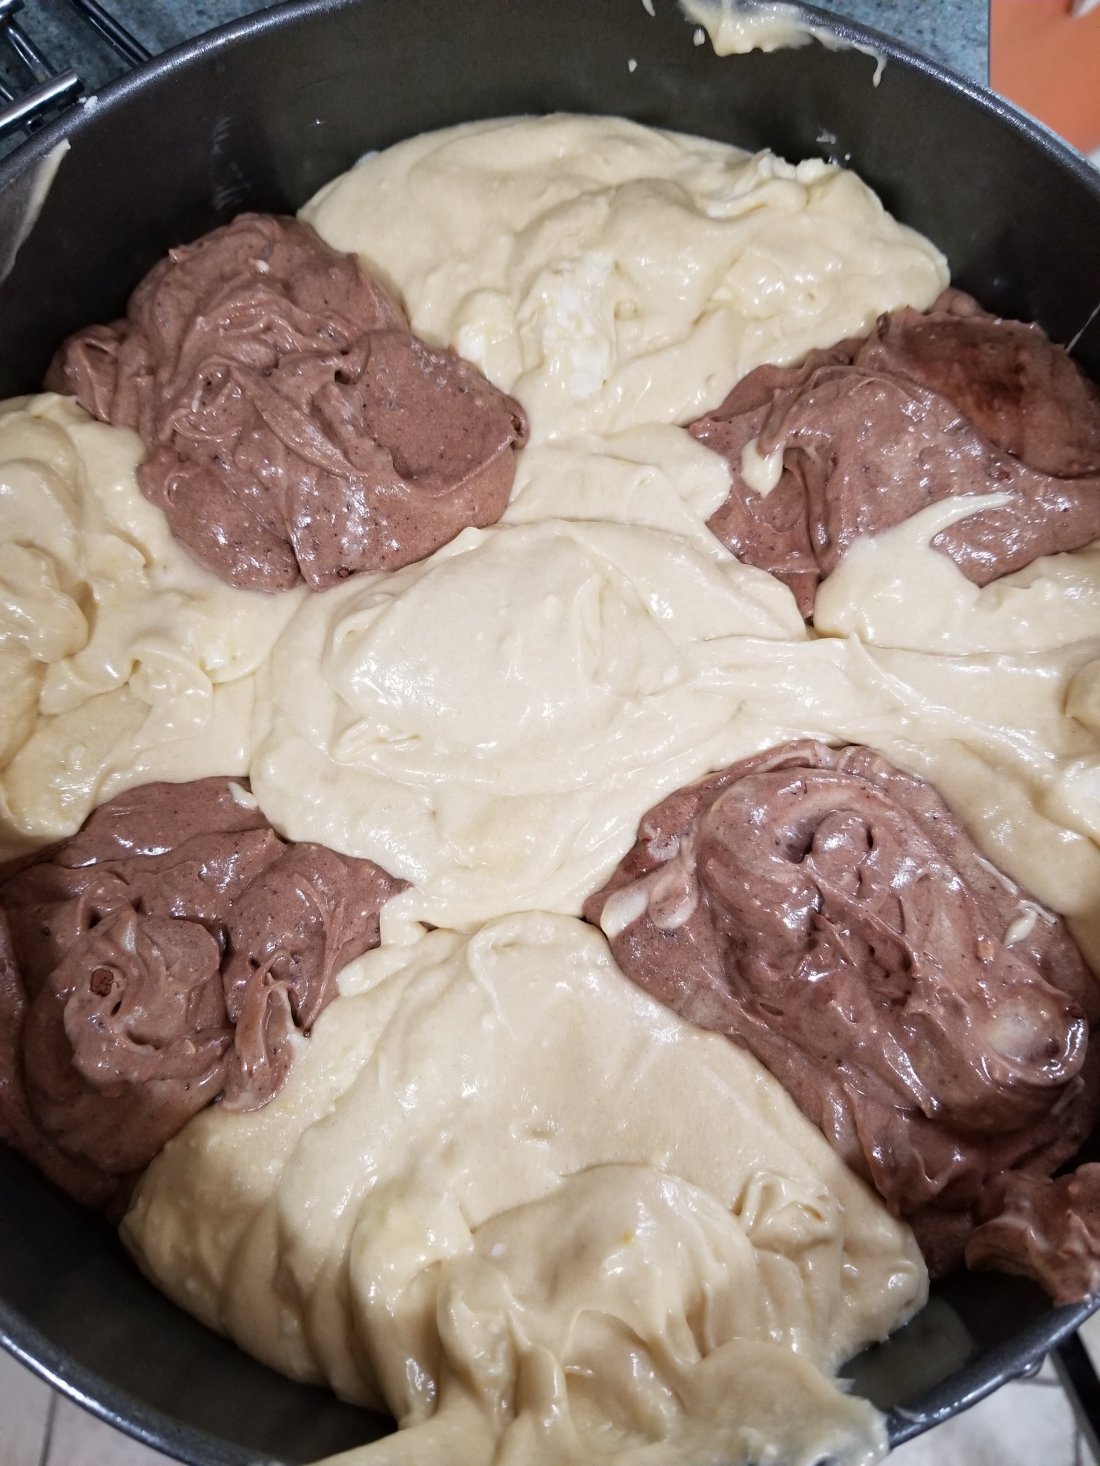
We then take a 9″ cake pan and take a table spoon or spatula and take a spoon of the vanilla batter and put it in the pan starting from the edges of the pan. And then alternate it with the chocolate batter. So you have vanilla chocolate vanilla chocolate batter and in the middle whilst being careful that you dont put a vanilla next to a vanilla.

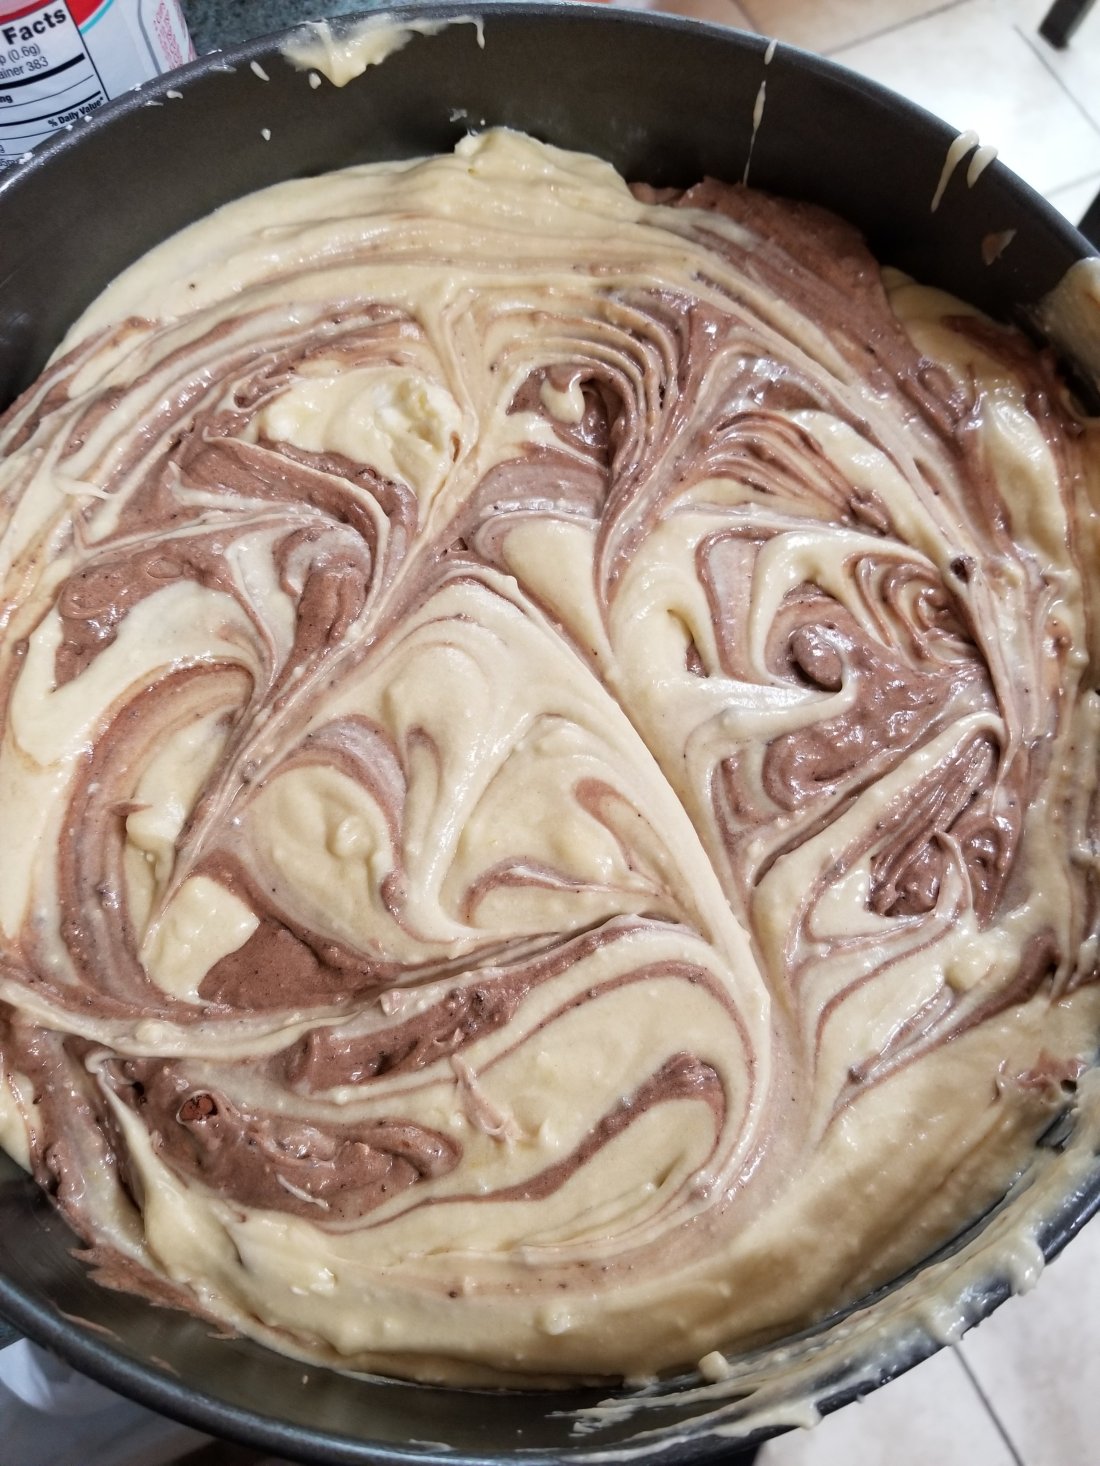
And then at the end take a fork and very shallowly run it across the batter in a a circular motion this will create what is known as the marble effect when the cake bakes in the oven.

Mind you it can take up to 45mins to an hour but always make sure using a toothpick to check if it comes out clean to make sure the batter is cooked through.

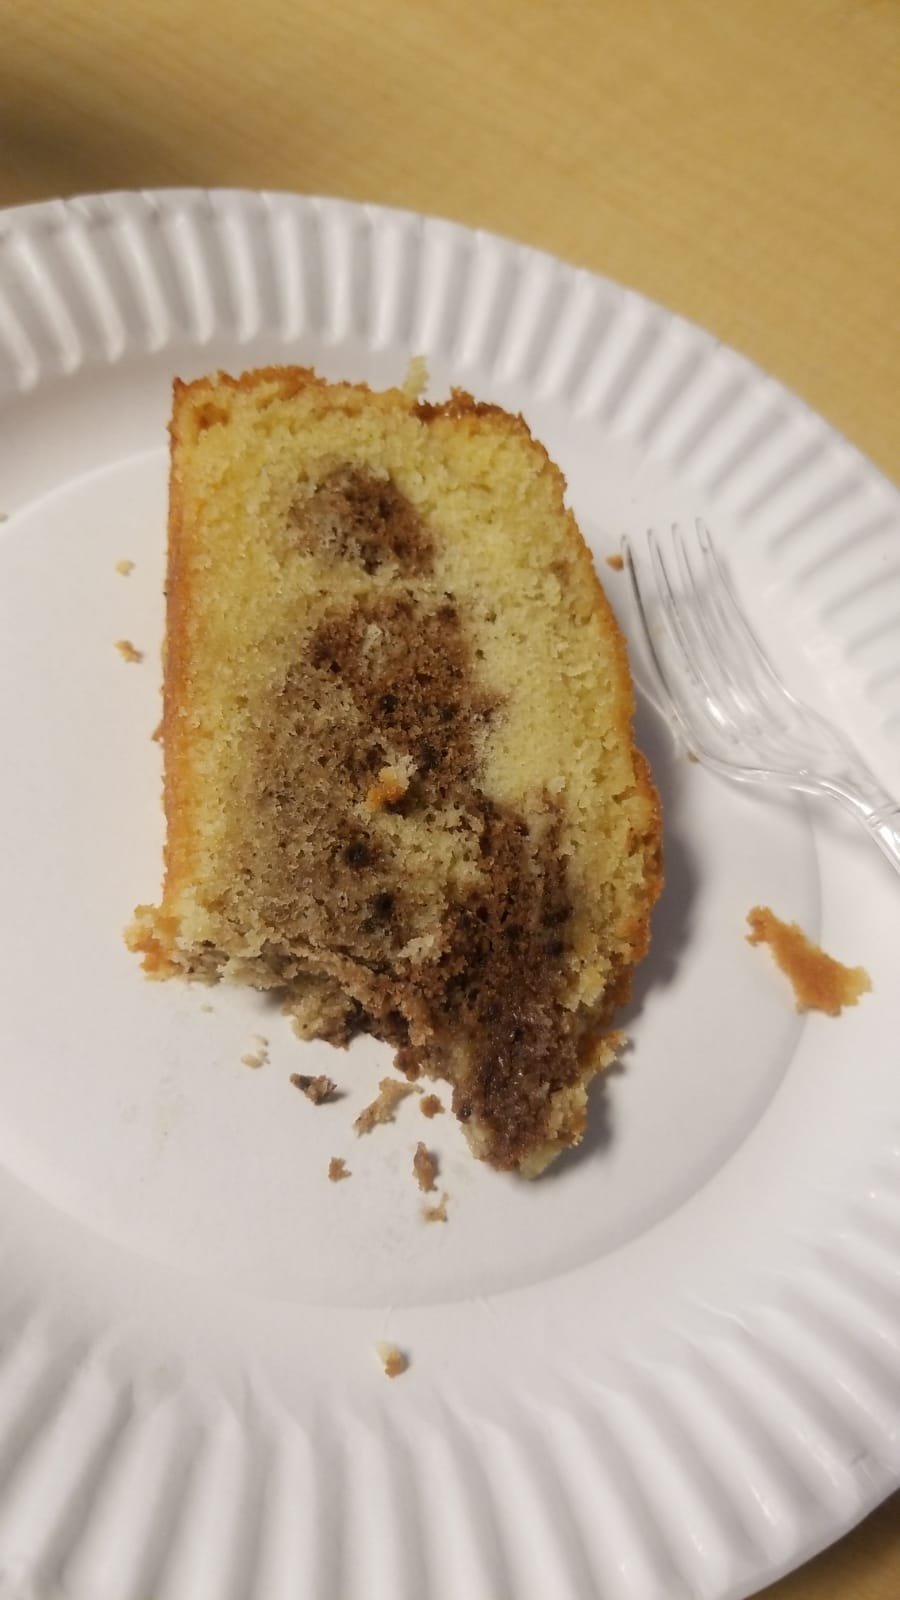
This cake is not too sweet but it tastes really nice with a hot cup of coffee. I recently made it for a baby shower for one of my teachers and everyone loved it!

Please do try and like and comment on my website. Also follow me and I’ll share with you lots of more simple and fun recipes that come out great in a short amount of time.!

Until next time folks…stay blessed!

Tips:

I tend to leave the butter out beforehand so it reaches room temperature and therefore easier to mix in with the rest of ingredients

When using eggs and since this receipe uses both yolk and whites it’s best that when you take the eggs out whisk them with a form so they resemble a liquid and I usually mix in the vanilla in the eggs too this helps simplify your ingredients and the quantity of ingredients is reduced when you are trying to make sure you have added all the components to make a successful cake batter!

Tea time Zeera Biscuits

Tea time..once upon a time! Tea time used to be a very popular snack time. For all those of us who are working now it’s either a coffee break or a smoothie break where you get that energy boost for midday. That does not necessarily mean these biscuits can only be had by those who drink tea. These go very well by any hot beverage hey! Even cold whatever strikes your personality.

For instance; when you are looking for that sweet yet savory biscuit that you can have with your tea or coffee. Or when you get guests like my mother in law when she comes round to my house and we offer tea she’s always looking around for that biscuit that she can dip and have with her tea. However. well Ritz crackers and other veggie crackers do the trick if you’re looking for something completely savory.

This recipe however I believe has just the right balance between sweet and savory with a spice that gives it the zhuzzz to make life interesting. It’s called Cumin, in Urdu and Hindi it is known as Zeera or Jeera and hence why they’re called Zeera /Jeera biscuits they are very popular in the Indian subcontinent. Perhaps, because tea is very strongly recommended in that region. Pakistan and India are as they say very heavy tea drinkers and they also have various kinds of tea. For instance; the tea market in Islamabad and Lahore in Pakistan is massive and the types of teas found could get anyone’s head spinning. There’s black tea, there’s green tea, there’s pink tea then there’s even red tea and of course various varieties within those categories Haha.. now back to the recipe.

Zeera or Jeera Biscuits require the following ingredients;

ingredients 1

2 cups of flour

3/4 cup of oil

1 tsp Baking powder

1 Egg

1/2 cup of Sugar

2 tsp of Zeera seeds

1.5 tsp salt

As with every baking receipe please make sure to preheat the oven to 350F/180C then gather all the ingredients we get to the fun part…what I like to call making it happen part! We mix starting with the flour…I used the stand up mixer for this receipe

I used the beater attachment because we just need to mix the ingredients well not necessarily whisk them or otherwise..

Then comes the oil the whole 3/4 cup of oil in one go

Then we mix till evenly combined and then I added sugar

Then the salt and egg and the baking powder and mix altogether…oh and cumin seeds the all important ingredient! Ofcourse!

The key is to not over mix, mix everything until all ingredients are incorporated. It tends to take a crumbly shape which looks like this

This is where the fun begins, because we get to work with our hands! Yes you got it! Needless to say please wash your hands before attempting ! When you reach this point you need to use your hands or spatula and bring all the dough from the sides of the bowl into the middle and then with your hands gently knead the dough, it may seem impossible but TRUST ME there’s enough oil for all of it to knead up all nicely and when you’ve kneaded it in about a couple of minutes it should look like this

And NO THAT’S NOT A FUNNY LOOKING POTATO….we’re making cumin biscuits here not French fries! Concentrate!

Anyway from here on we need to make small disc like rounds that you flatten from the top the way they used to make cookies in the olden times however the biscuit method with which they roll out the dough first and then first cut shapes using a mould doesn’t work here because everytime you change the shape of the dough it goes back to its crumbly nature..so the method I use is the one where you pick a tablespoon worth.

Then you squeeze it between your palm a couple of times then make a disc like round that looks like this

But by all means try it out maybe it works for you😁..

And then make these round discs with the rest of the dough and when you’re done place them in the oven..

I made these in my toaster oven small batches in a couple of go-s.. but you don’t have to you can put them all in a parchment layered tray and be done all in one go.. also the best part is you can freeze the dough just like any other cookie dough and make these later!

These yummy little discs take 12 to 14 minutes in the oven that was preheated at 350F/180C. When these bake the aroma that comes through your kitchen especially the smell of toasted cumin …delicious I tell you!


Yum…my! Do try and let me know what you thought! And please like my posts if you enjoyed reading what I shared on here! Thanks! Until next time! Stay blessed!

Bounties

After having a long day or one of those times when you’ve just gotten off an extensive diet called no sugar or keto or what have you. So you’re looking for this treat on cheat day where you could have anything but at the same time you don’t want to undo everything you’ve done so far so where other cookies or muffins would have butter sugar flour and then chocolate, where you got to measure it all and then waiting time for them to be cooked separate and what not.. but what if you used a couple of ingredients and they’ve already got the necessary sugar that you need whilst still having the richness you’re looking for in that decadent chocolate chip Cookie. This recipe of mine uses 5 ingredients not including the oven obviously! Haha.. however, in a short while of say maybe 2 or 3 mins all the ingredients are mixed together and then while you go unwind the hard work you put in the kitchen mixing up the dough of the cookies they’ll be ready!!
These Bounties as I call them were inspired from the Bounty chocolate I used to get in London when I was a kid, they are similar to the Almond Joy of the US but I would say Bounty still seems to be on the rich chocolate side whereas Almond Joy seems more of a candy in my opinion. Hey! many of you may not agree but then everyone is entitled to their own opinion, likes and dislikes.
These bounties are rich and crunchy with the slight chewy aspect that coconut brings to the palate. I use cashews in bounties because they help bring a nutty flavor that takes away from the toooooo sweeeeet aspect as well as gives it a crunch factor without taking over from the coconut element. So if you’re looking for a very sweet cookie apologies here is not where you should be looking. I am one of those that tend to add a touch of salt to the sweetness to take that edge off. Like sea salt is with caramel…yummm..

So Bounties hmmm…they look like these scrumptious babies…

bounties 2

The best part about being homemade is you’re in charge of how your food looks. It does not always have to be perfect hence why homemade:-) I like these bounties to let them take charge and come out the way they feel like. I feel like it gives them a character so to speak. If you don’t think so, take a look at the way the coconut flakes off at the edges and all that beautiful crisp golden that tapers off till its sun kissed around the edges.. you won’t get that if you try to compartmentalize how they should be set before they’re baked and they wont look as promising. I assure you!

So here we go! For the ingredients..which I am sure we all have them in our pantries stocked somewhere…

1 packet 14oz sweetened coconut flakes

1 can of 14oz sweetend condensed milk

1 cup of roughly chopped cashews ( I used unsalted cashews then added a pinch of salt..but if you’re using salted then omit the pinch of salt) ..I find that if I use unsalted I can control the amount of salt I put in.

1 packet of 12oz semi sweet chocolate chips (you can use Ghiradelli if that’s what you prefer)

1 tsp of vanilla extract..if youre using the imitation add a little extra 🙂

For the HOW of it ..

Before doing any of the prep work preheat the oven to 325f. Then take a mixing bowl put all the ingredients in it and fold the mixture in it.. i guess you could use the stand up dough mixer but I prefer using a spatula because it makes the dough fold in air as much as possible and since it’s not using any raising agent and you can see that everything mixes in well together..I usually put the crushed cashews last that way it remains less time in the mixture and doesn’t get too damp and then.. we take a cookie scoop if you want..I just prefer to use my hands and take a tablespoon amount in my hand and put it on parchment covered tray and put little mounds of the mixture on to the tray lined with parchment paper.

I keep them an inch or so apart they don’t expand much but it’s nice to keep them a little separate which you will appreciate when the time comes to take them out of the tray to place them on the cooling rack.

So once the mounds are ready tap them a little from the top so that they hold together tight and place them in the oven for approximately 12 mins and voila!

Wait for the DING of the timer! or the BUZZER if that’s how your oven announces the delectable baking is ready, while the anticipation accelerates your heartbeat with excitement and then you open the oven and that beautiful aroma wafts through the air, making your mouth water. I know you know what I mean and the smell of toasted coconut when it hits you ..yummm and then you take the tray out of the oven and set it aside..I think I might have to go to and get some made again. hehe..

and if you’re anything like me you’ll probably sample one while it’s hot..😅it’s that yummy chewy gooey texture that’s not quite hot not quite cool and the toasty coconut smell with that crunchy toasted cashews with that gooey chocolate bittersweet moment melting in your mouth and while you’re tasting you take the cookies out of the trays and place them on the cooling rack.

bounties 3

Therefore; it’s like a treat for the hard work you put in😆…THEN whilst they’re cooling down you can take sometime to spend with your kids or enjoy a book with a quick sample of the cookies that are now cooling off..

By the time they’re cooled off and you take a bite or your kids take a bite and you see the smile spread a mile wide on they’re young faces you know you’ve done something right..especially if it only took maybe 15 mins. of your time.. to make them in the first place and you have a good batch of them sitting there in an airtight container in a cool place. It is a great treat or something to take out with tea for impromptu guests. 

The ingredients are switchable of course if you prefer milk chocolate over semi sweet or whether you prefer almonds to cashews, or whatever kind of nuts you have easily accessible at your home. Please do try these they are lovely and a great source of comfort that we look for sometimes on cold winter nights with the toasted coconut element and hot cocoa.

cropped-hot-cocoa-nawal