Happy Birthday!!

It’s finally MAY where it’s supposed to be spring and the flowers are smiling upon us and then I look out my window and oh! what is that? a hailstorm? in May? wonderful! haha.

Well this post is special for me because it’s a chocolate cake I made specially with my son in mind! He turns 4. My goodness! FOUR. Time flies doesnt it? If I was being honest it felt like he was born yesterday when I had those god awful labor pains and I could not decide whether it was the sushi i had in the afternoon that didn’t want to settle or it was time for my boy to see the light of day!. hmm..considering it’s going to be his birthday I’m pretty sure we all found out not “what” but “who” couldn’t settle. 🙂

So today I’m thinking of making a chocolate cake with chocolate frosting using whipped cream not butter. Let’s see how it all comes out.

For the ingredients I’m going to divide them into two sections the wet and dry ingredients for this recipe.

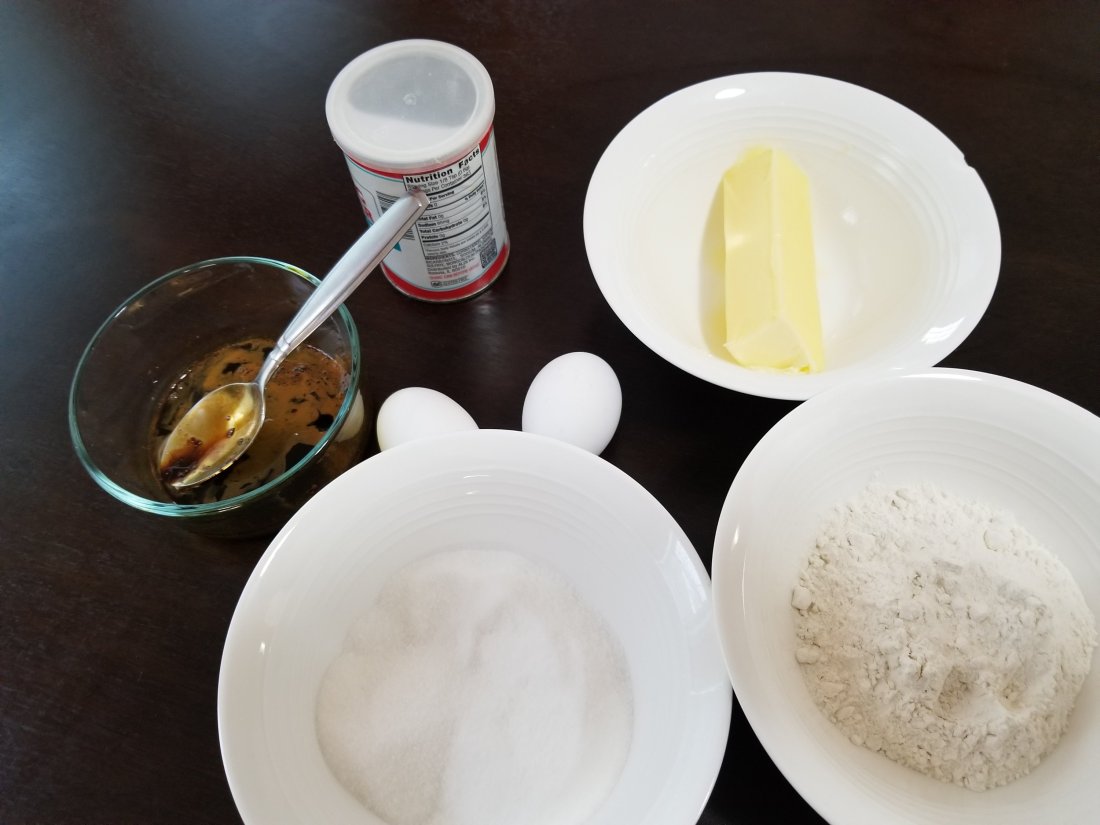
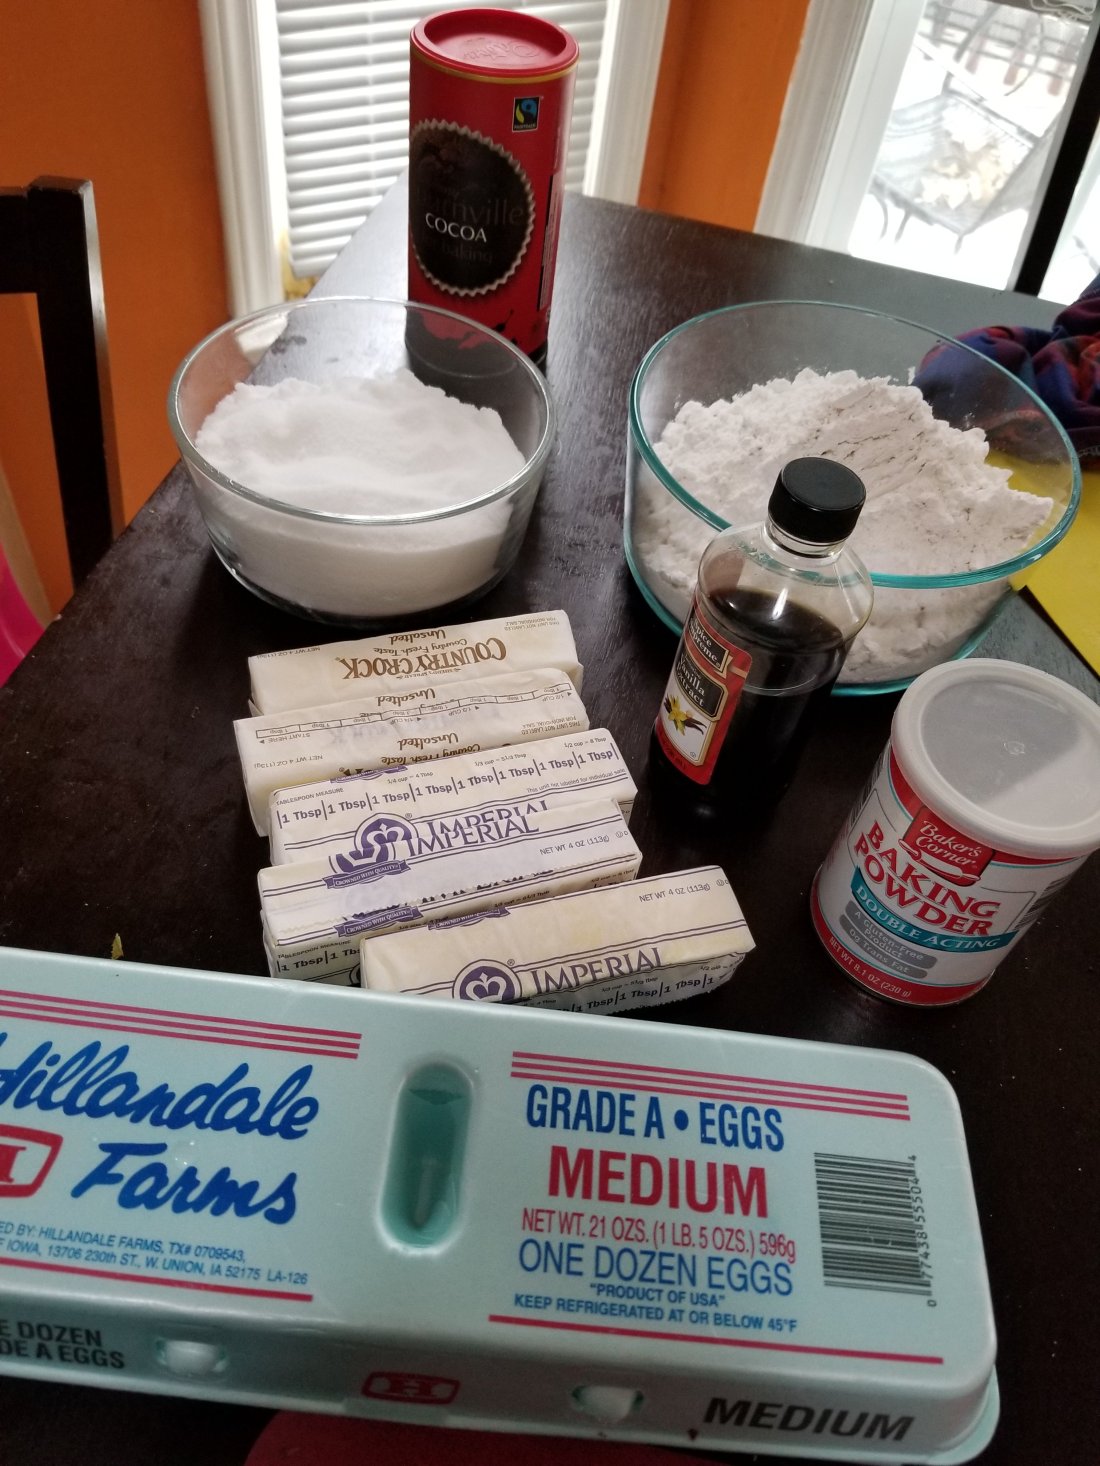
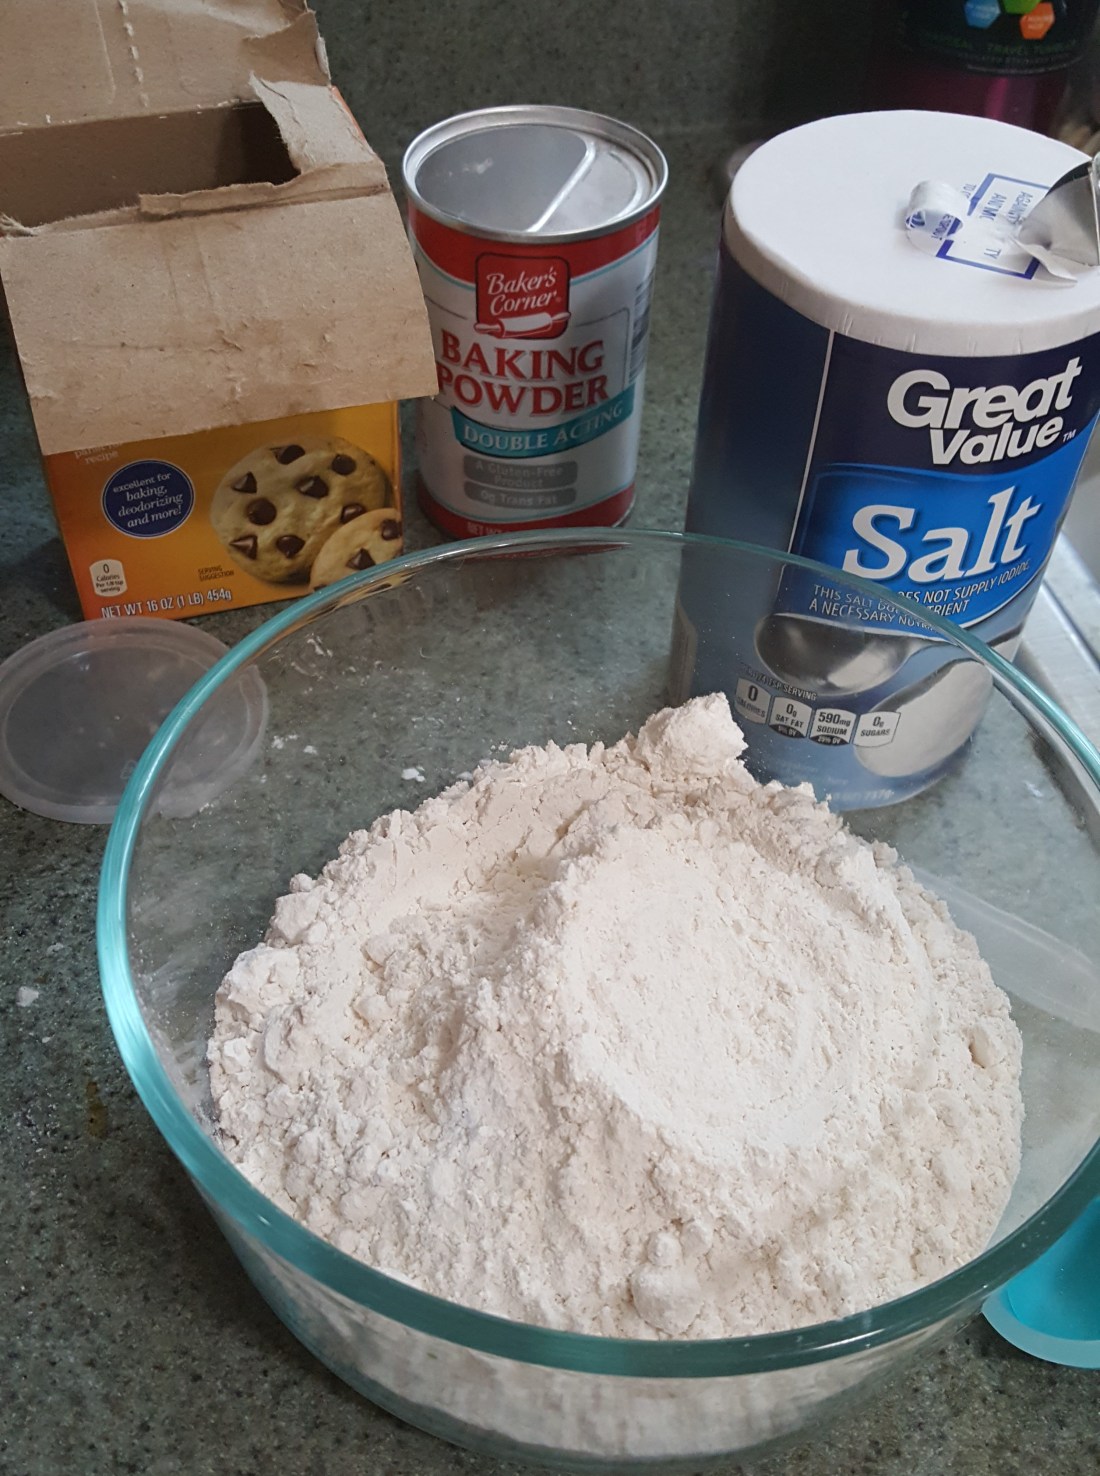
The dry ingredients I used are as follows;

sketch-1557799928372

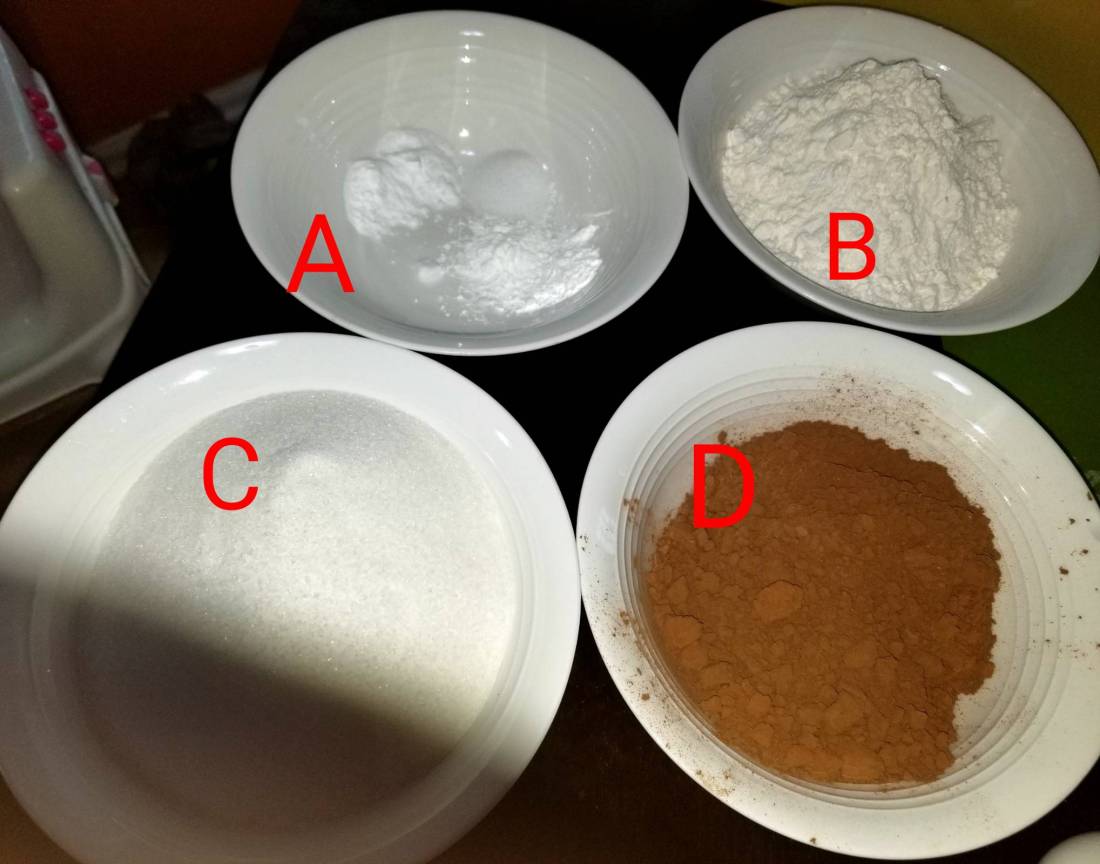
First bowl (A)from the top contains ;

1 1/2 tsp of Baking Powder

1 tsp Salt

1 1/2 tsp of Baking soda

Second bowl (B) contains 1 3/4 cup of all purpose flour, third (C) is 1 cup Sugar and last (D) is a 1 cup good quality unsweetened cocoa powder.

Moving on to the wet ingredients we have;

20190513_134543

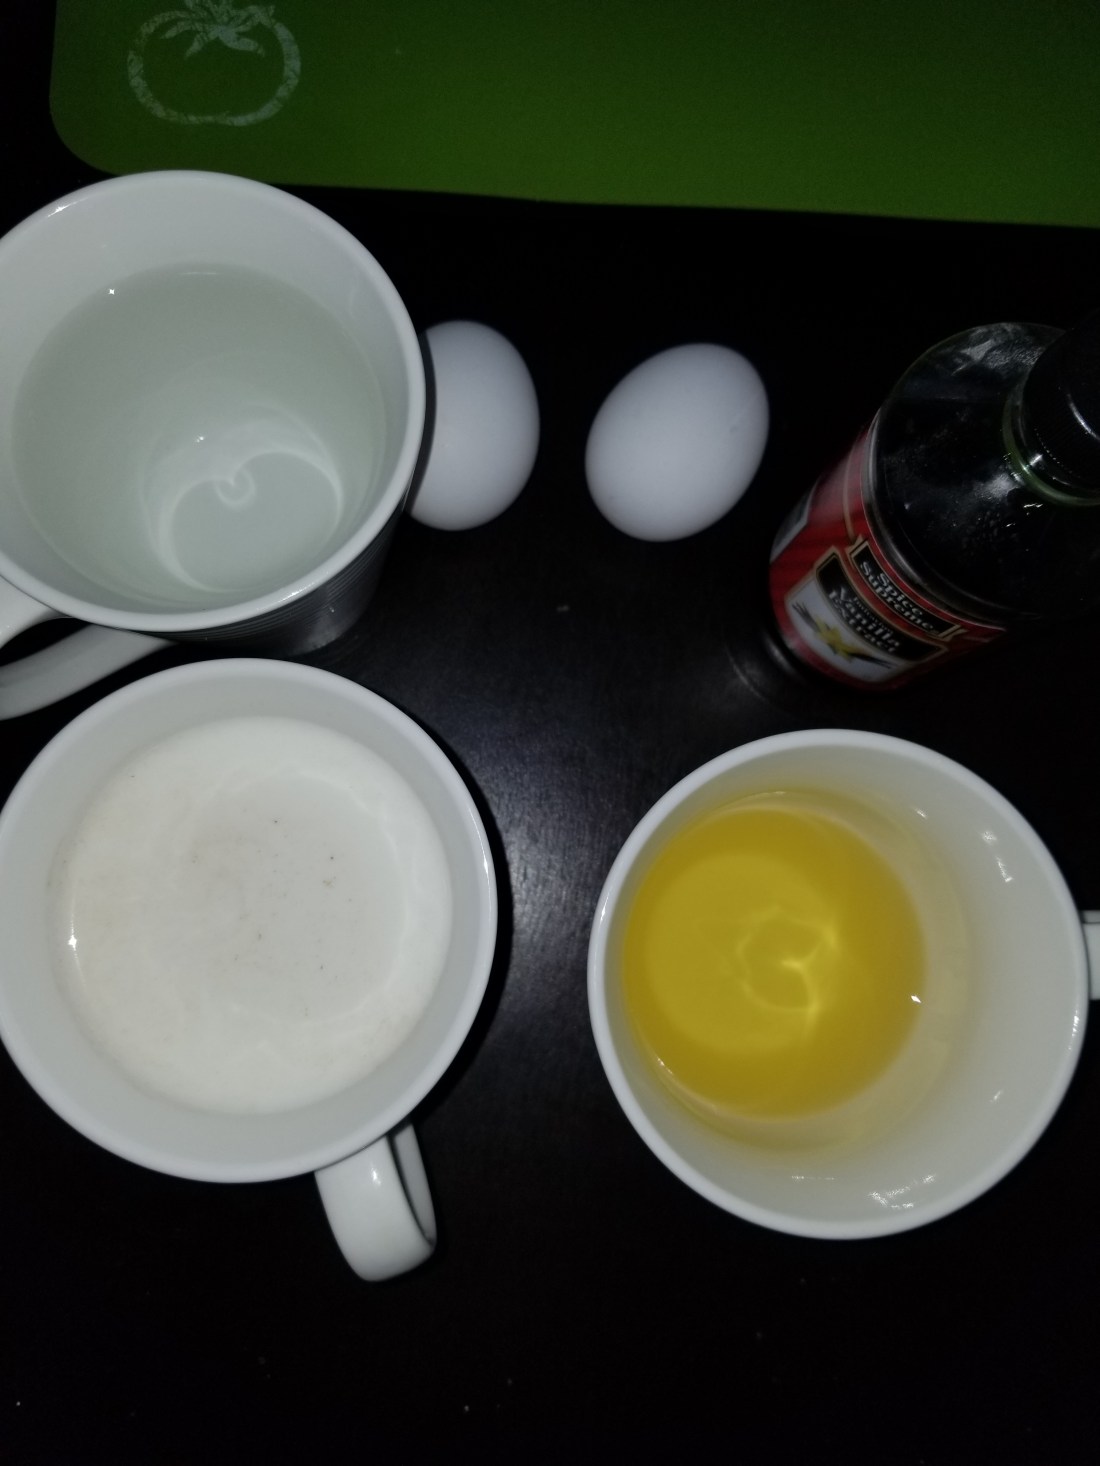
1 cup Boiling water which we can substitute for hot coffee (I am making this with kids in mind so having this probably with dinner I am not putting coffee in it. Simply, because kids are going to be BUZZED with all that caffeine. Haha..we think sugar rush is bad coffee takes it up a whole notch).

1/2 cup flavorless oil

1 cup milk

2 tsp Vanilla essence

and 2 eggs

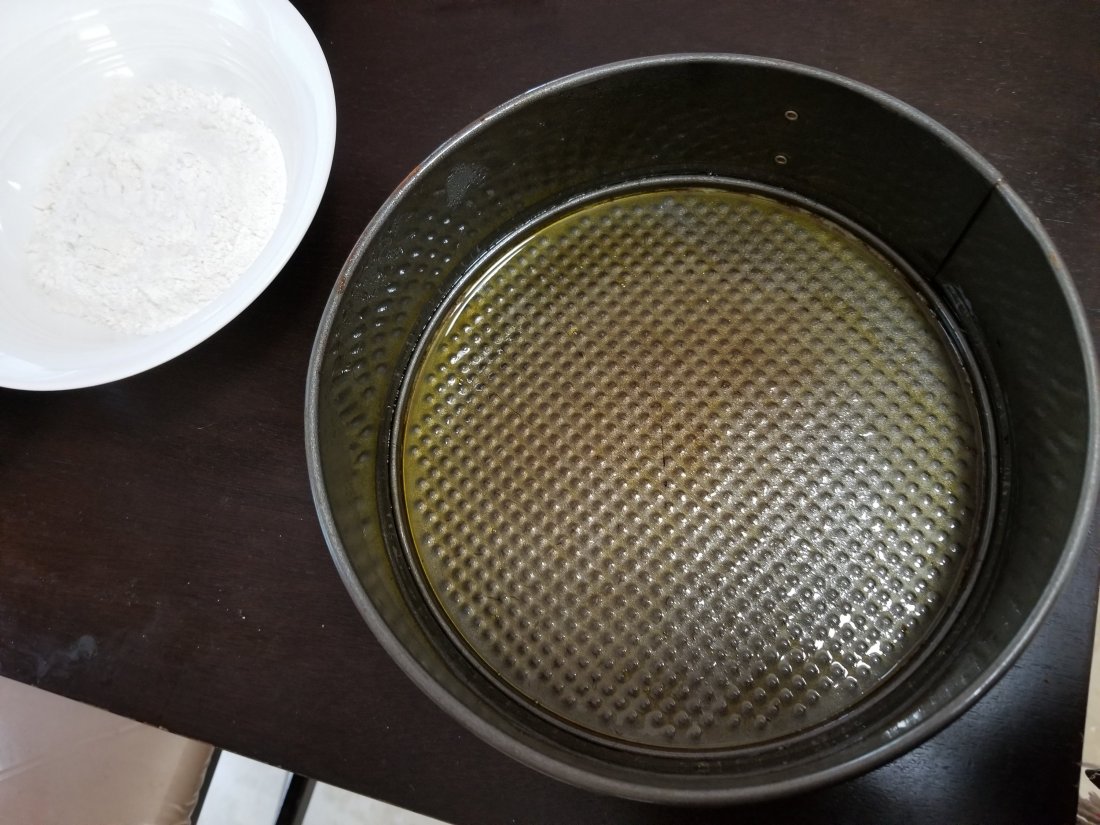
So as before any baking we preheat the oven at 350’F and grease an 8″ pan and this time I dusted it with cocoa powder; something I picked up from another recipe I thought of trying this time. I used to dust it with flour previously but if somebody would cut it and turn the cake over I am sure they would taste the flour at the bottom. It’s supposed to be considered “cooked” since it’s been in the oven baking under all that yummy cake but I beg to differ sometimes it really just does taste like raw flour..hence why since we’re making a chocolate cake for this recipe and dusting with cocoa powder although the same concept as the “flour” in other recipes I see a better fit for this one.

But by all means if flour or just non-spray or hey even just parchment paper works for you then please do so. It’s all comes down to a matter of preference.

So once we have our ingredients measured out we take a mixing bowl or a stand-up mixer. My standup mixer requires a bigger serving for it to mix well so I just used the hand mixer but you can use both for this recipe if your allows you to mix the batter till the bottom.

I took my stainless steal bowl ;

20190513_135104

I added the Sugar then in a strainer/sieve I added the flour, baking soda, salt, baking powder, cocoa powder and sieved it through and

20190513_135825

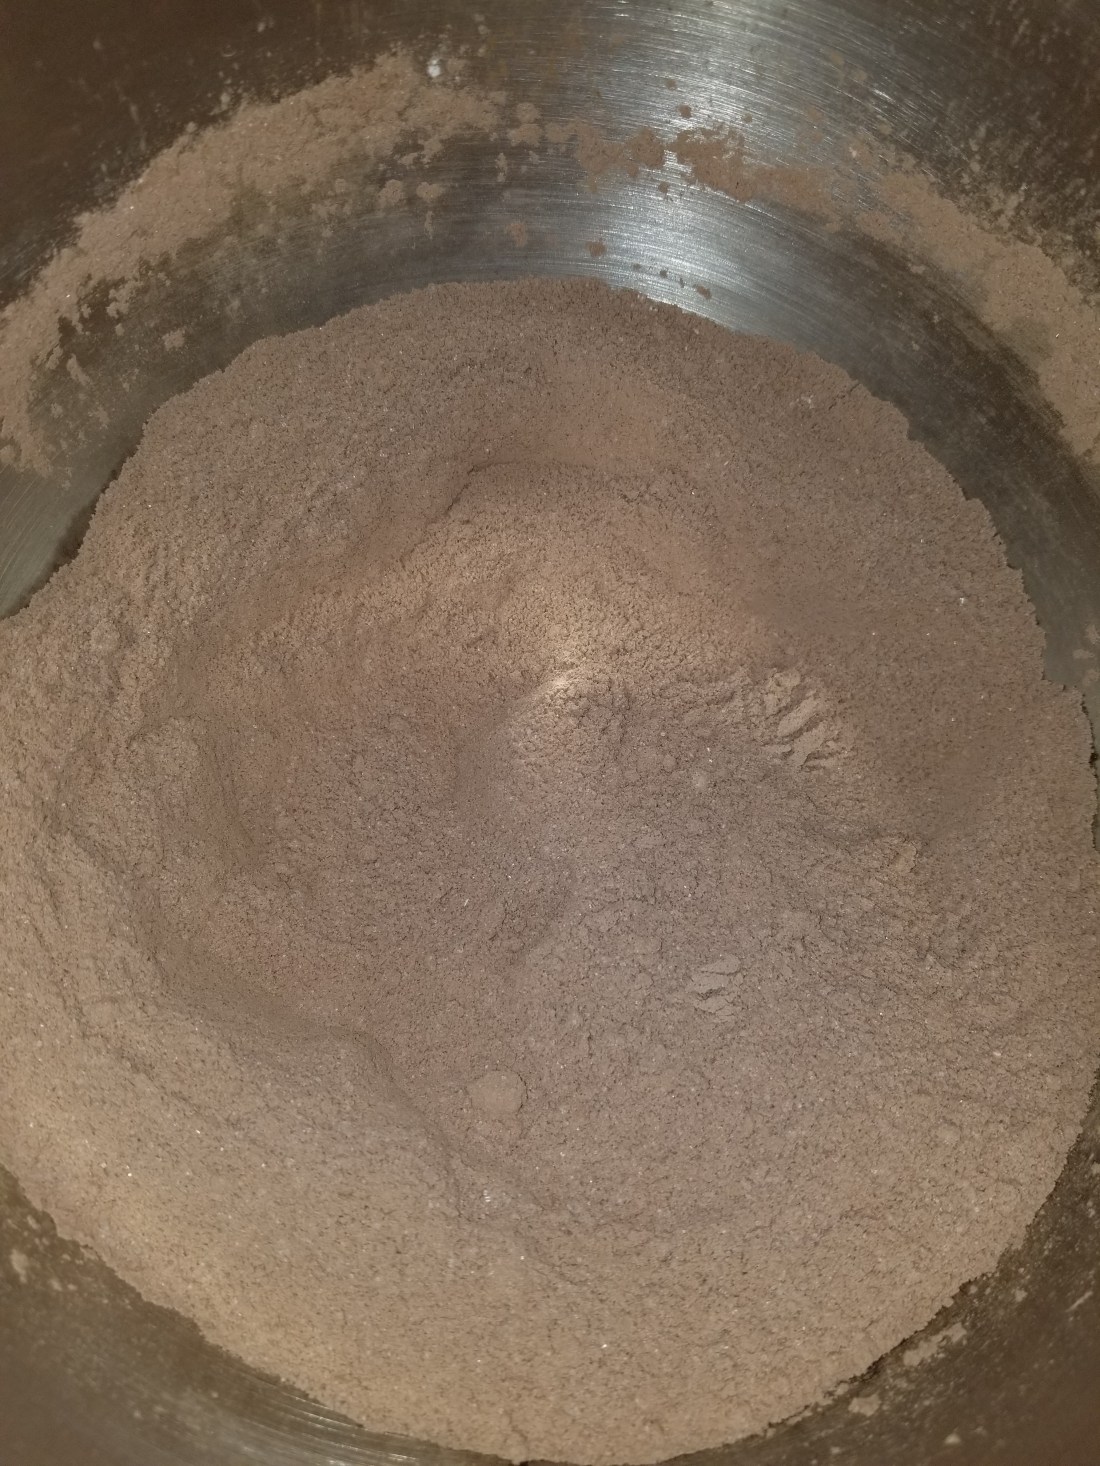
mixed well till all seemed equally combined.

Now for the wet ingredients;

20190513_135615
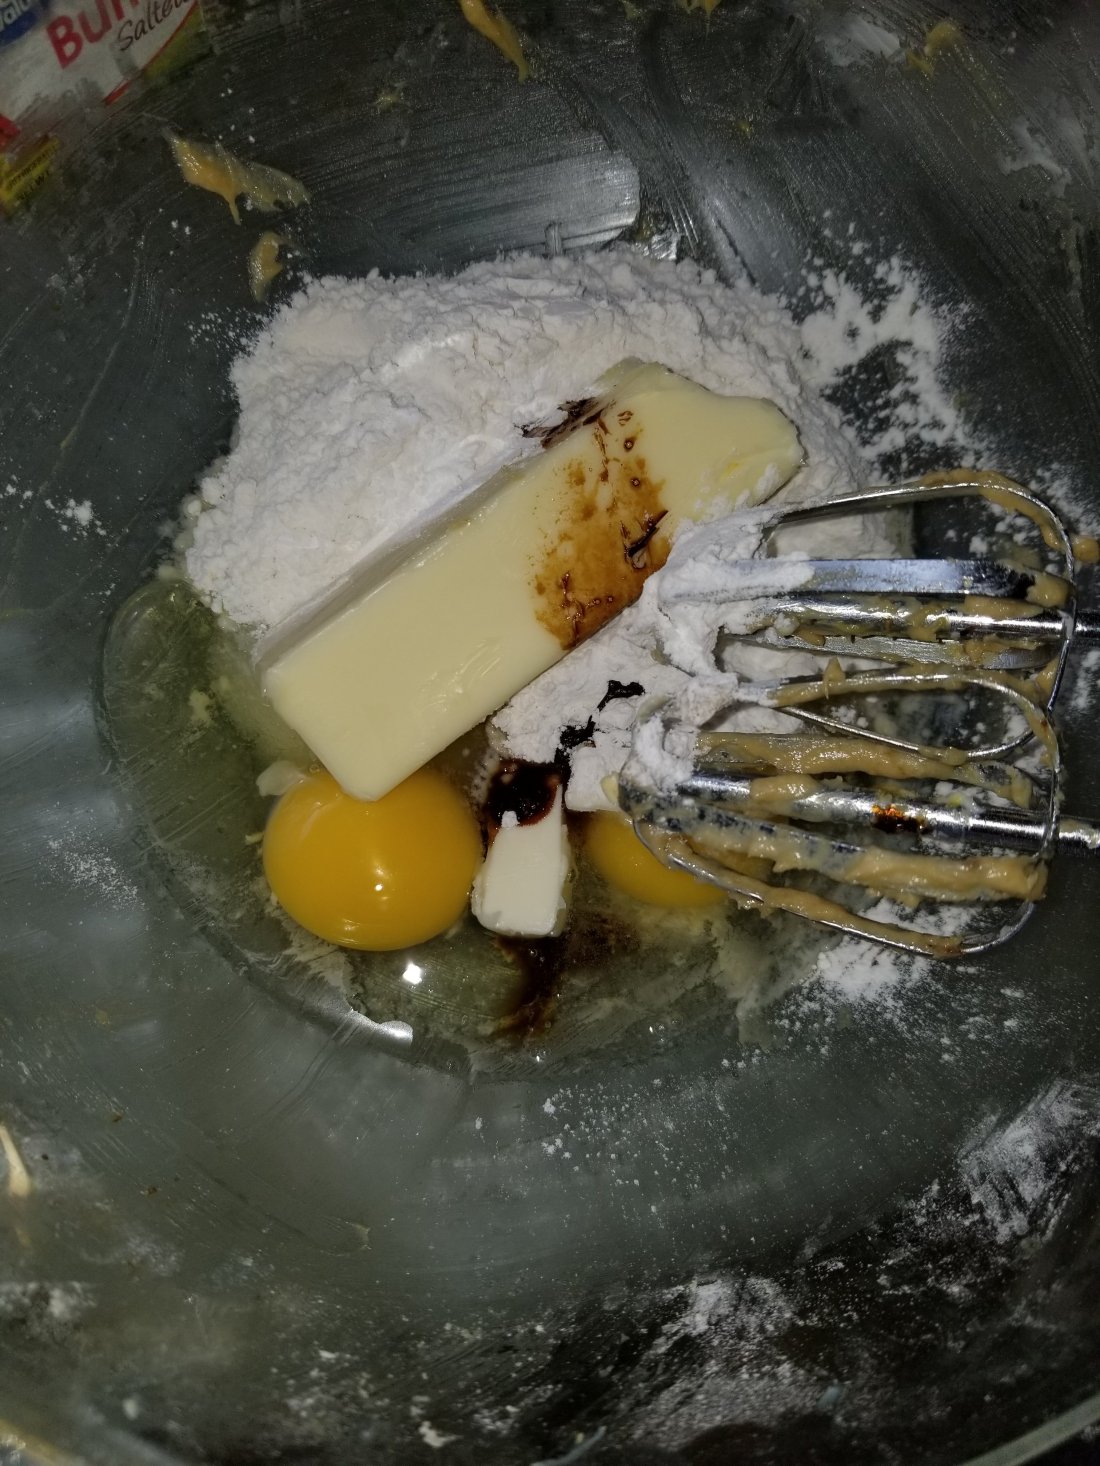
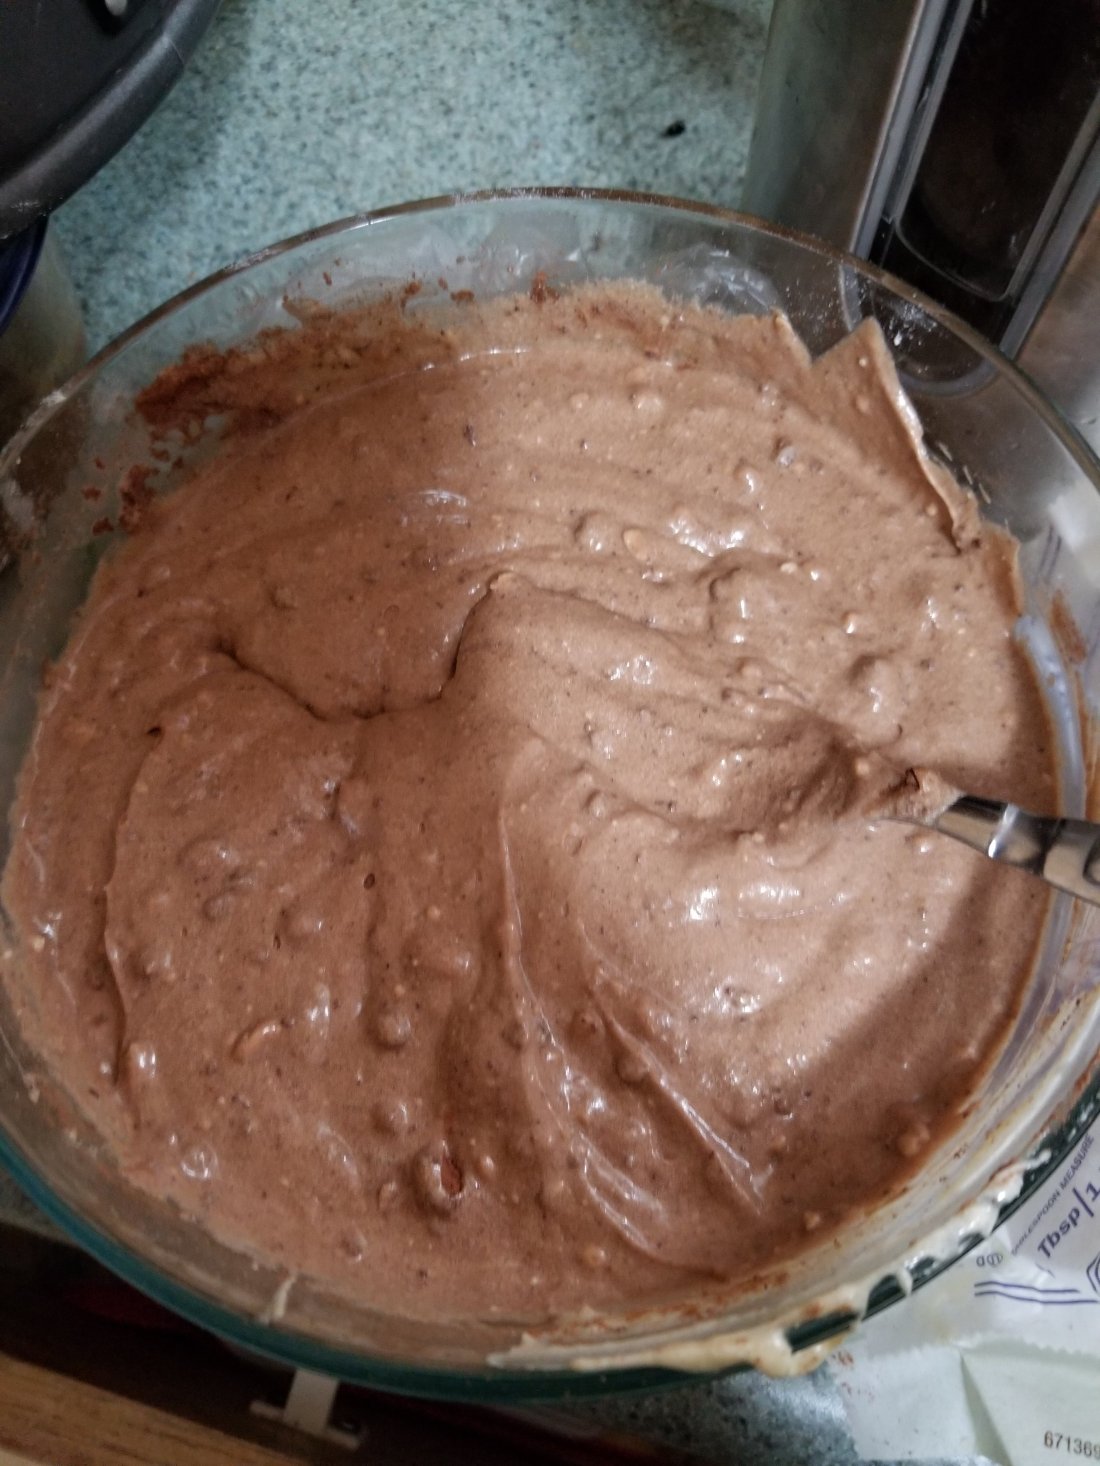
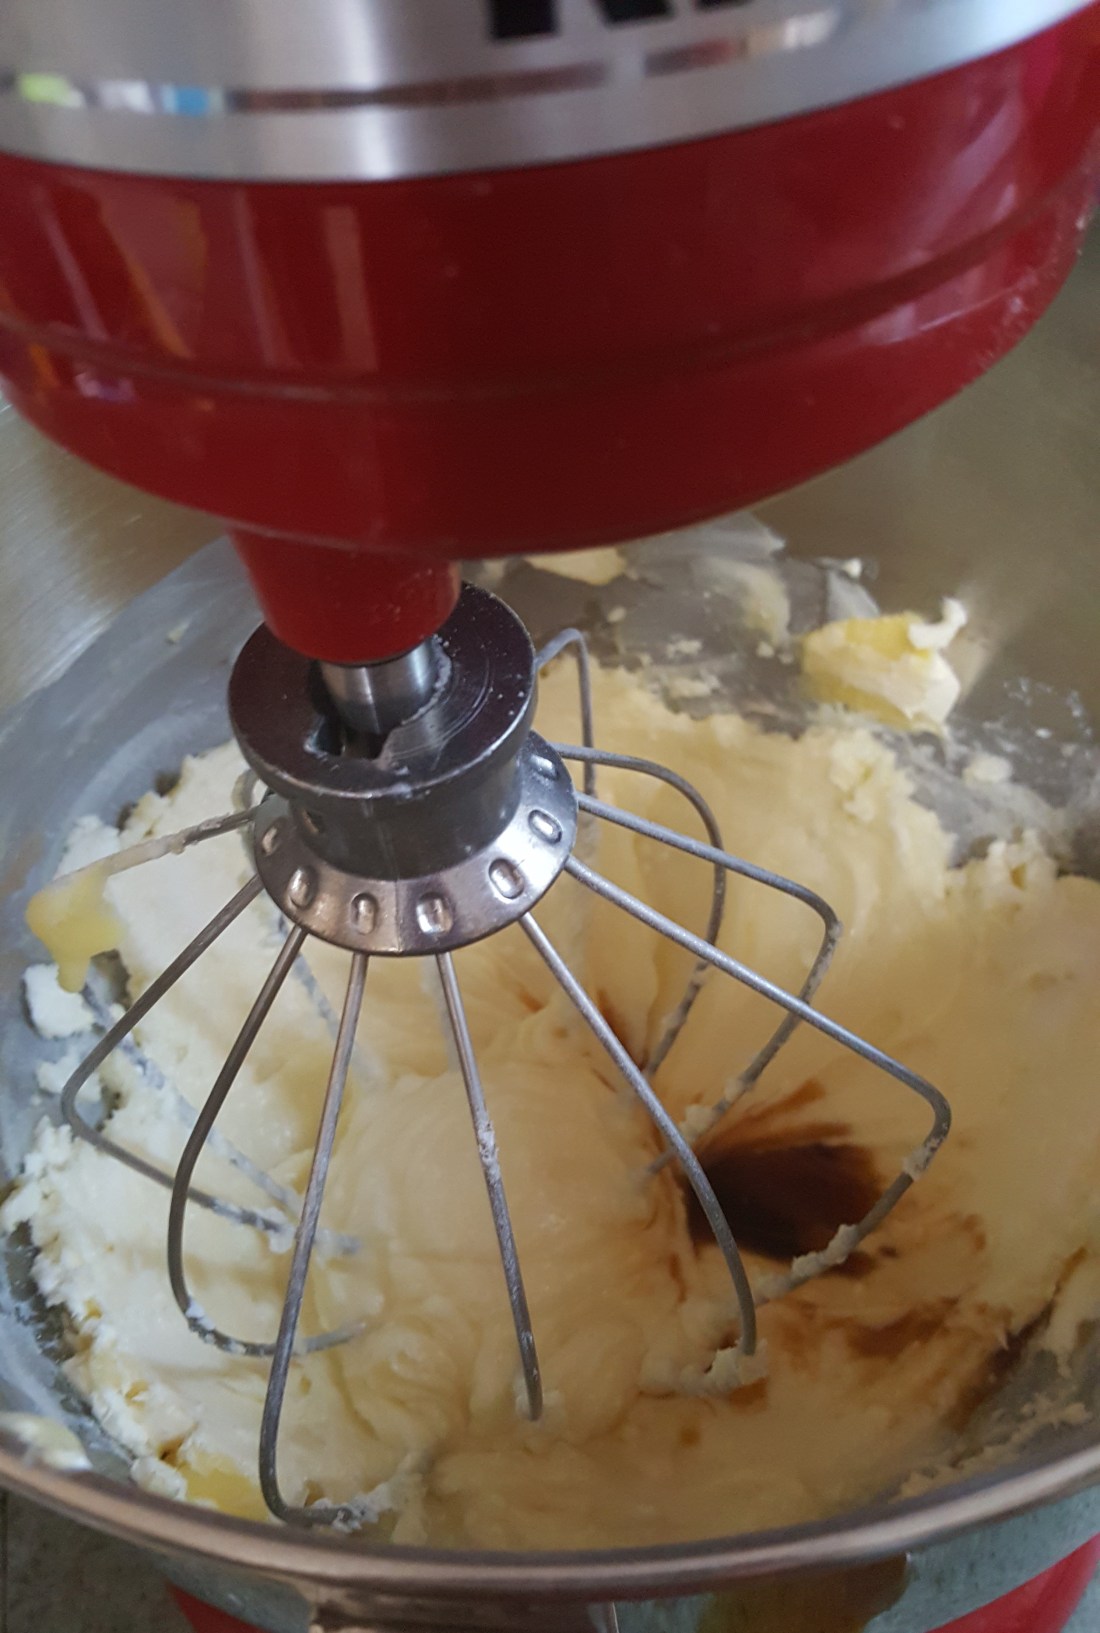
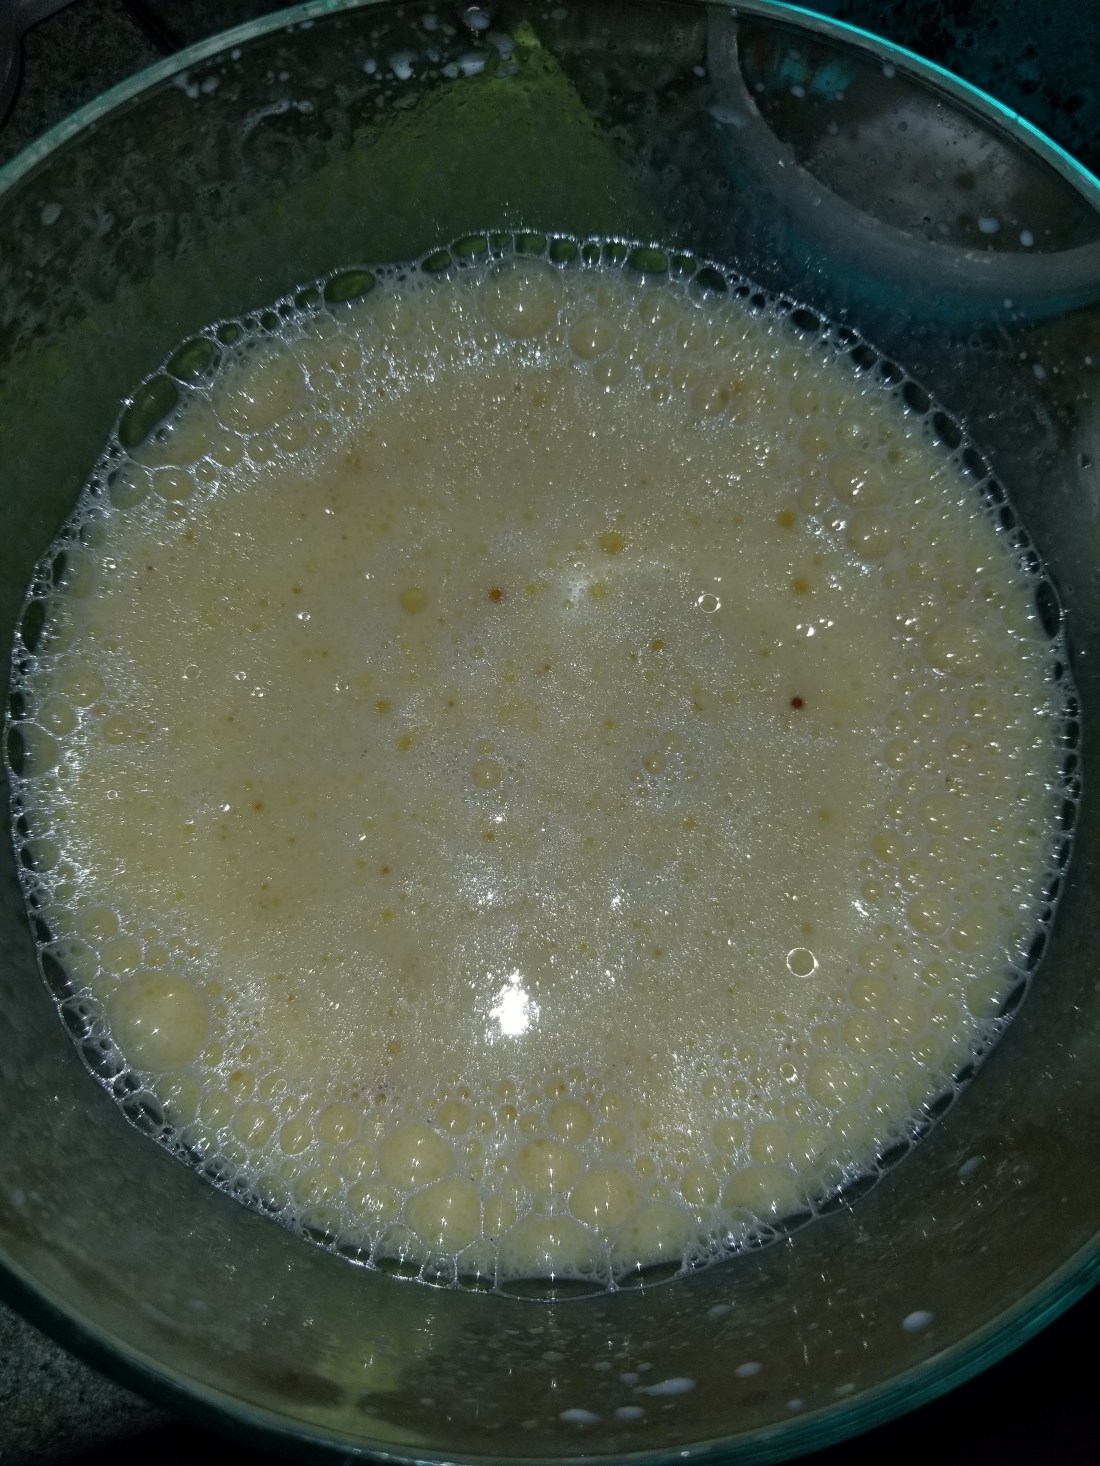
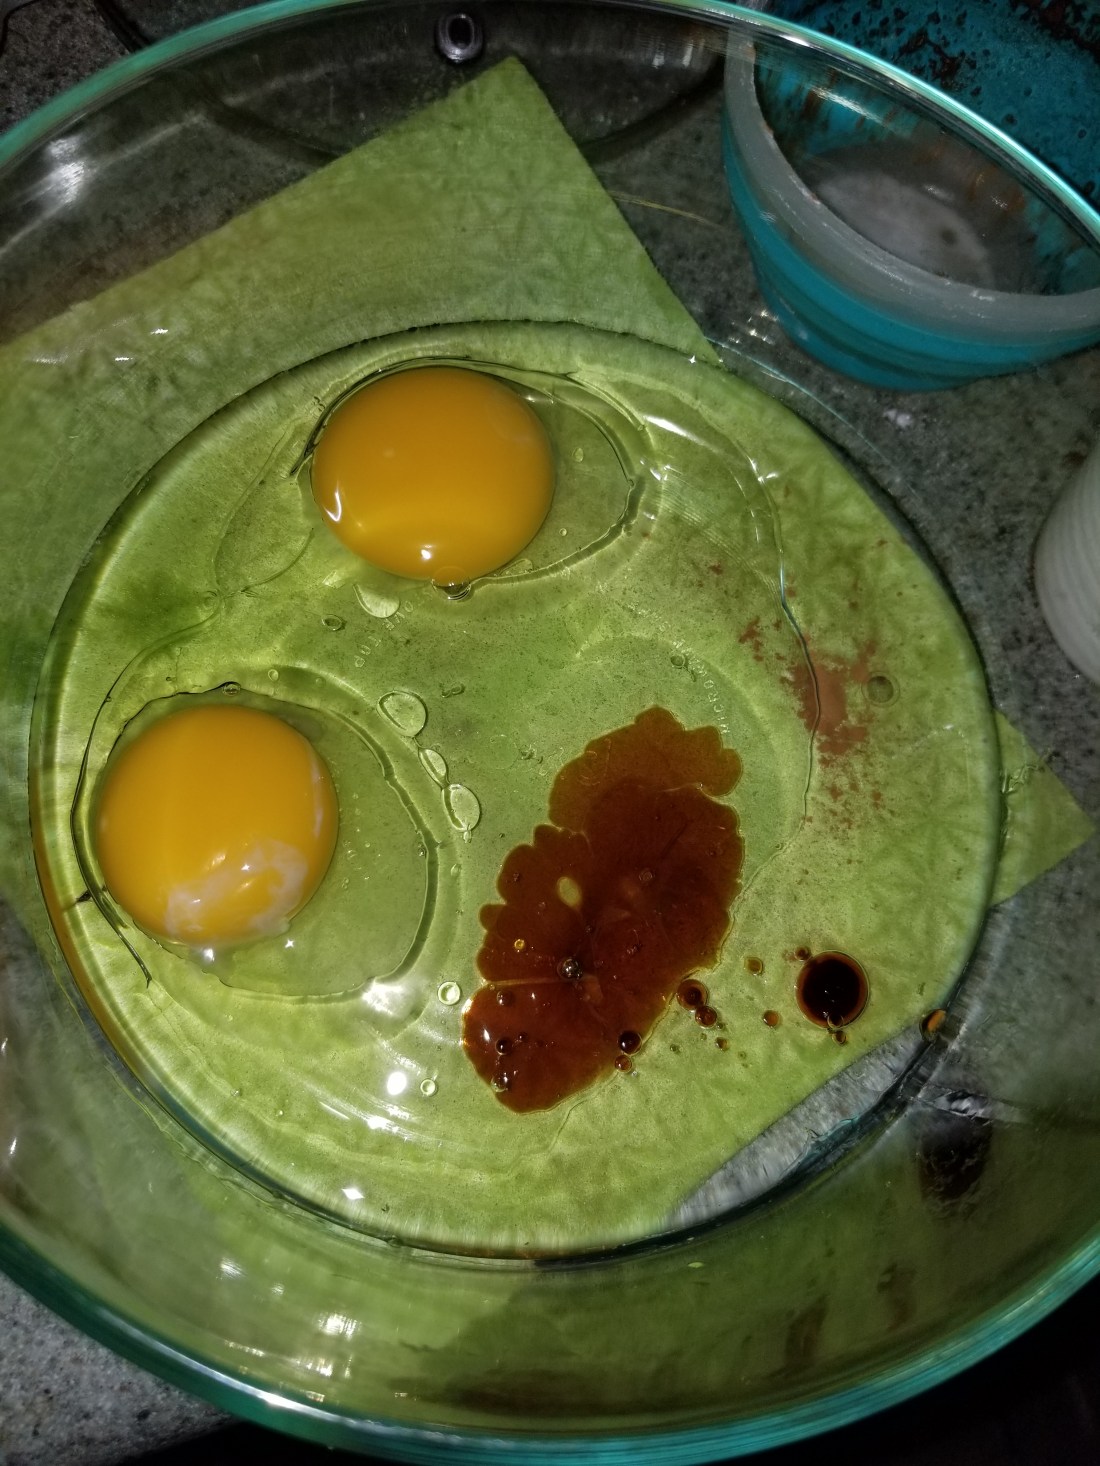
We take the eggs and the oil and vanilla essence and we beat it with an electric hands mixer(beater) so it starts to come together then you add in the milk till all wet ingredients minus the 1 cup of boiling water are incorporated and the mixture looks like this.

20190513_135713

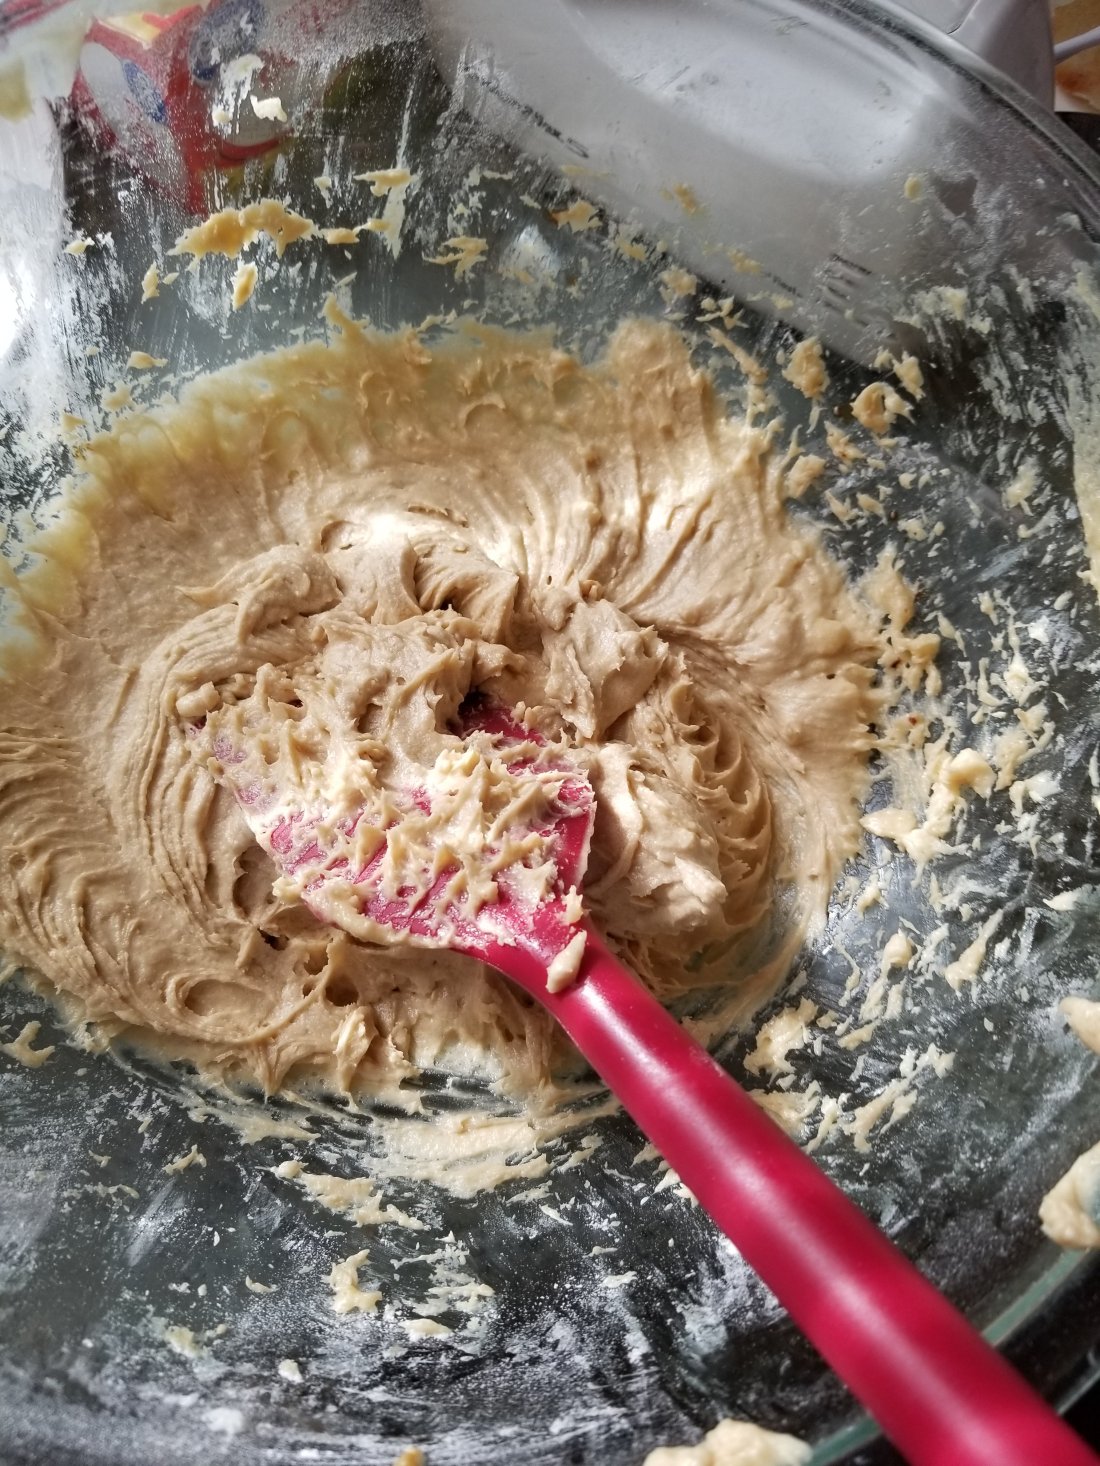
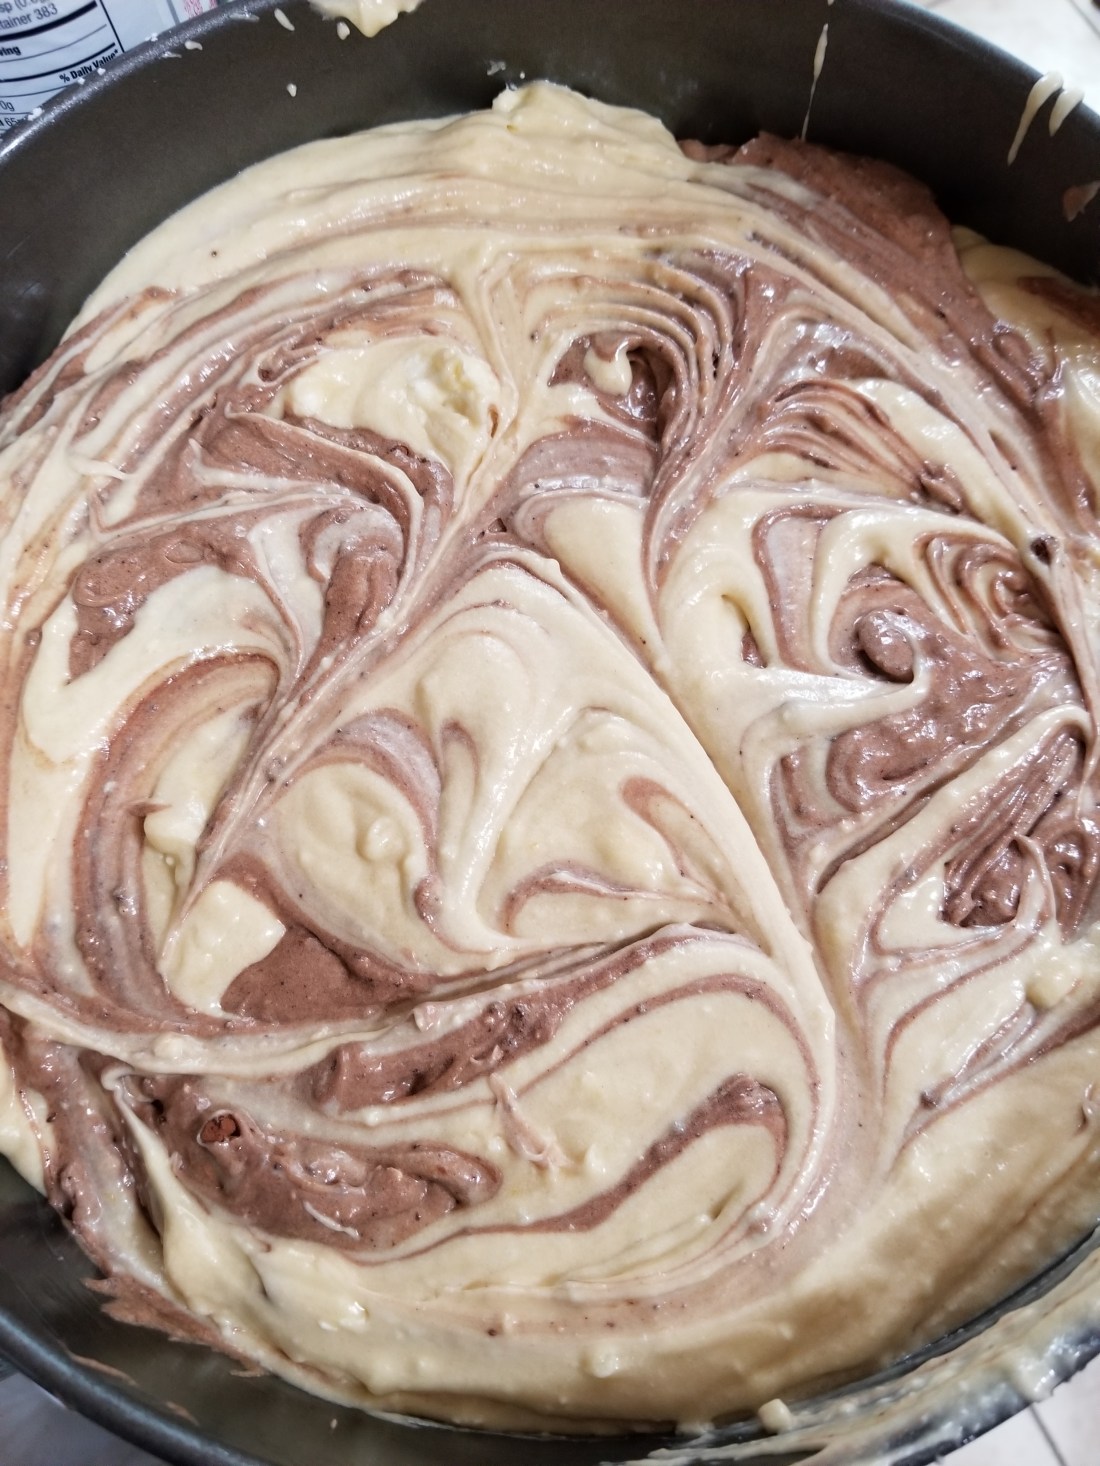
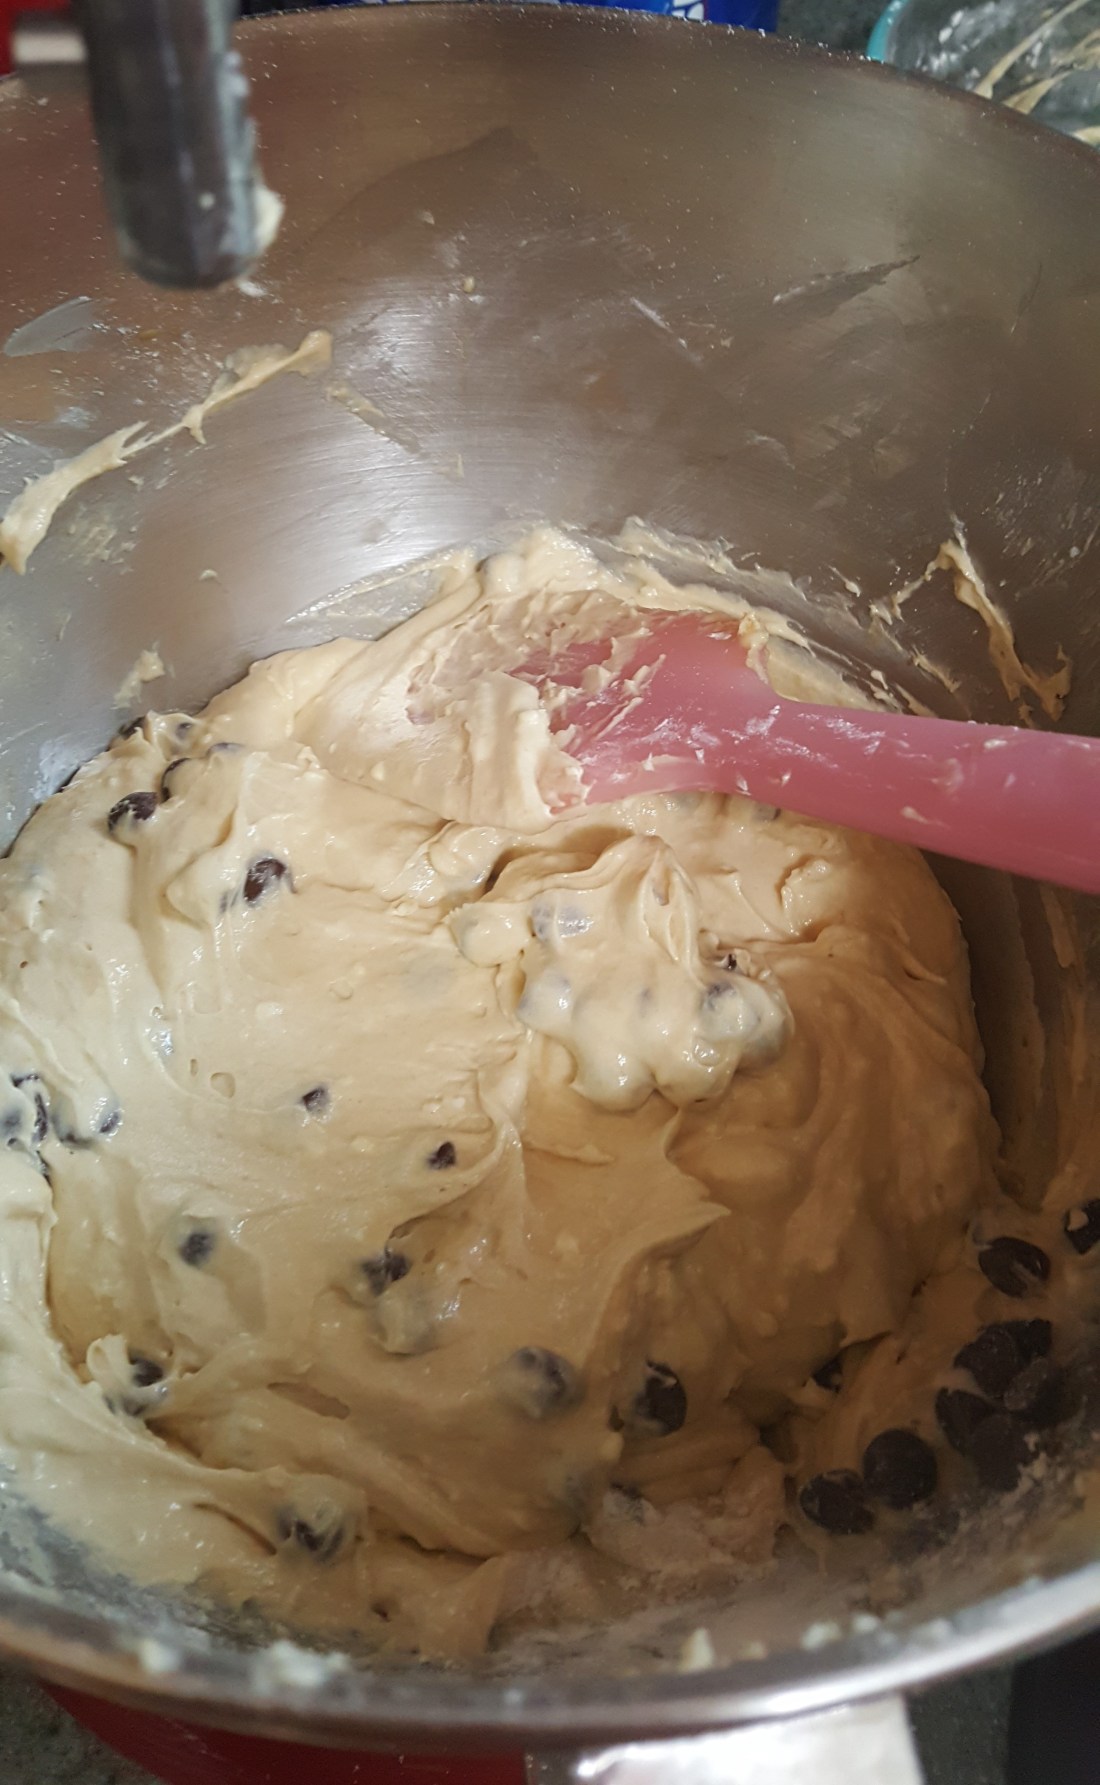
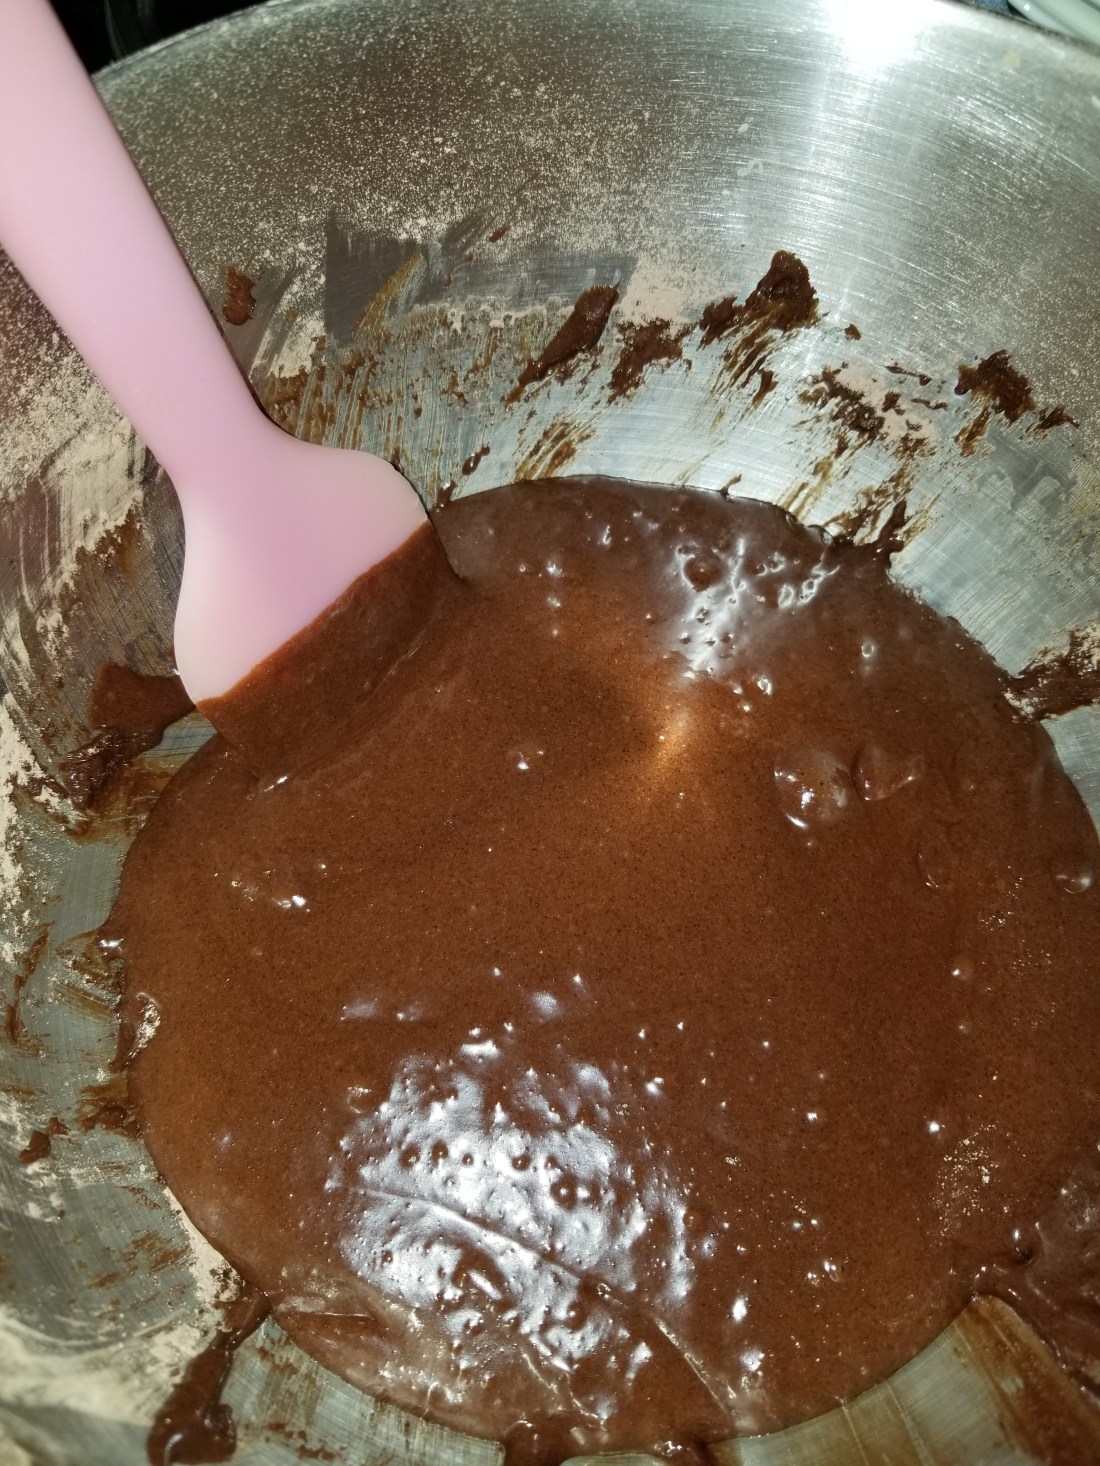
Then we take the wet mixture and slowly add it to our dry ingredients and then on medium speed we mix them together. Please be careful because the dry ingredients at this point may try to fly out. 20190513_140020 
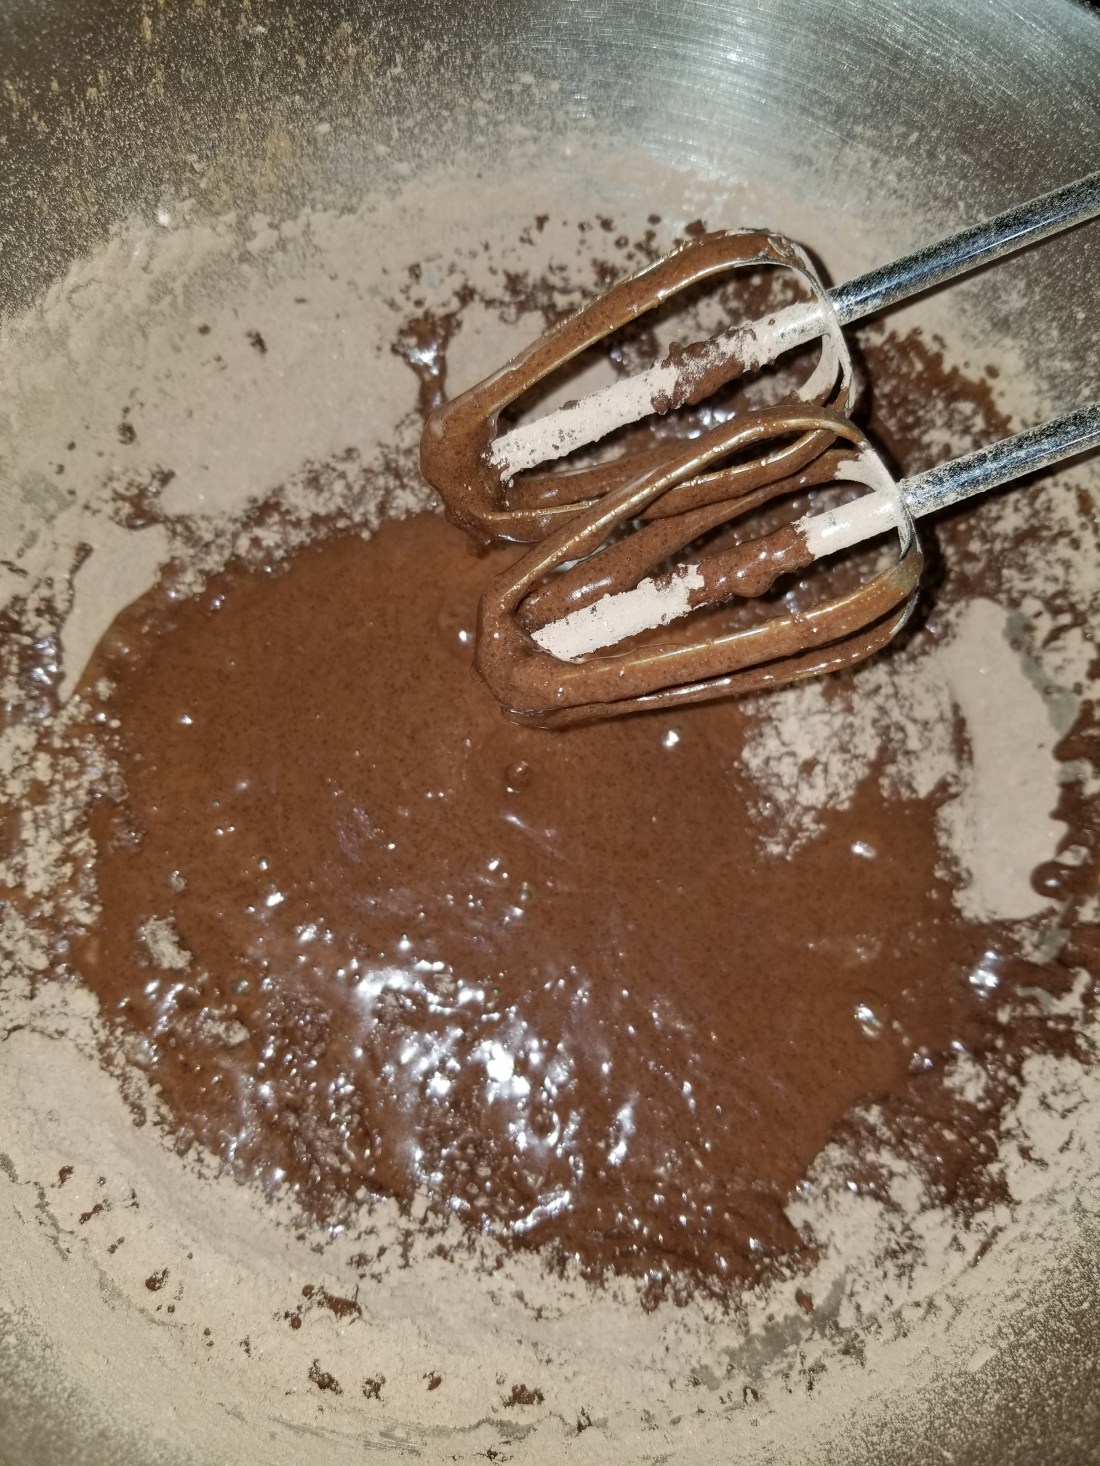
So the tip here is to ….( I know we normally add the dry ingredients to the wet but this time I did it in reverse? What was I thinking lol..but to be honest it actually works alot better than we think as with adding the wet to the dry you can use a spatula and mix it in a little before you beat it this helps with the dry ingredients as they tend to fly over the bowl and wet don’t spill over because they have been mixed in with a large quantity of the “dry ingredients”). When the ingredients are almost mixed add in the 1 cup of boiling water/or hot coffee but at this point be careful when pouring it, it may splash on you and that would hurt! Ouch! Here, just try to fold in the mixture. It will resemble a runny batter but do not lose hope. We are expecting this:-)

20190513_140144

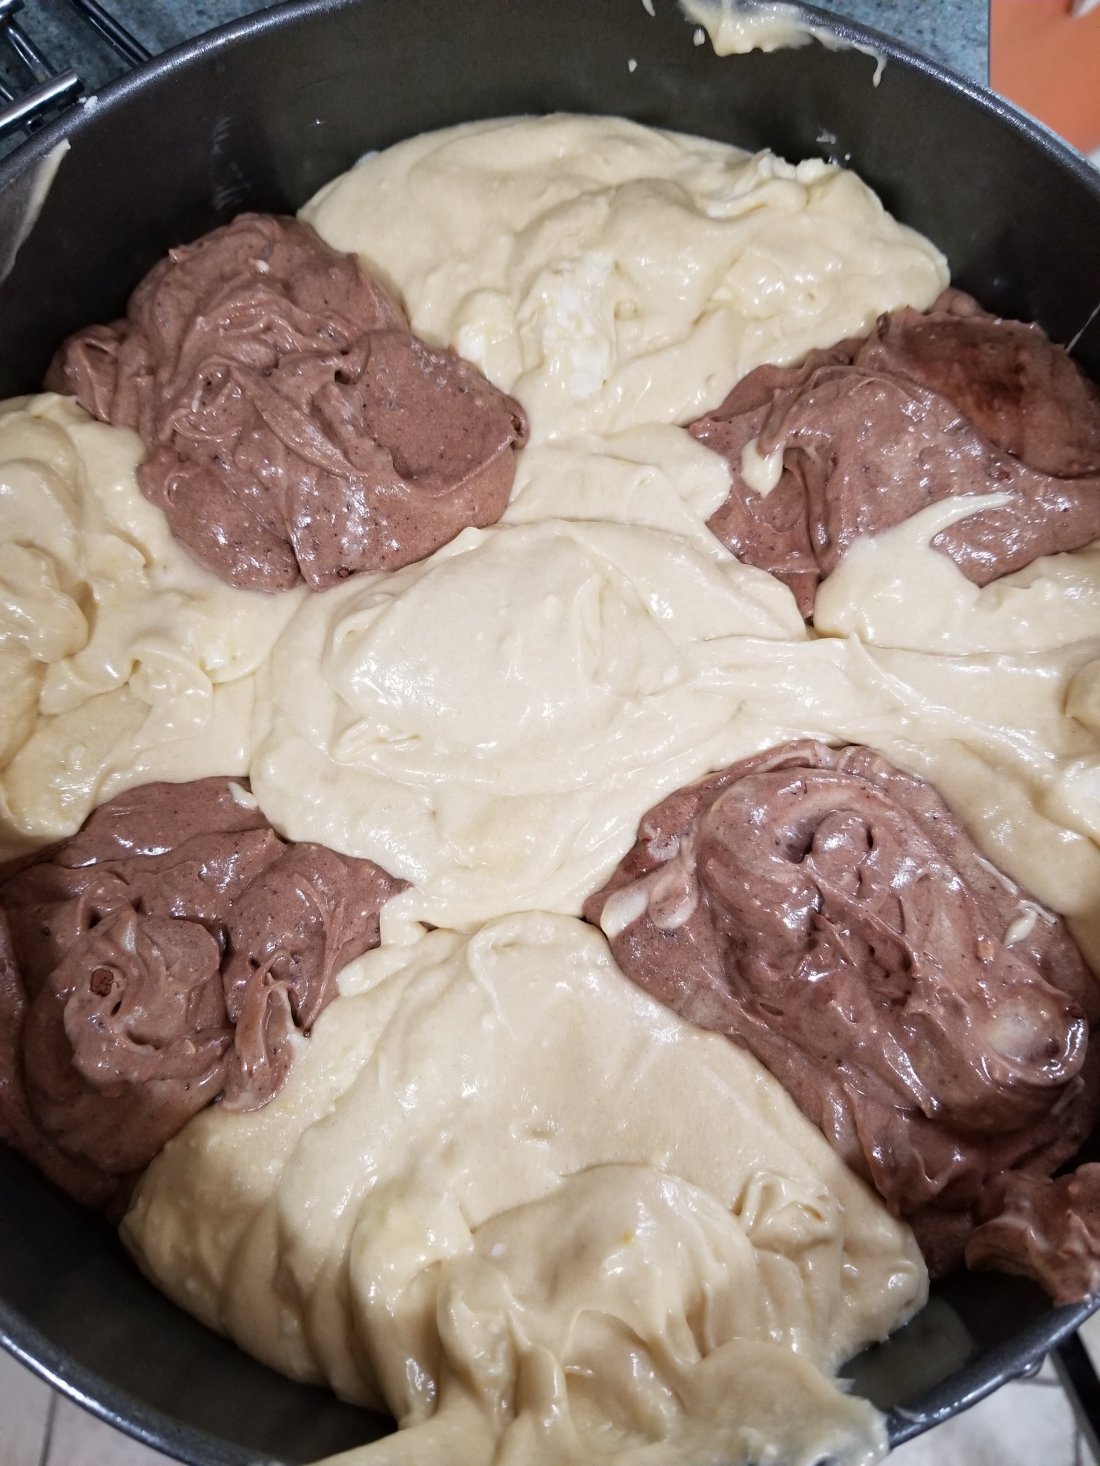
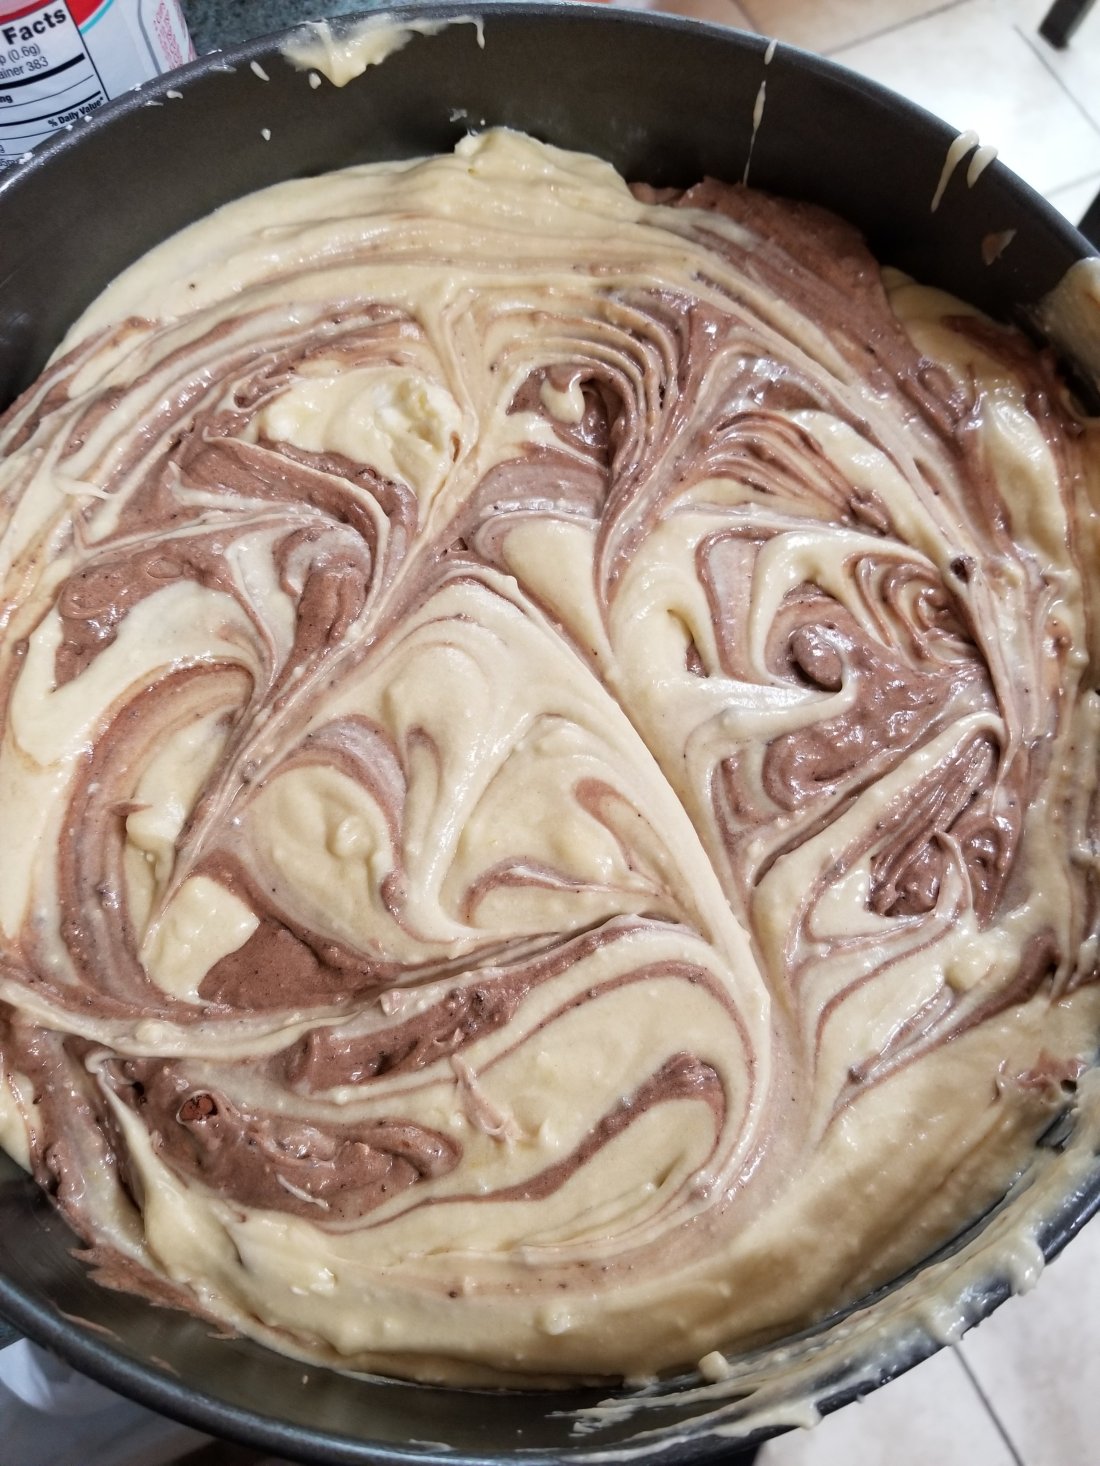
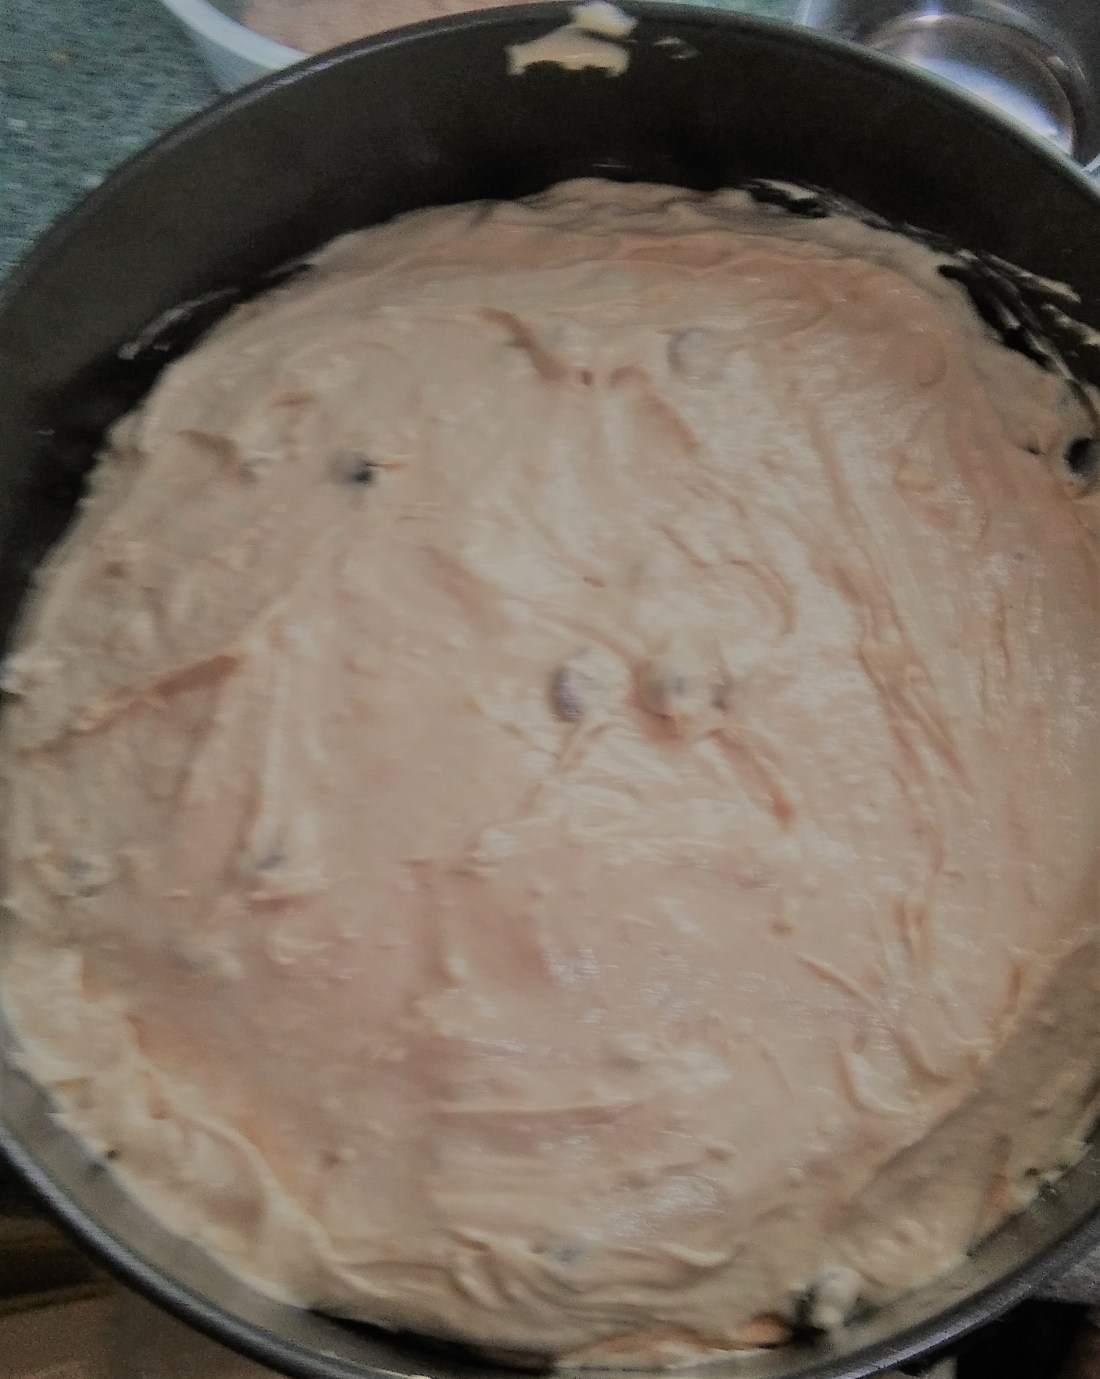
Once you are certain the mixture has folded in nicely try to scrape of the excess from the sides. Why waste the precious batter? Then taking the greased pan; I used an 8″ pan I like it when it stands a little tall. But you can use a 9″ if you want to make it wider and have more servings with a smaller portion.

20190513_134744

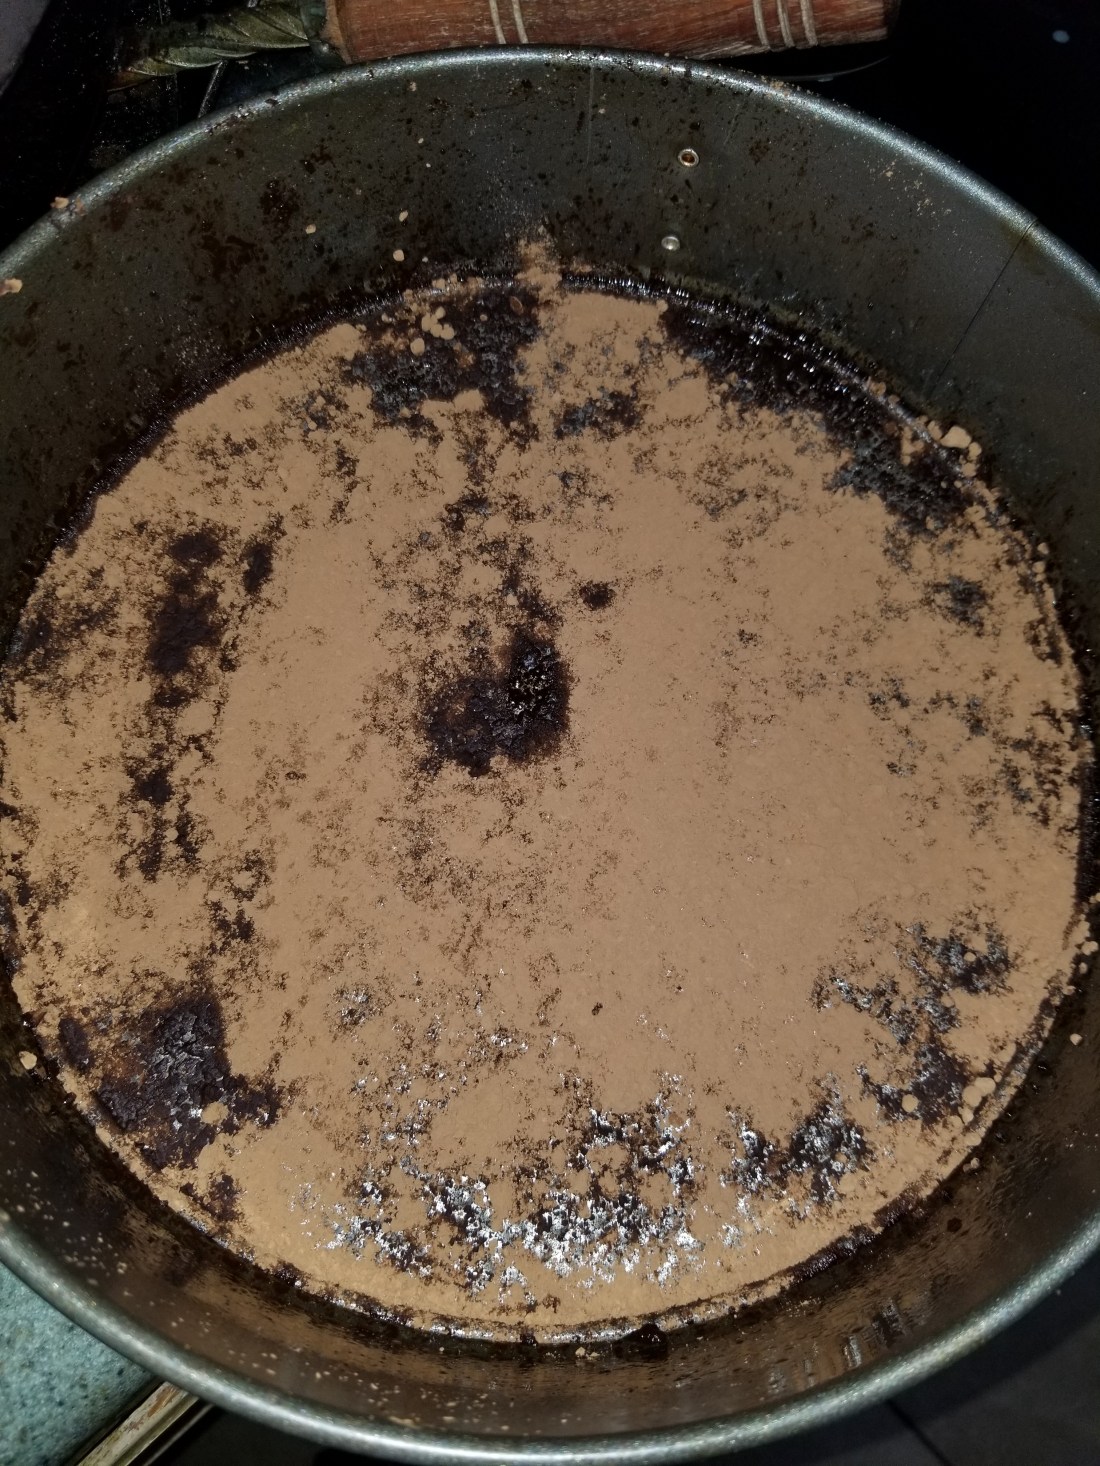
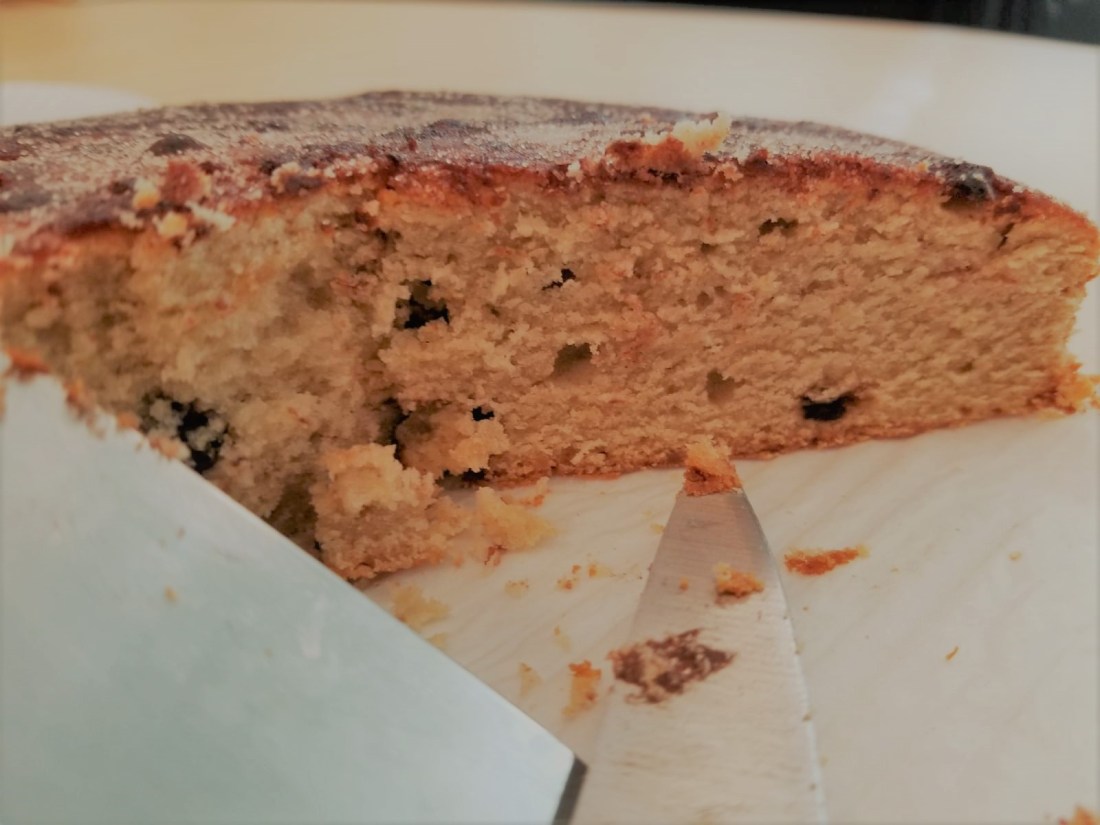
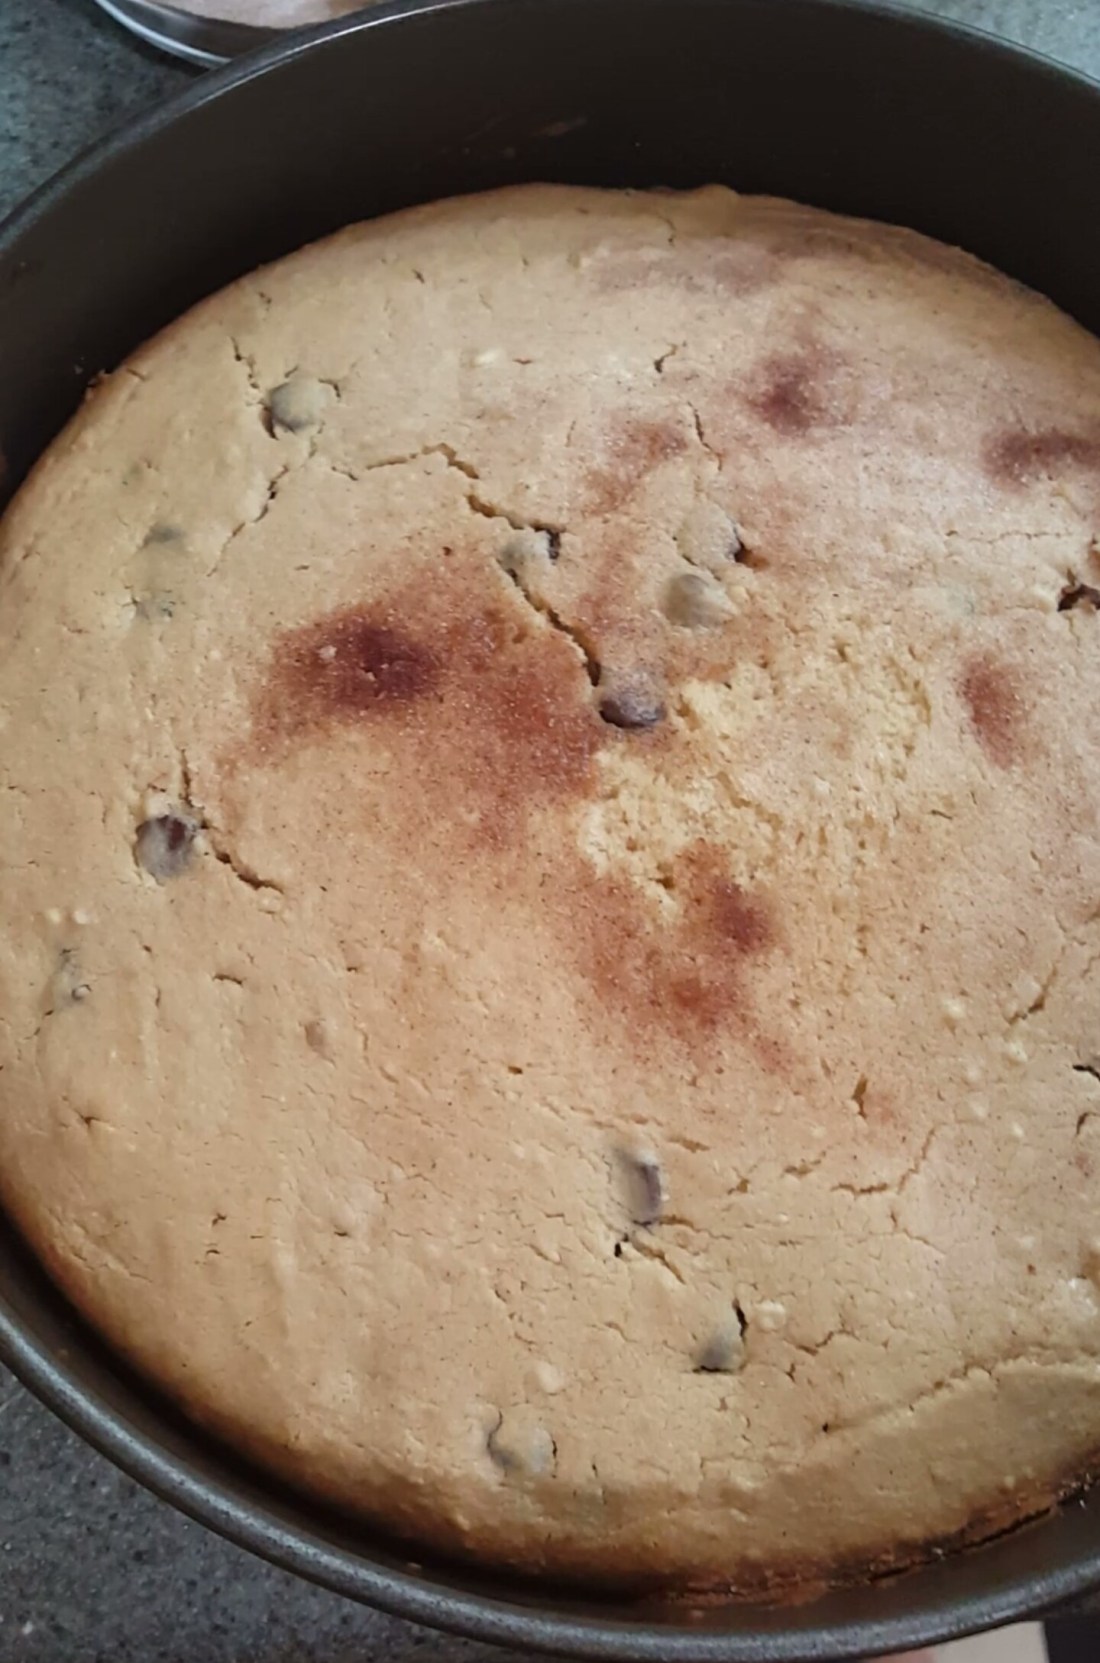
I poured in half the batter and set into the oven to bake for 35 mins or until the toothpick test comes out clean:-) everyone’s oven is different and may have a slight variation on the time but please remember it firms up further as it cools.

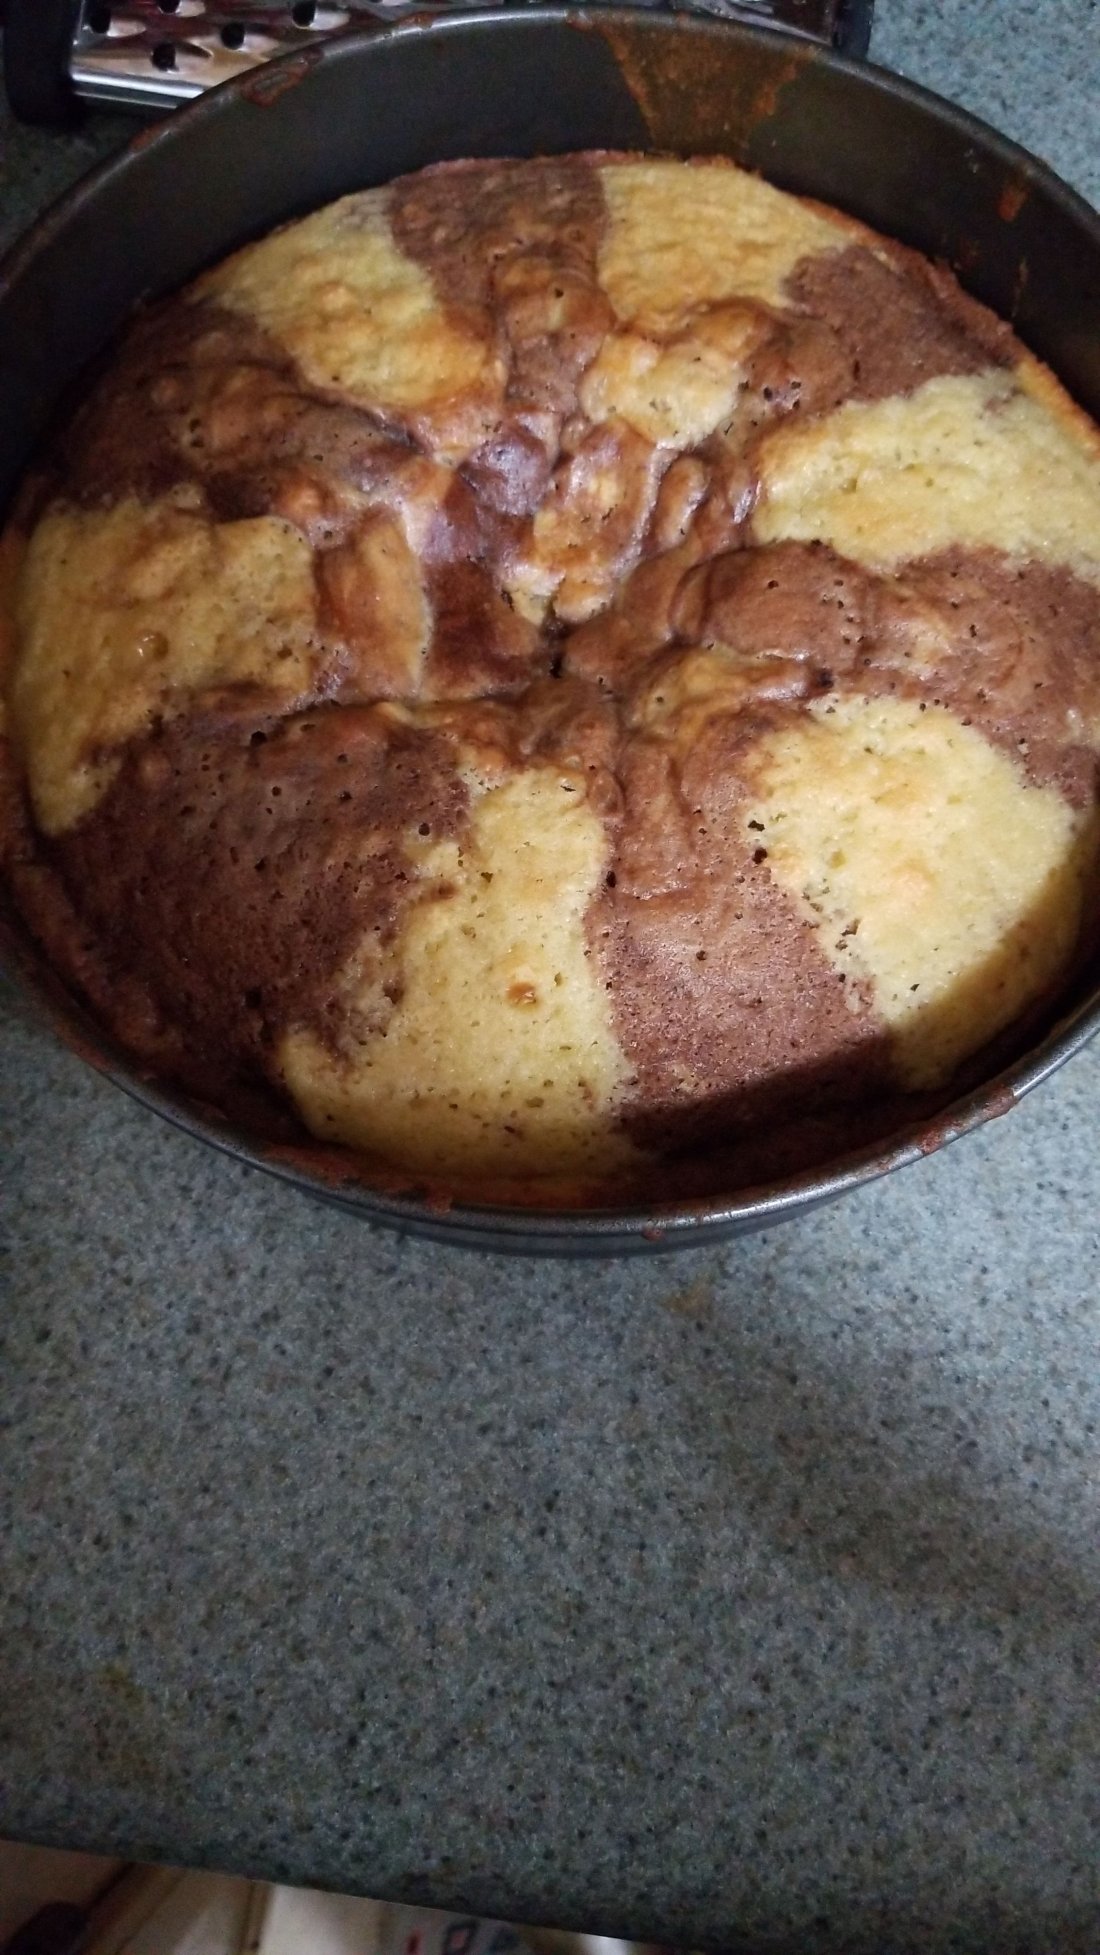
When the timer dings and you have tested your toothpick and it comes out looking beautiful, wait 5 to 10 mins so it cools down before you try to remove the spring foam bottom layer

20190513_144353

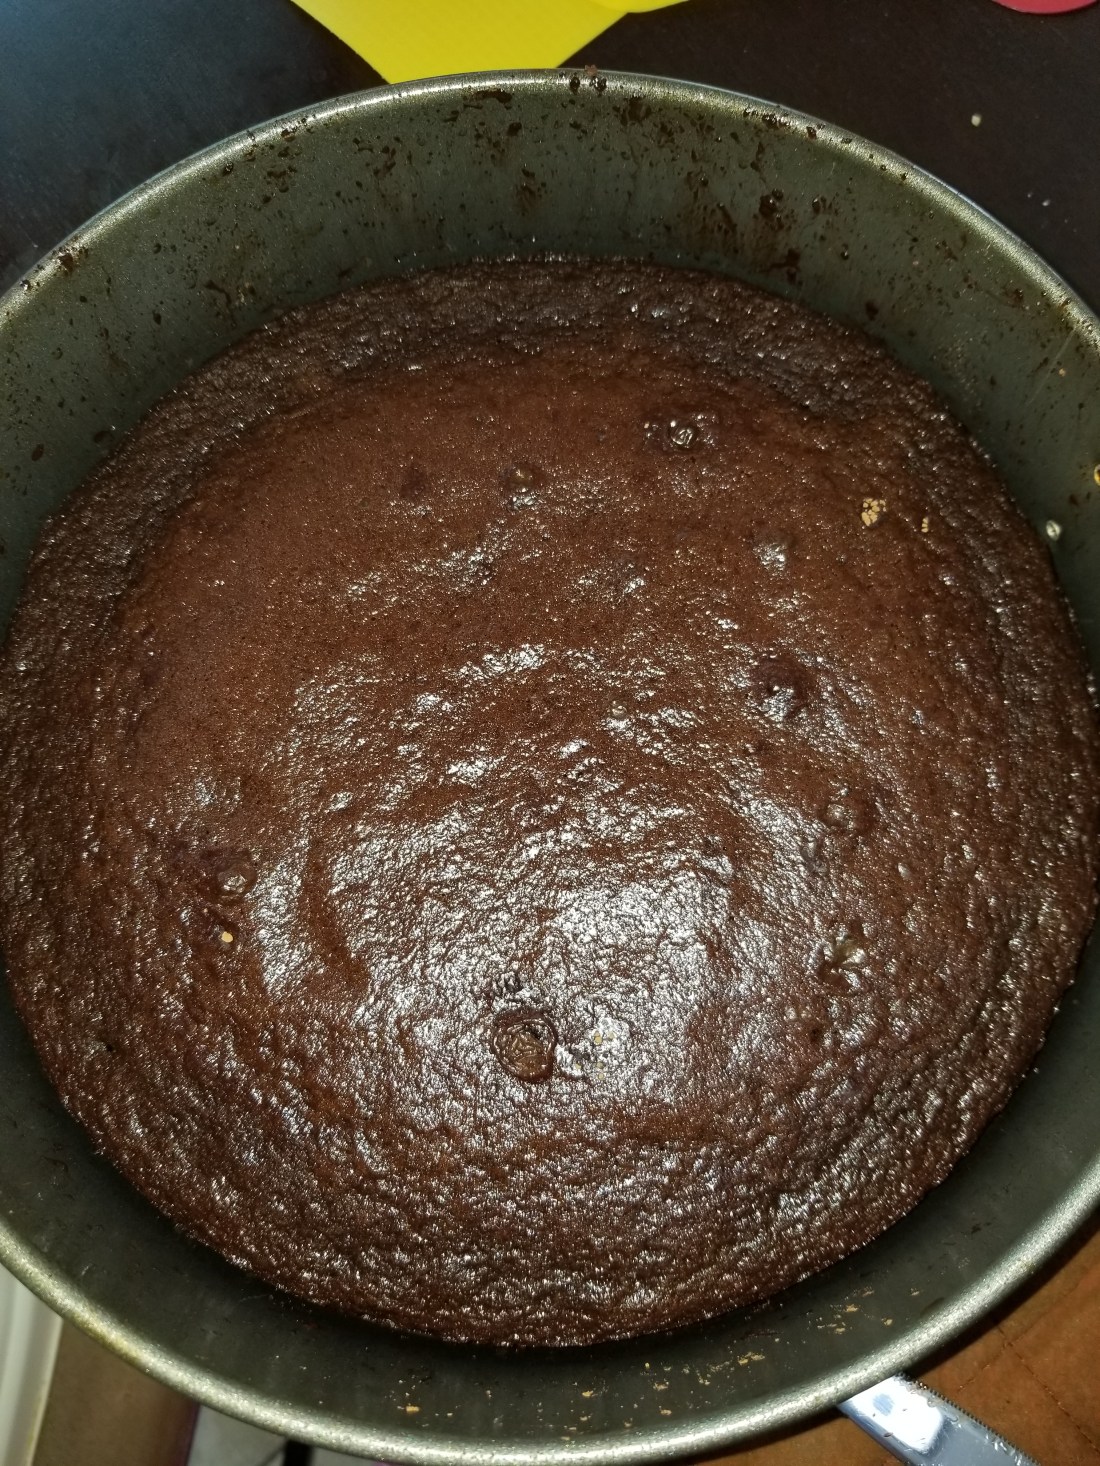
as that way there are more chances of the cake breaking right through the center. Oh and before opening always use a butter knife to release the edges of the cake from the cake tin in case it has decided to stick even though we have greased the tins well before baking.

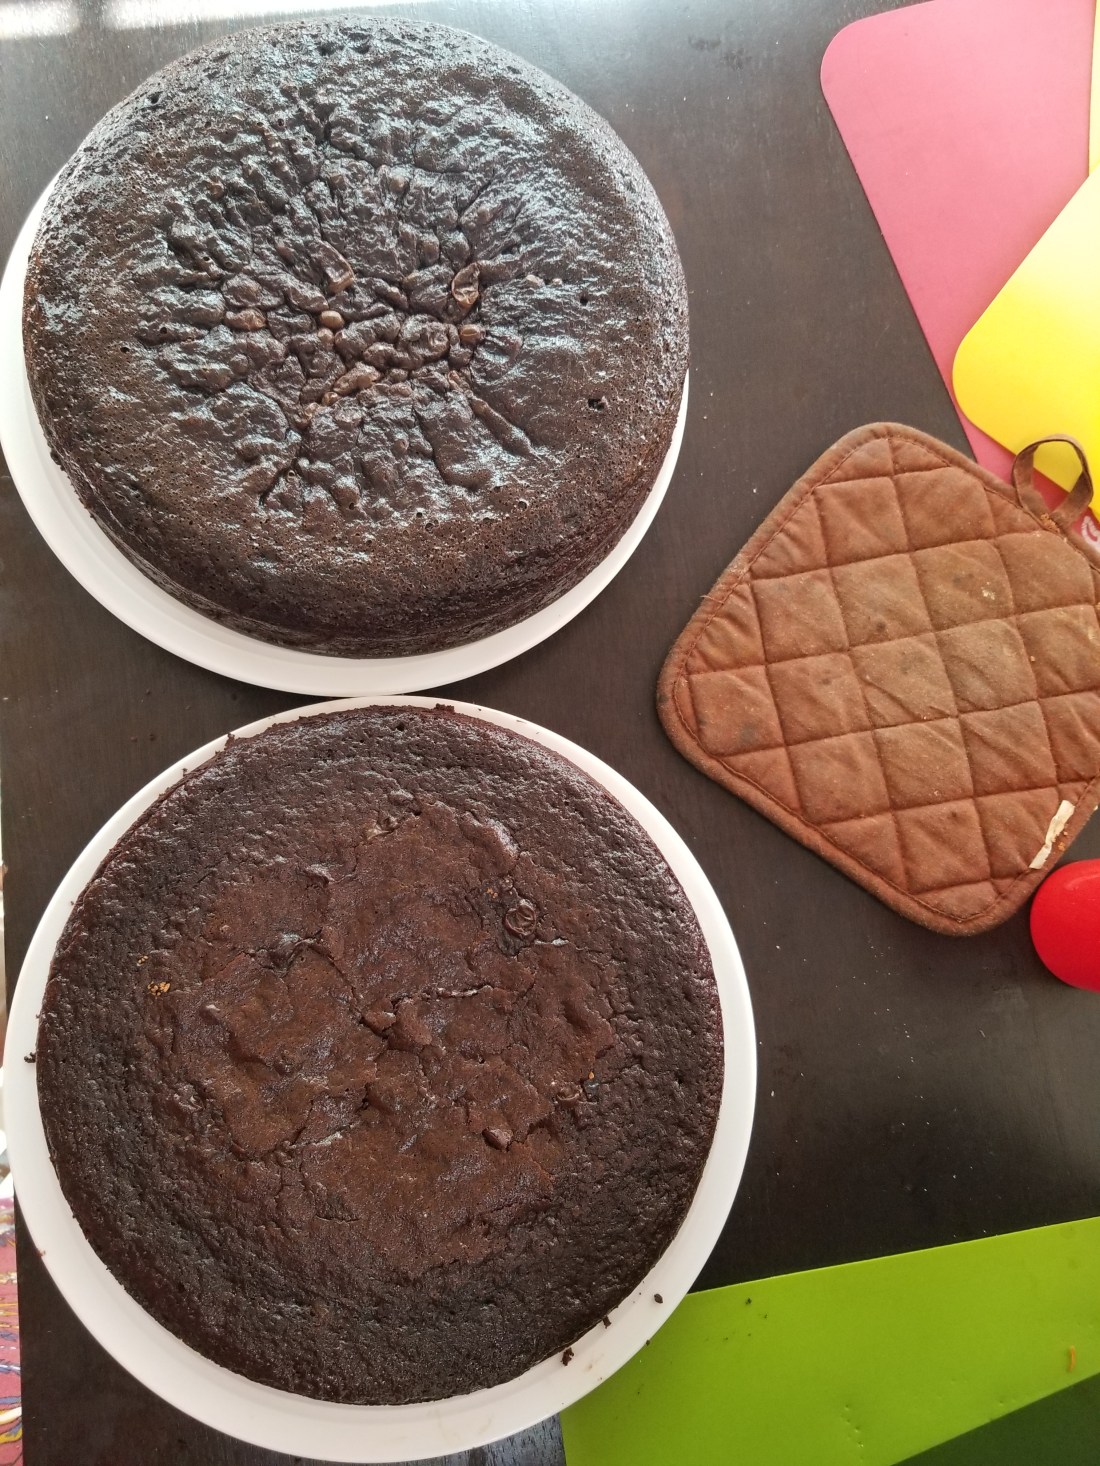
Once we have both cake side by side cooling we can sit down and take a little break with a nice cup of herbal tea….aaaaahhhhh. hey! it’s hard work!

20190513_161745

We get on with the frosting and for the frosting we shall need the following ingredients;

1 (8oz) cream cheese

1/4 cup icing sugar

1/4 cup heavy whipping cream

1 cup semi sweet chocolate chips ( I tweaked this a bit and took 3/4cup of milk chocolate and 1/4 cup of semisweet -keeping in mind I was making for a four year old!:-) )

For this step we could use a double boiler on the stove using the traditional method and the “safe” method because I doubt you could ever burn it unless you go overboard and kept cooking it. However it’s 2019 and we’re busy people so I decided to use a pyrex bowl and a microwave….

it gets the same results in say under 5mins? wink emoji

Anyhooo…

So we get our chocolate (mixture of milk and semisweet that I used)

20190513_165912 
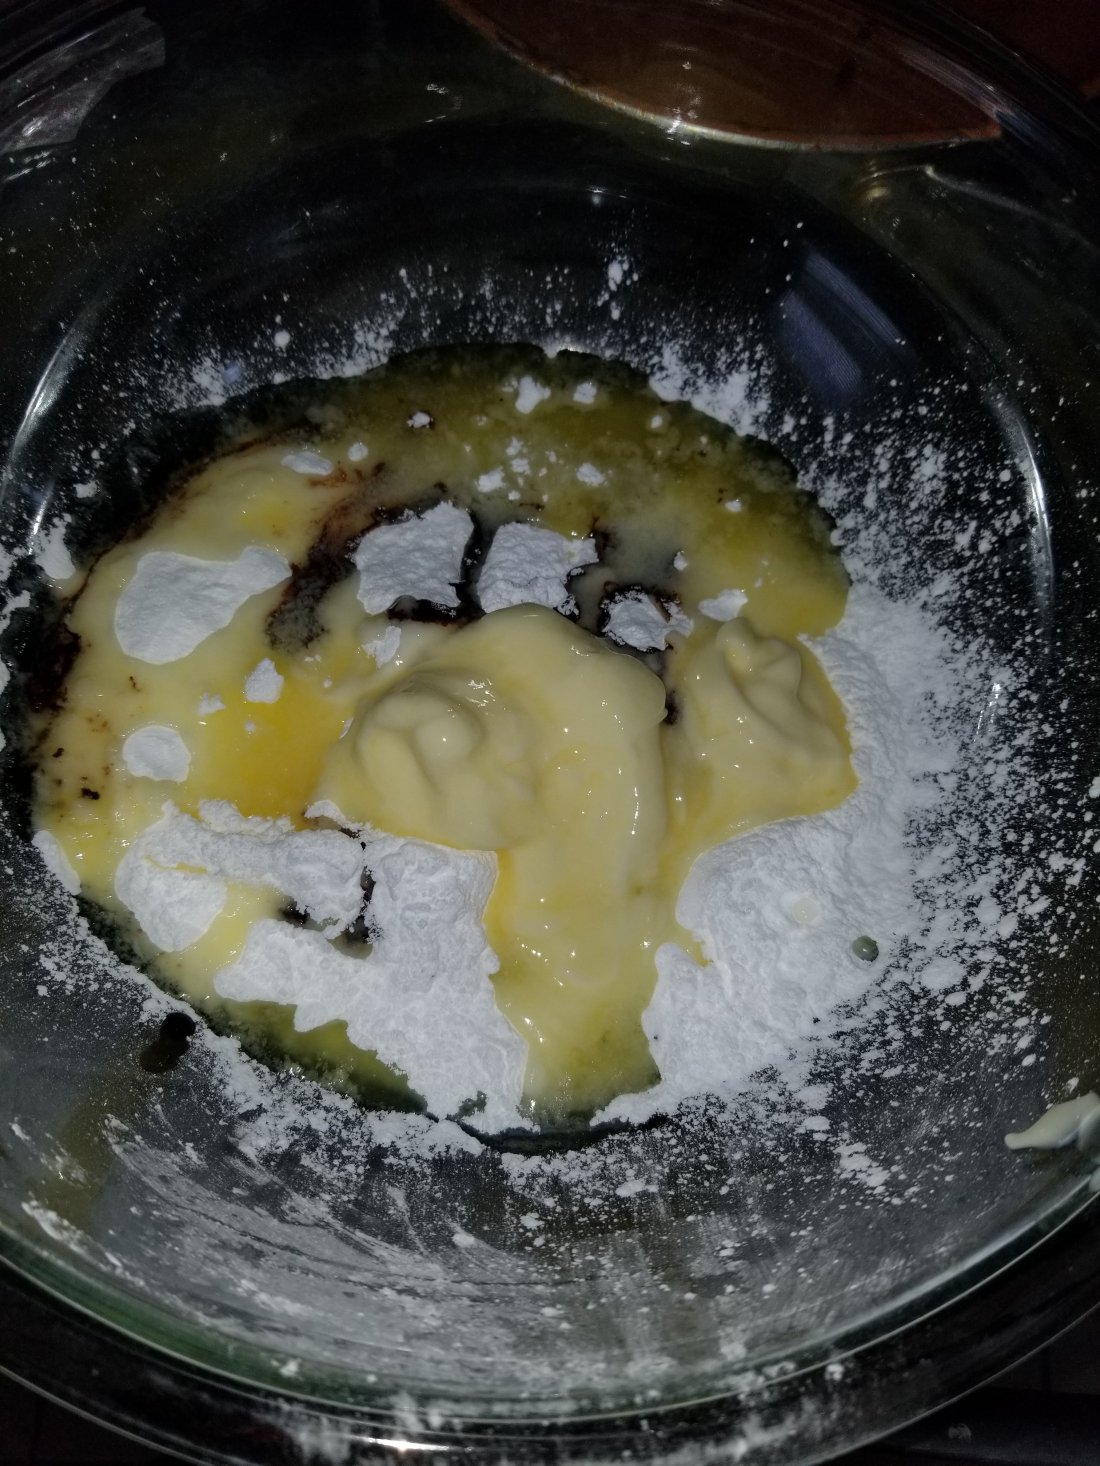
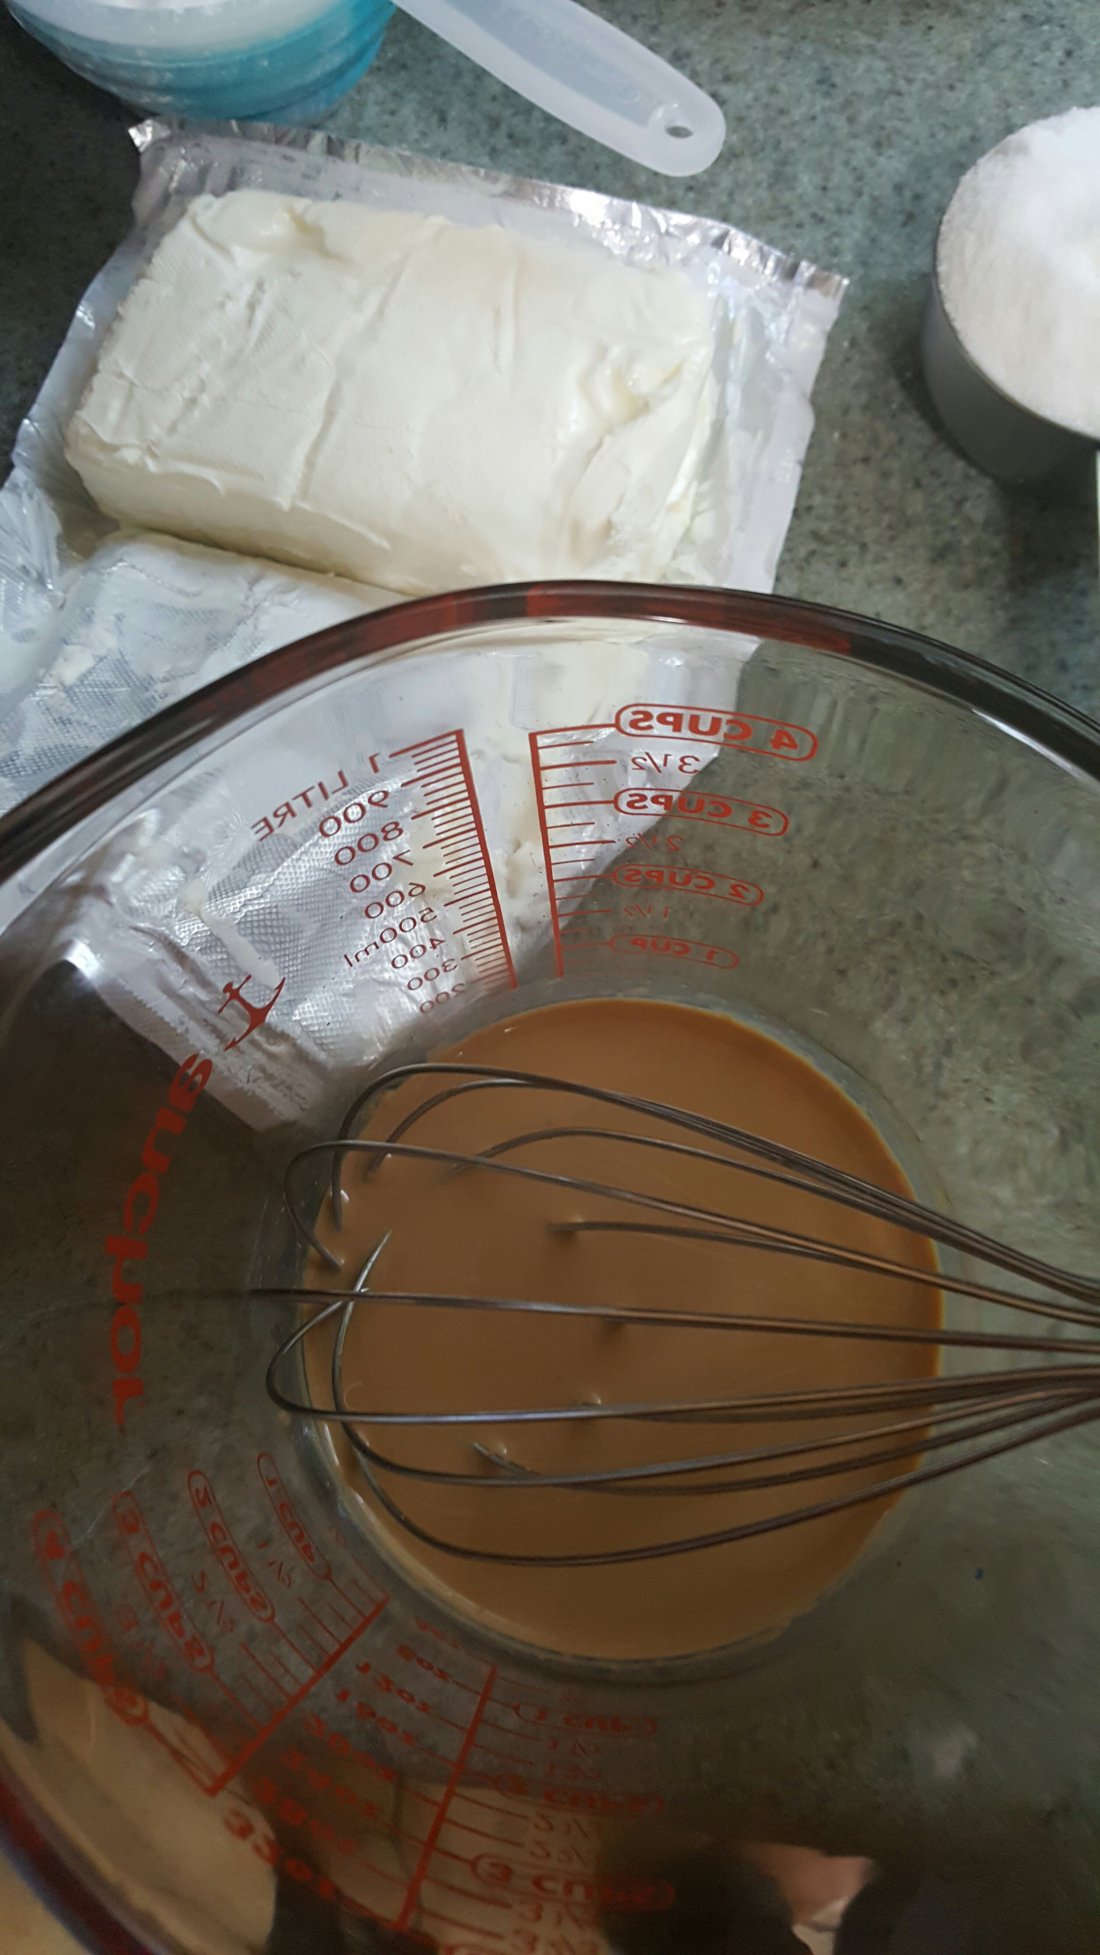
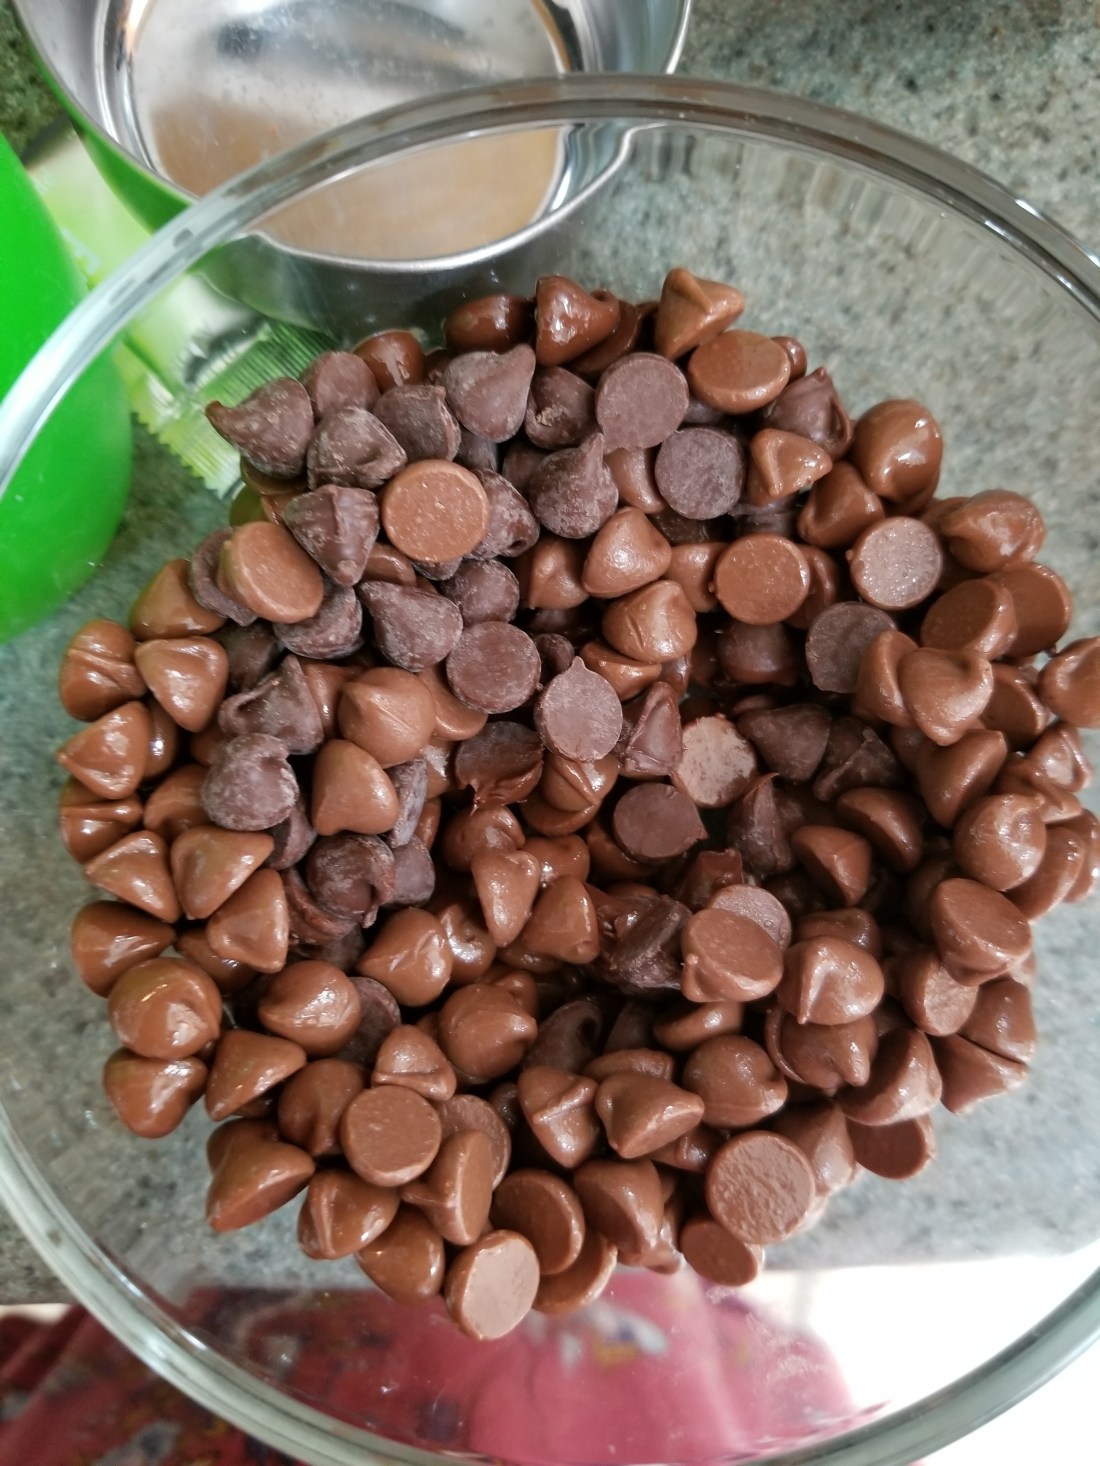
A lil trick I use here is to warm up the pyrex bowl maybe 30 seconds or so before you add the chocolate chips inside this helps the chocolate start to raise their temperature and then set them in to the microwave for 10 seconds and at this time I like to have cream heated which is only 1/4 cup that we will be using and we add to our chocolate mixture just like you see in the picture below;

20190513_165953

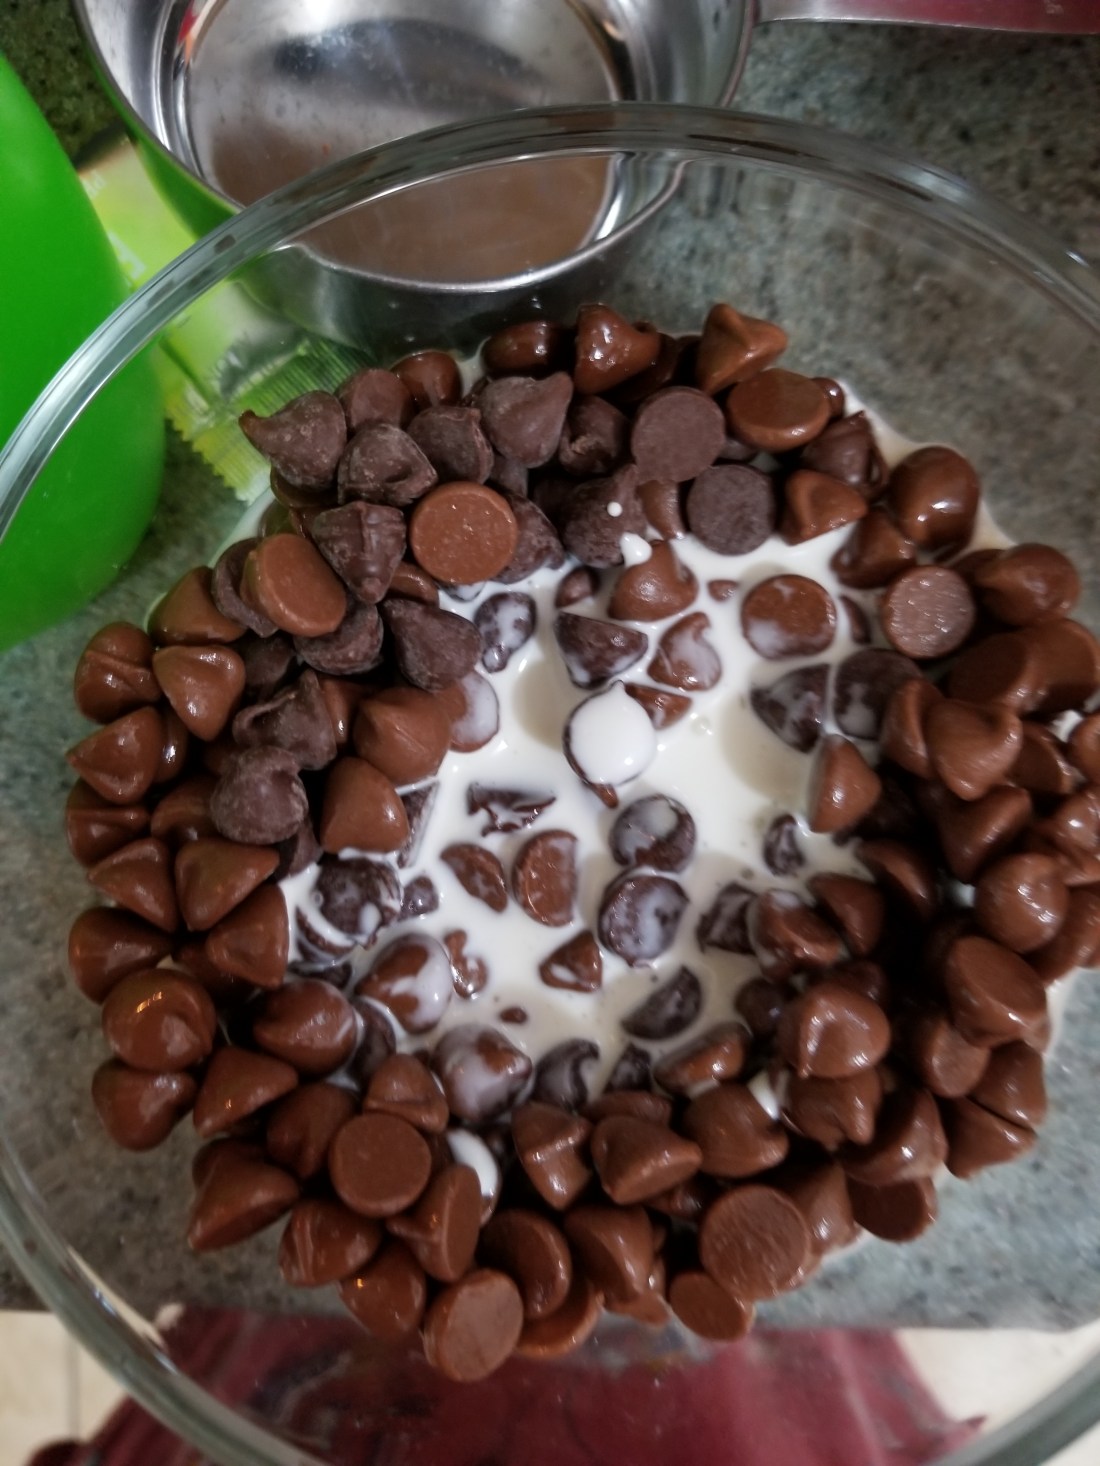
You see the chocolate has already started to melt around the edges, when we choose methods like warming or melting in the microwave we need to have certain “safety measures” in mind because even 5 seconds make a lot of difference from just melted to evenly umm….BURNT! …ooops !

20190513_171617

BUT time is of the essence here…speaking of essence I do realize I have not mentioned essence but that is on purpose because frosting is unique component that you could use flavors to overcome the need for essence such as coffee or chocolate instead of using just cocoa powder. However, I still used vanilla essence and a splash of almond essence I feel it brings out the edge of chocolate without being JUST CHOCOLATE although there are some who would argue with what’s wrong with being “just chocolate” and for them they are welcome not putting anything hence why I consider the use of any essence in this frosting is optional. You can definitely use just a couple of tbsp of coffee or switch between actual chocolate that we are using here to unsweetened cocoa powder if you don’t want to go for the richness this chocolate will add to the frosting. Pleaase feel free to do so..

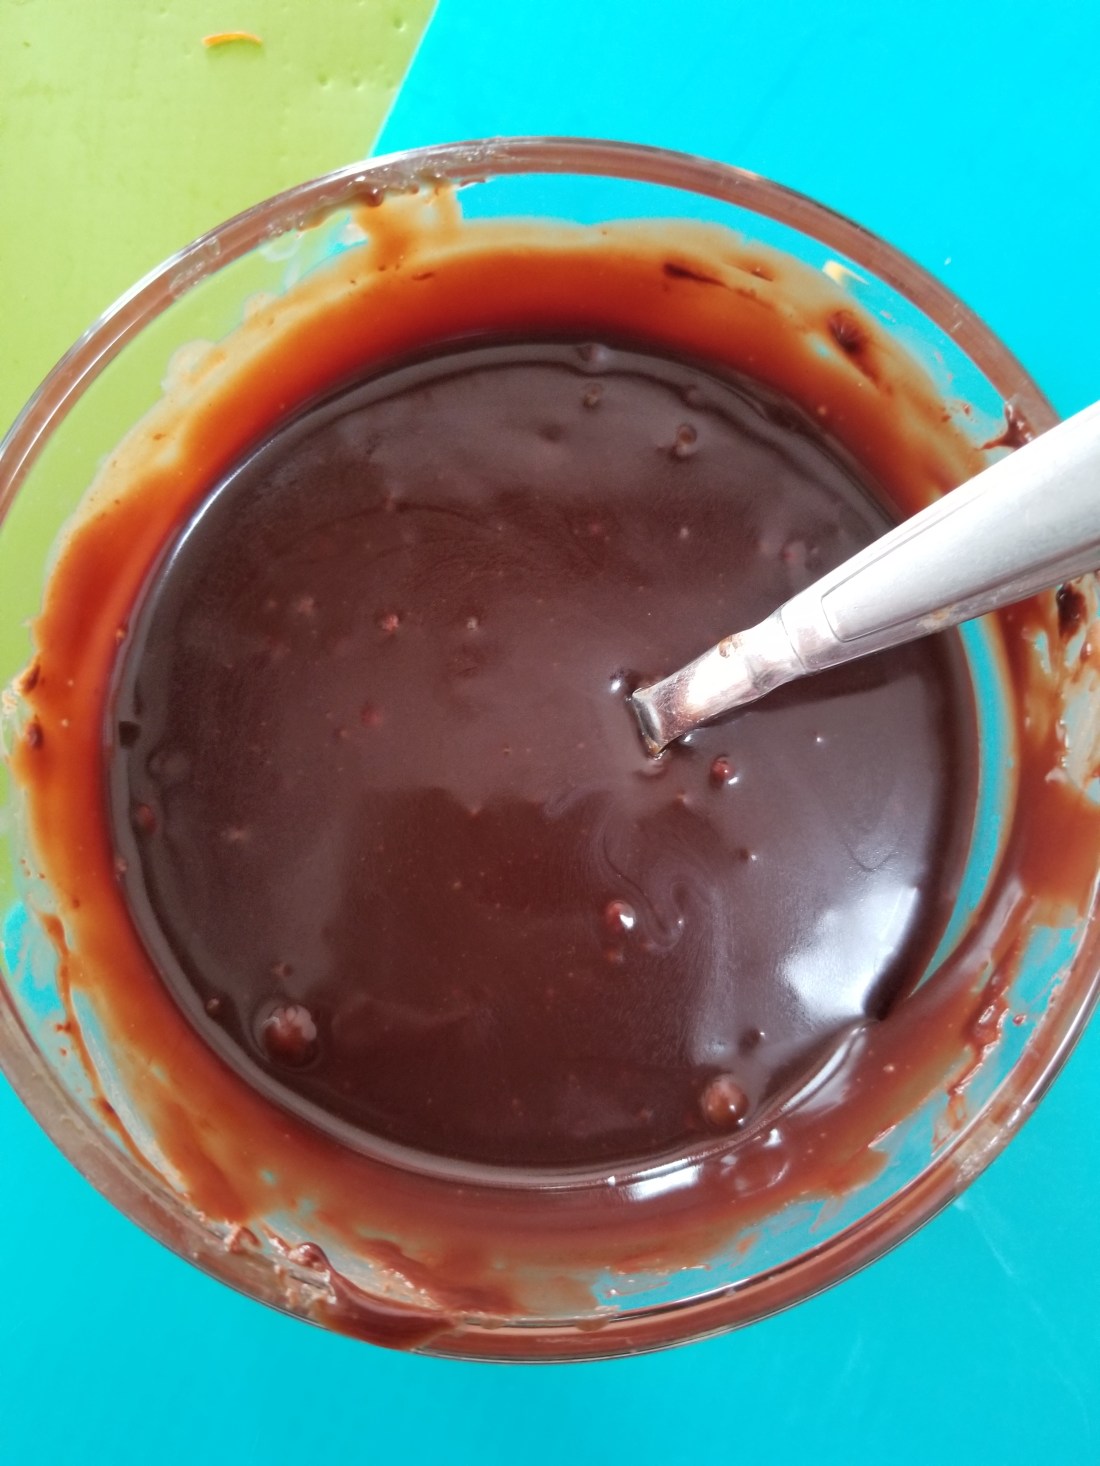
When we microwave the chocolate try to do it at interval of 10seconds I know I know it’s tedious but it gives great results! Also don’t try to make sure each morsel is melted sometimes even if you have a few that havent lost their shape take a spatula and swirl the melted chocolate around and you shall see they will melt right before your very eyes and that without the overkill!

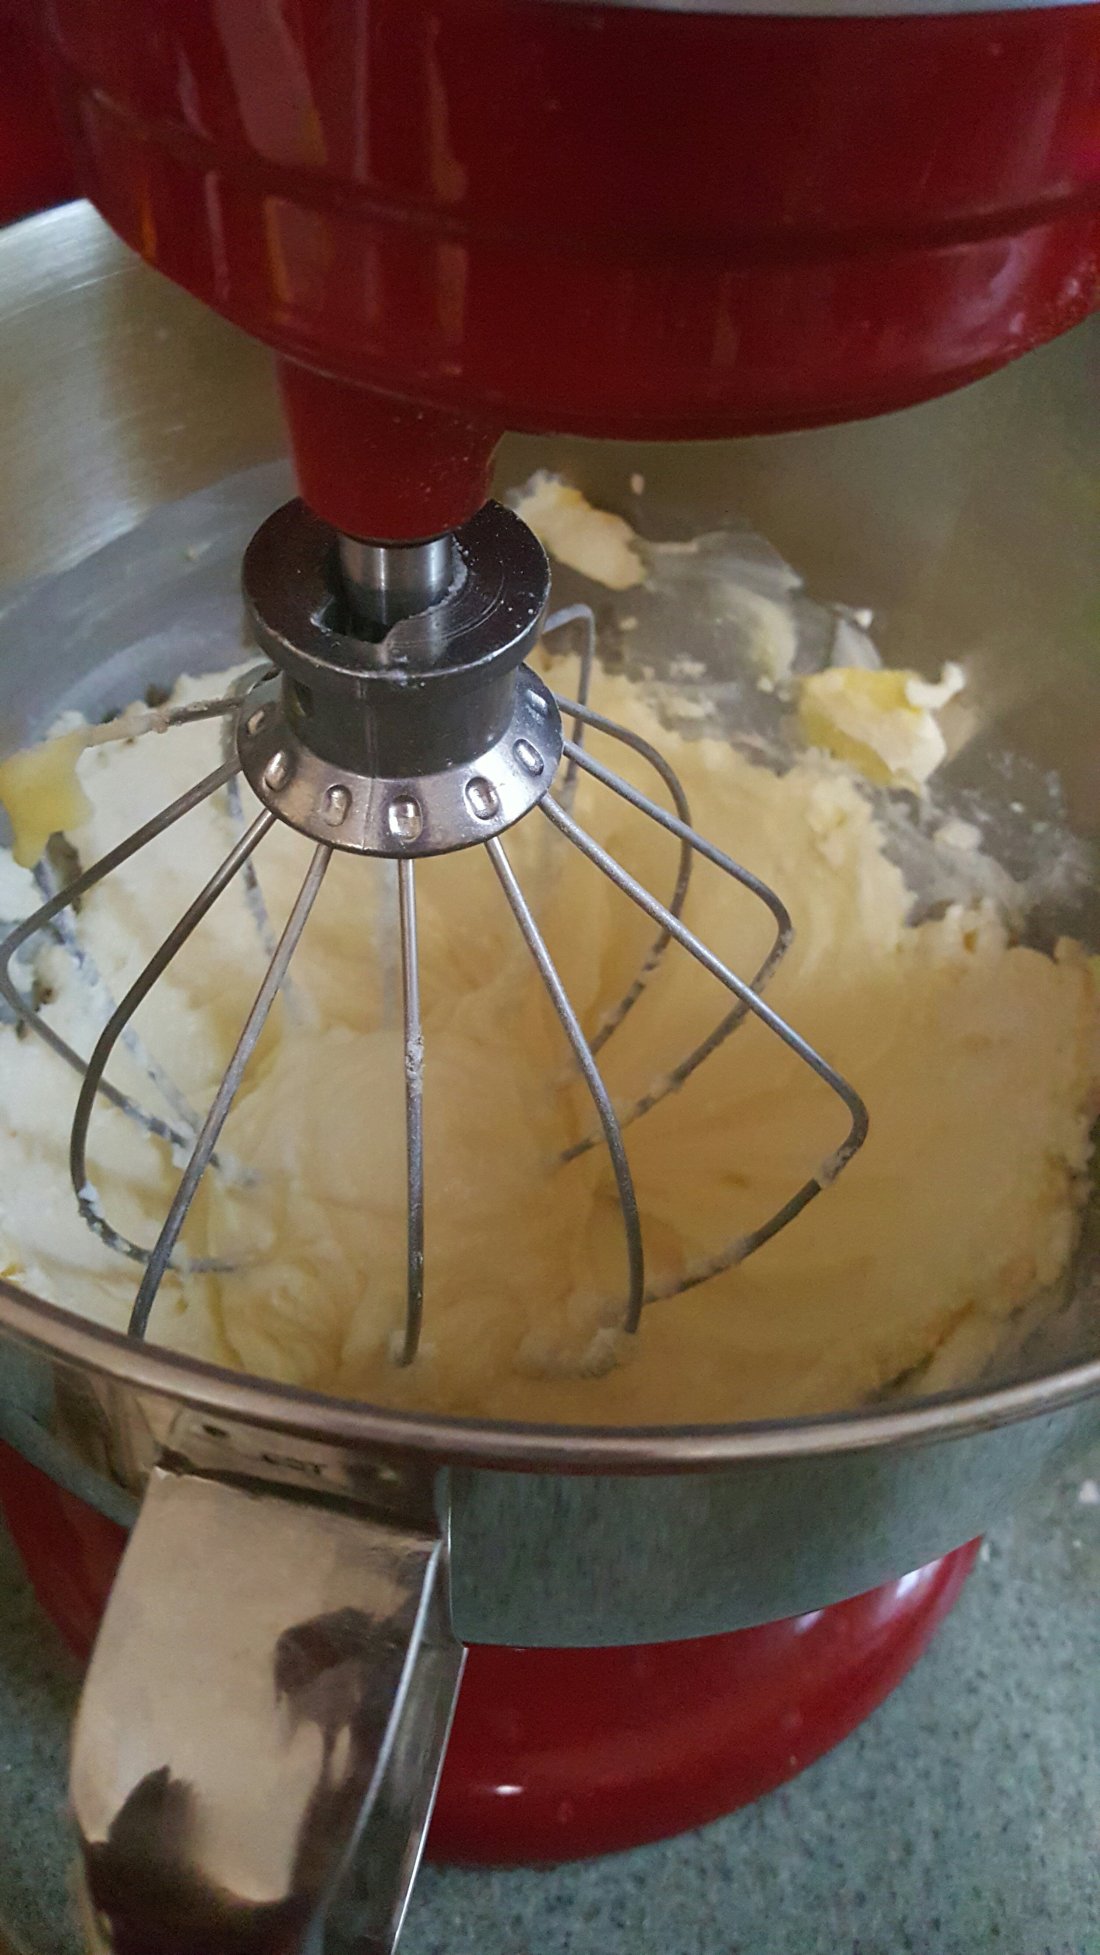
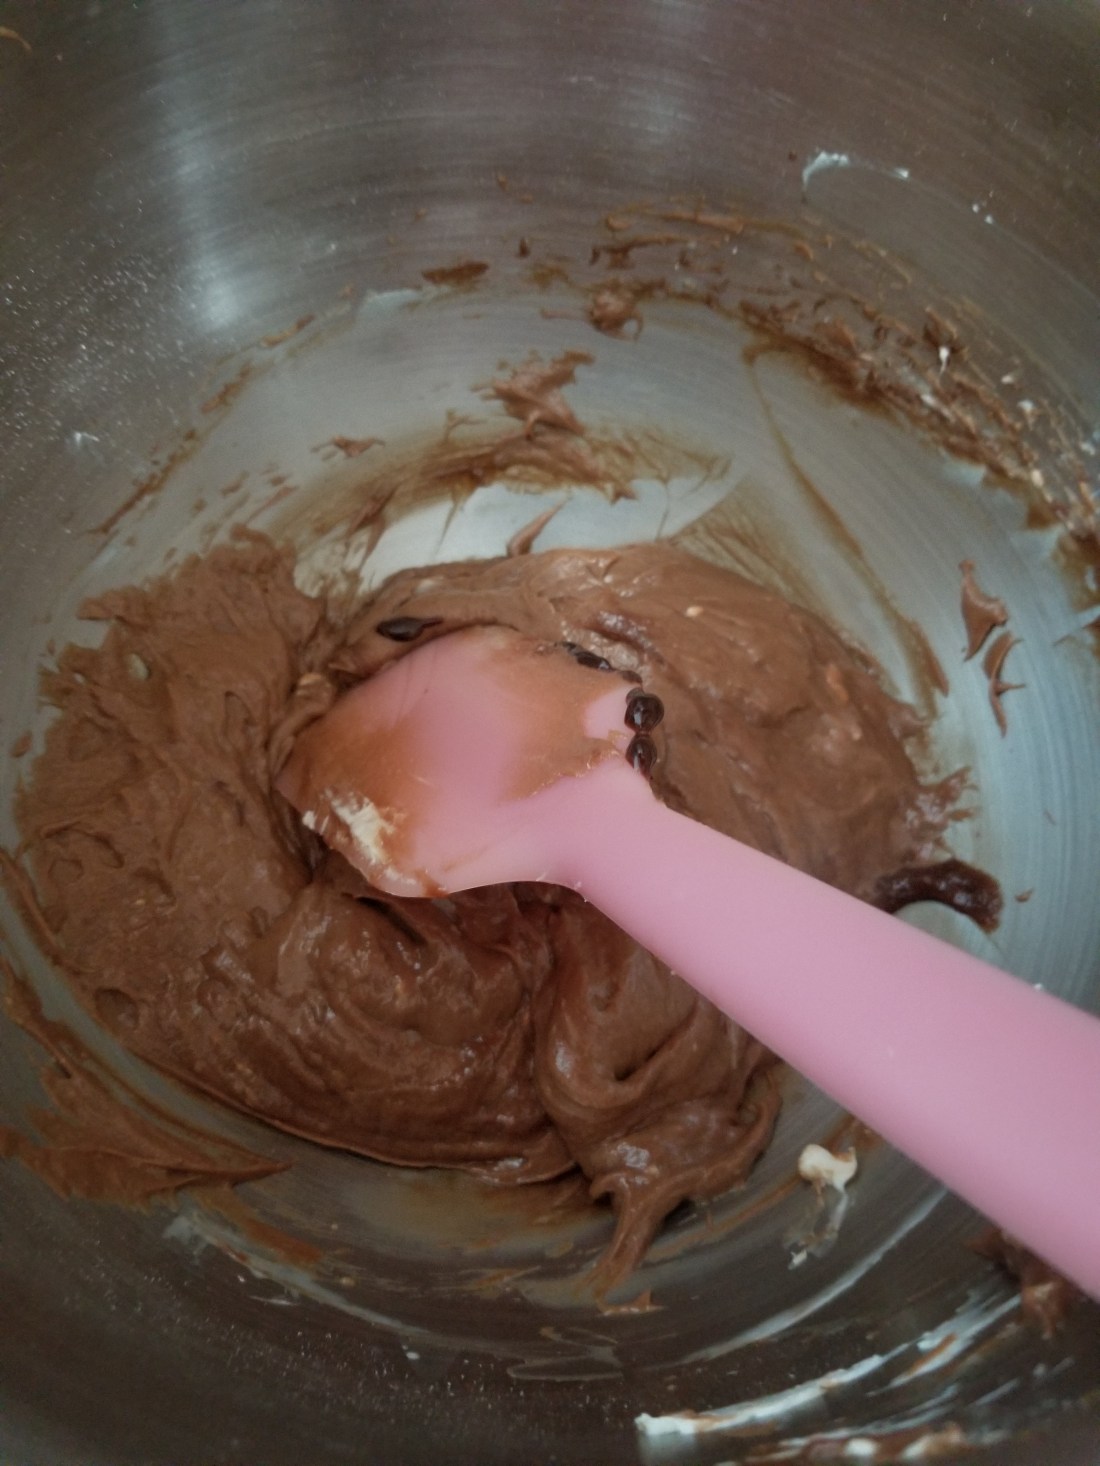
Now! umm since I mentioned earlier it is a CREAM CHEESE frosting it would make sense if at some point cream cheese was part of the making and that is where we are at. I used my hand mixer and stainless steel bowl again for this recipe but you can use either method you prefer. Please please AND PLEASSEEEE make sure the cream cheese is softened to room temperature at this point. This step is absolutely CRITICAL. That is because we don’t want to have clumps in our frosting! I mean imagine here you got a great chocolate cake and then you sample the frosting and it’s all clumpy lumpy and then you’re getting bits of tarty cream cheese that never really got mixed in because you had used cold cream cheese that came right out of the fridge I know we tend to forget but always remember unless stated OTHERWISE like using COLD Butter when making pastry dough or something always make sure ingredients you will be using are all at room temperature even eggs. Ever wonder why when you have mixed well the batter the egg still have a whitish look in between that bite of cake? or the cake that just slumps in the middle after it’s been baking all that well? try to consider if your eggs were room temperature at the time or did you get them out of the fridge as an after thought when you realized you needed an egg for the recipe?

So back to my stainless steel bowl I “cream” the cream cheese and add in the icing sugar also known as confectioner’s sugar.

20190513_172459

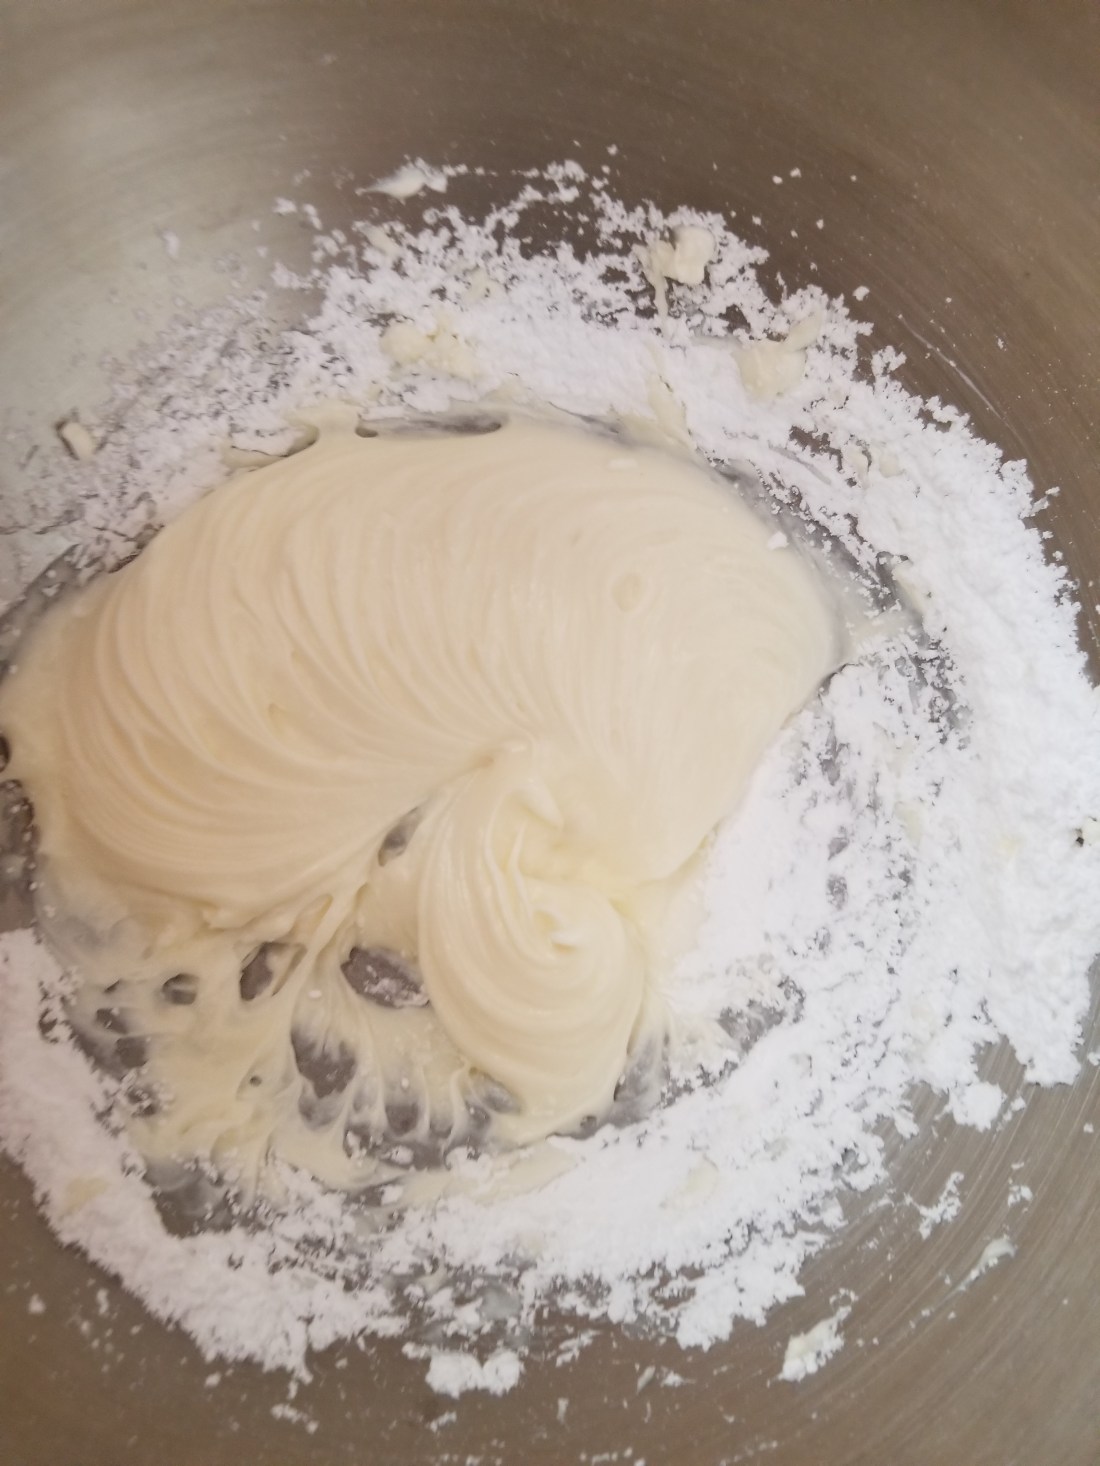
Try to add in the icing sugar at intervals that will help you with the icing sugar that is always trying to fly across when you mix it with anything and also to save the ingredients use a spatula to scrape off the edges of the bowl. No one likes wastage.

20190513_172633

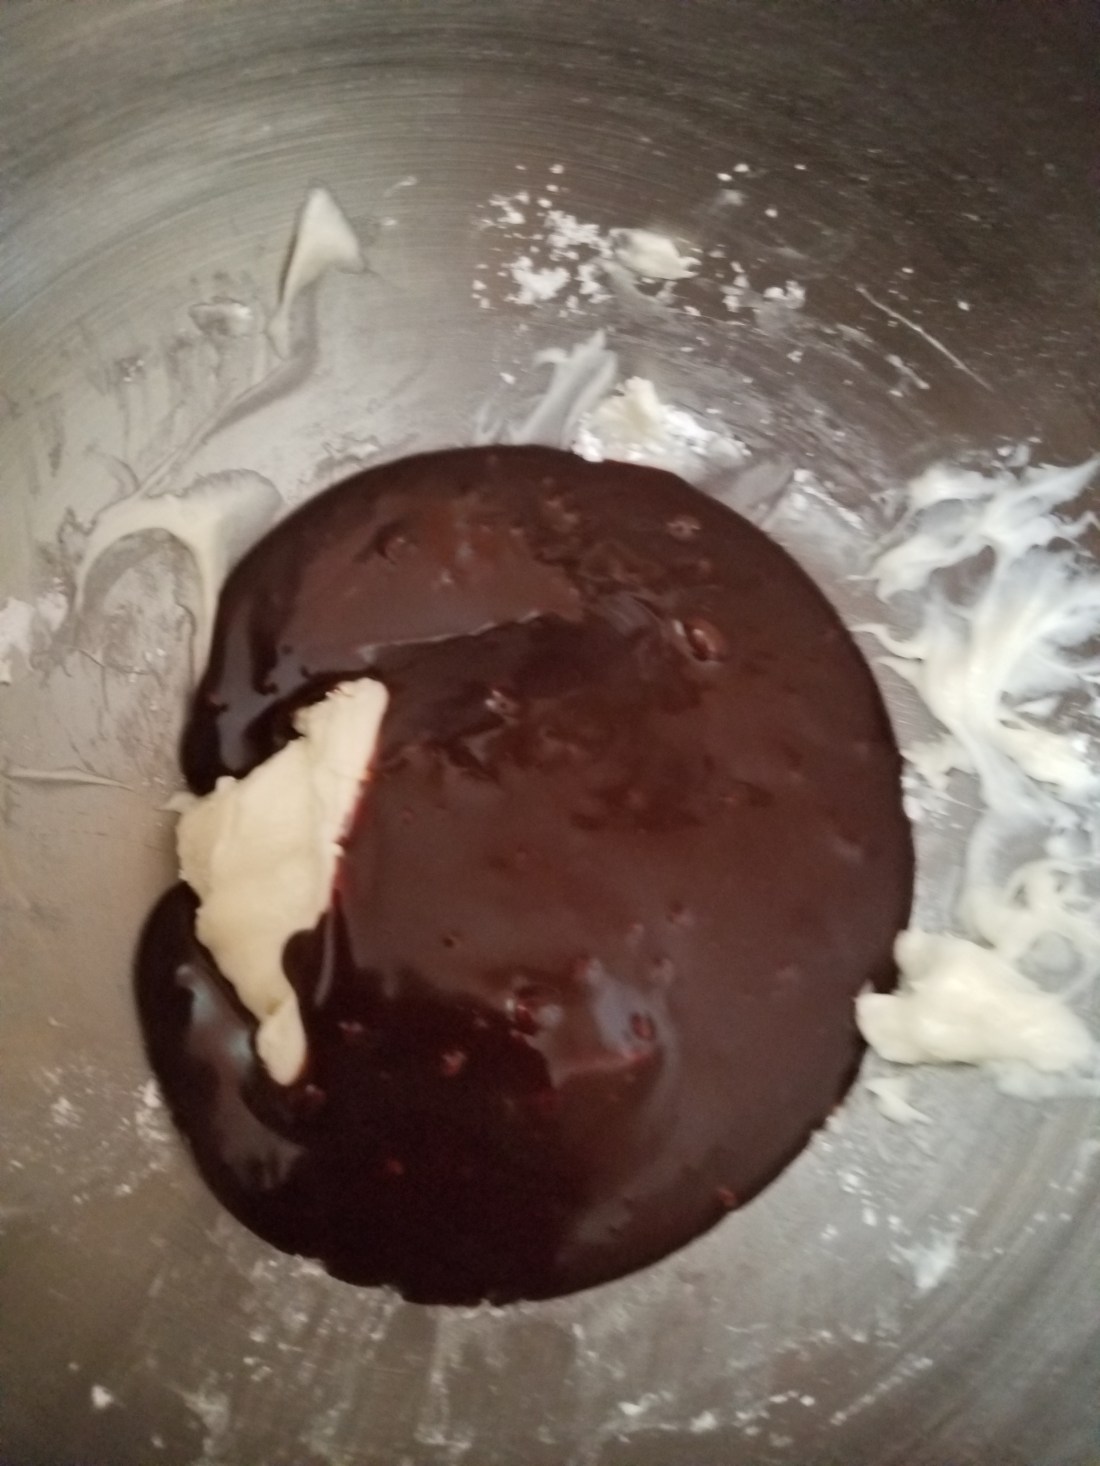
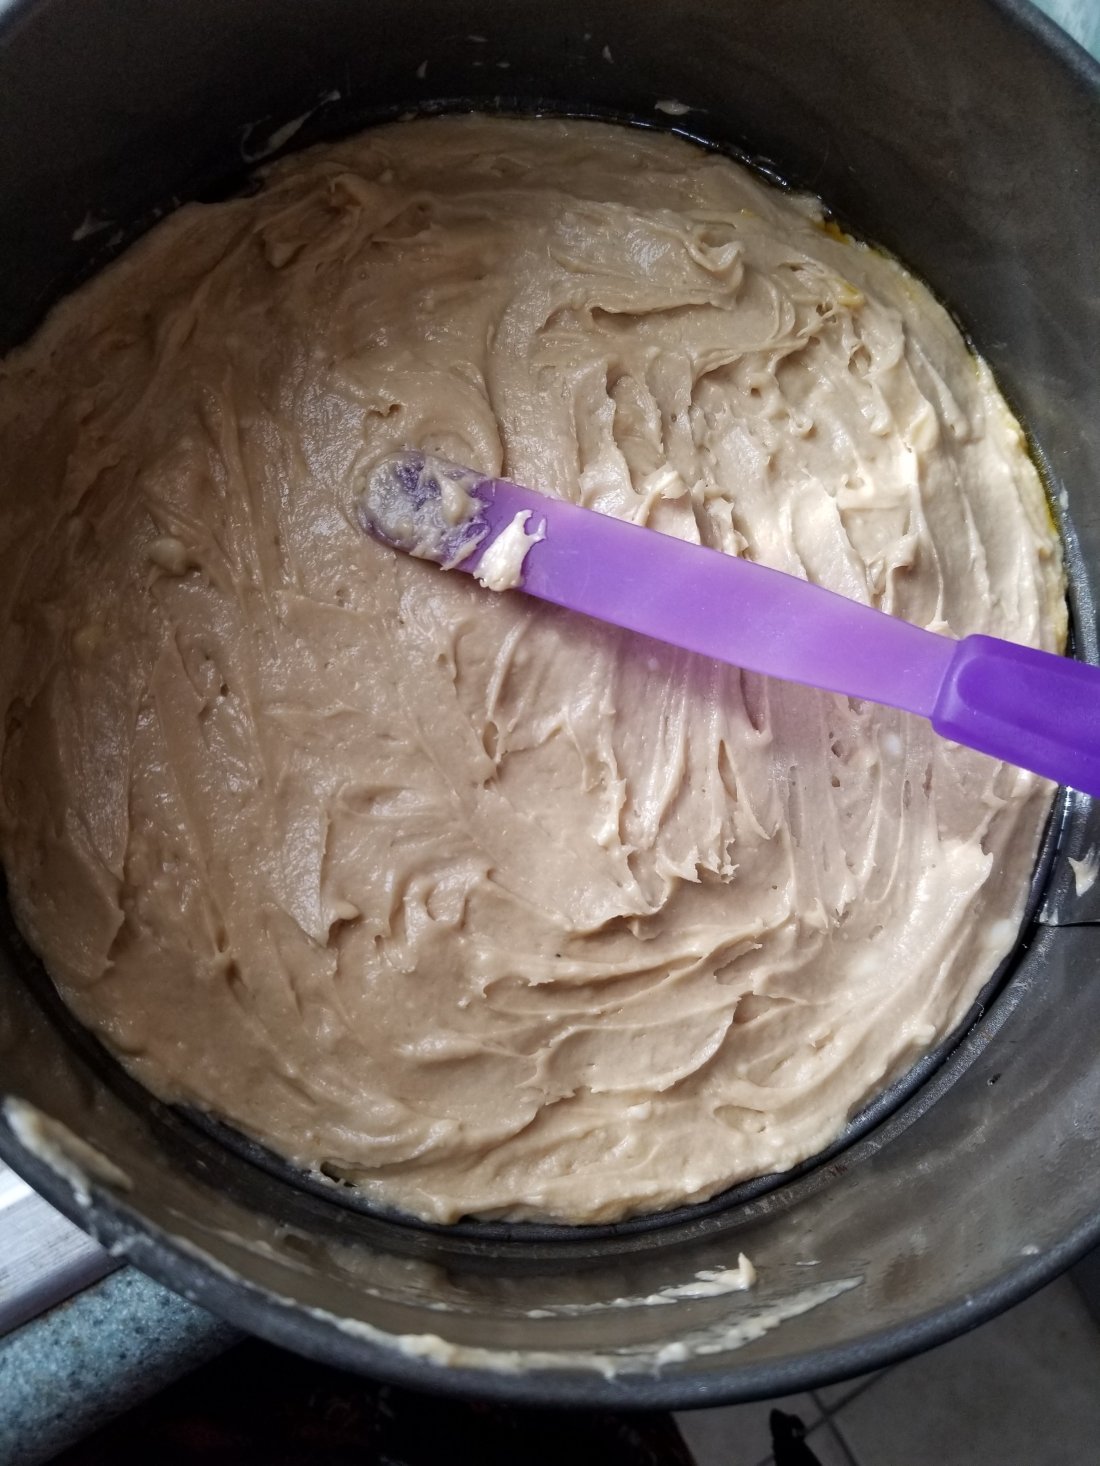
After mixing the icing sugar in well and it starts to take on a glossy shine. Add in the melted chocolate mixture just like I have shown you in the above picture. There may be some air bubbles which you can always tap them out or when you mix them they should go away.

Just like before make sure you scrape off the edges so all the frosting comes together..

20190513_173214

At this point if theres any essences you’d like to add please do if not we move on to the FUN part. I know “frosting” can be considered messy but I assure you if you practice enough it can be fun! Haven’t you seen your kids are having the most fun when they’re creating a huge mess?

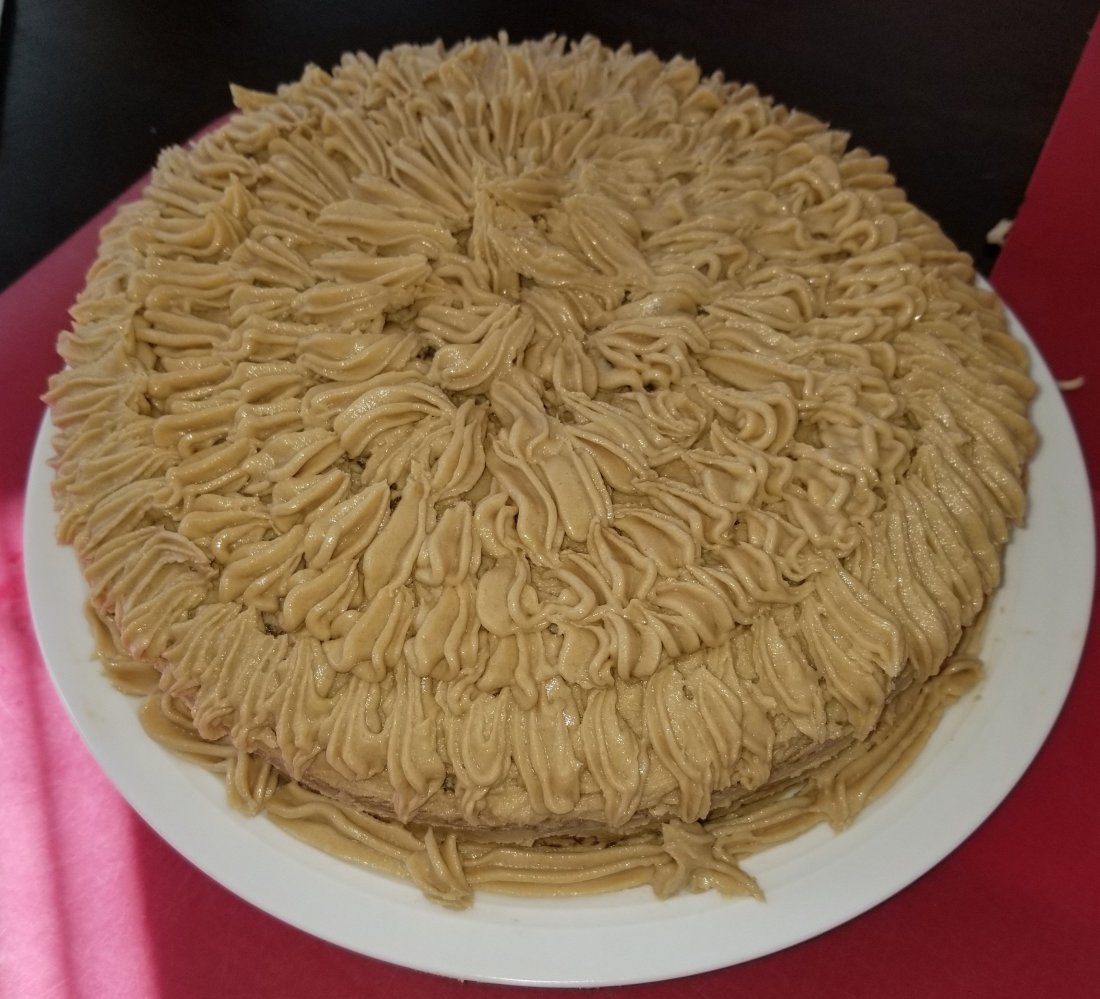
So remember the two cakes that have been cooling we put one on a cake pedestal or like me in a big plate that we can use to move the plate around without touching the edges of the cake.

20190513_173918

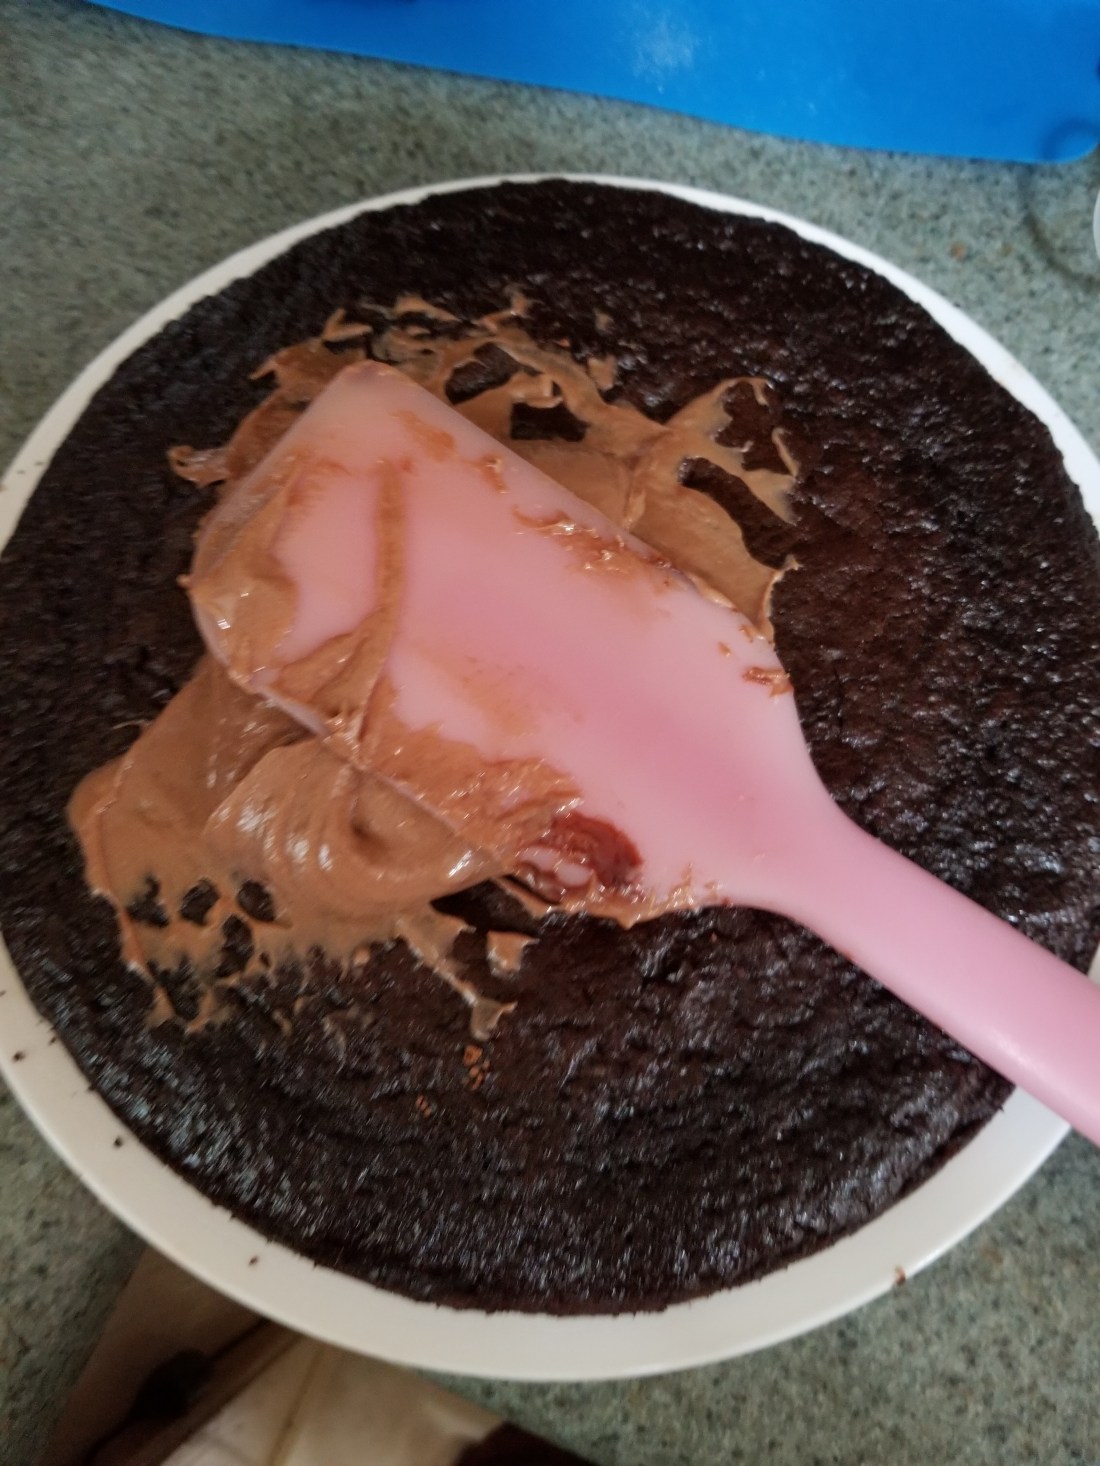
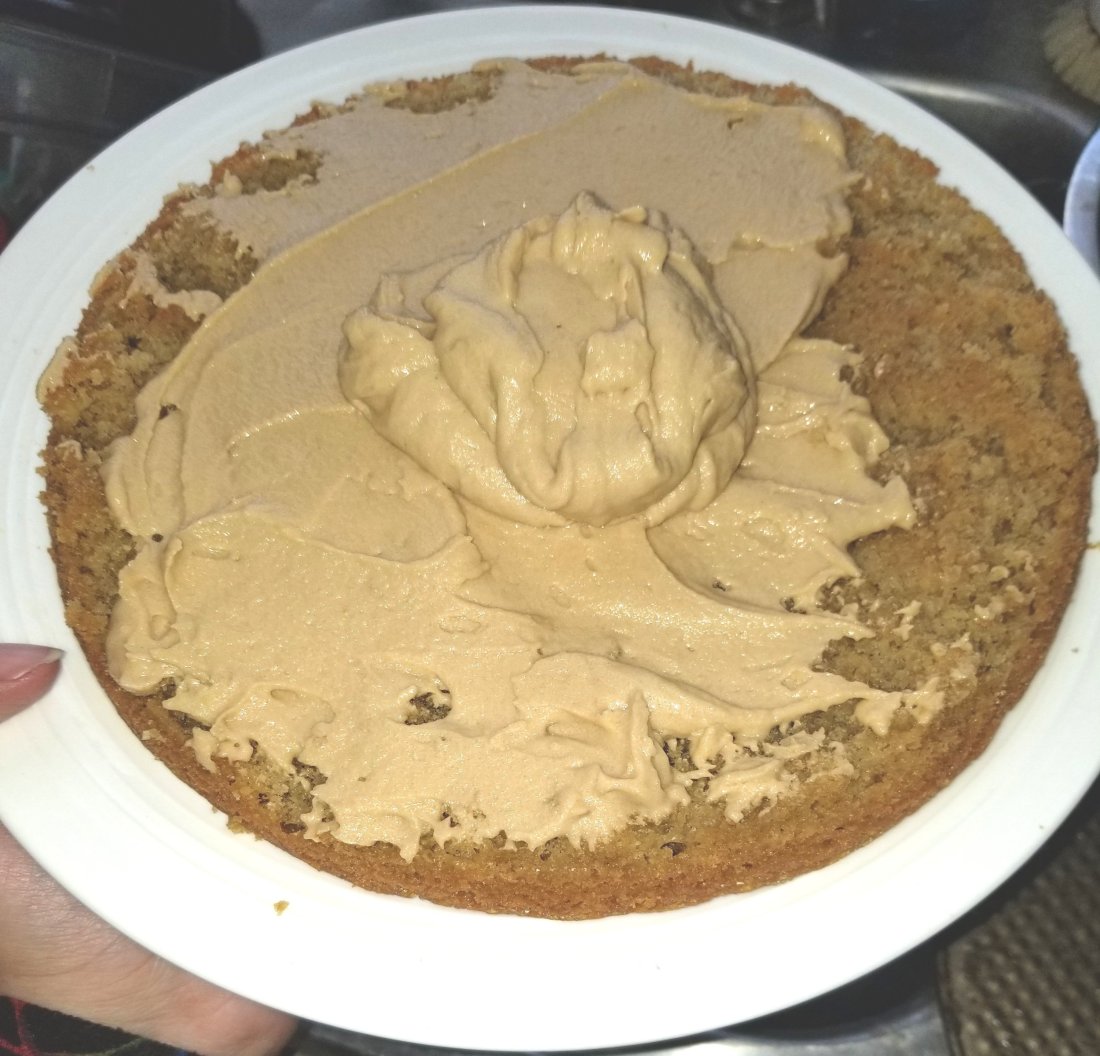
Then using a spatula add a generous amount of frosting on top of the cake and use the spatula to spread it across. Try to have a thick layer of frosting as it will be a sandwich between two cakes and it would need to be noticeable.

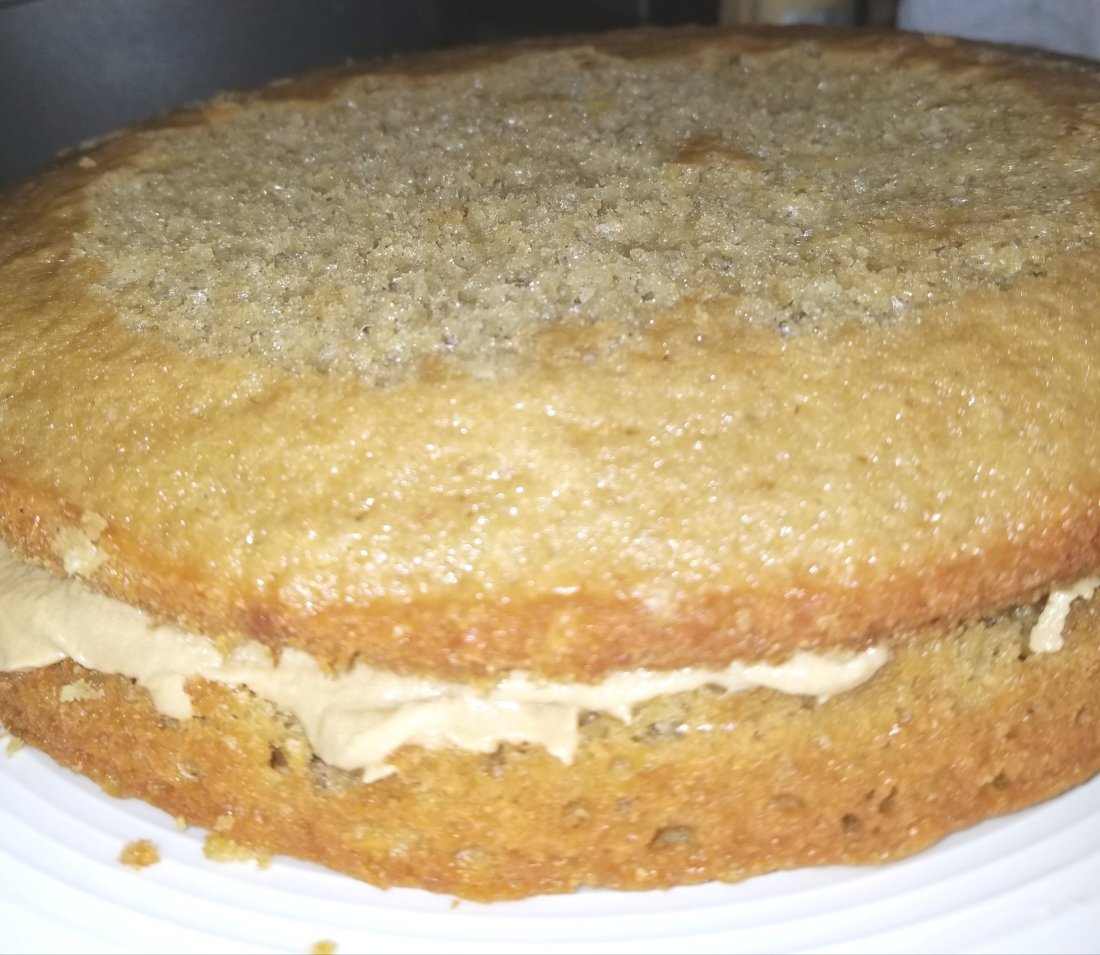
It doesn’t matter if it looks messy at this point the important part is to have a generous amount on top with some at the bottom hiding the edges. Then we carefully add on the second cake making sure it fits along snug with the bottom cake like so…

20190513_174543

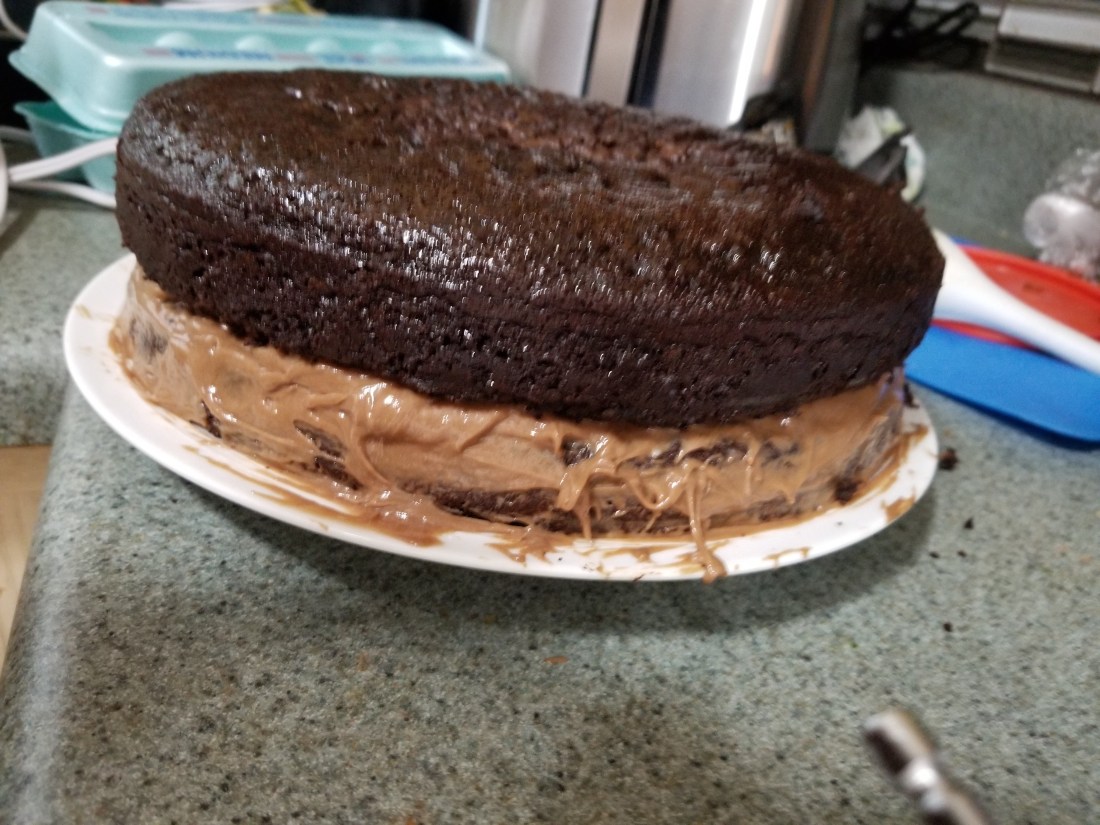
Then the rest of the frosting goes on top. Now the rest of the frosting goes on top and alongside.

20190513_174437

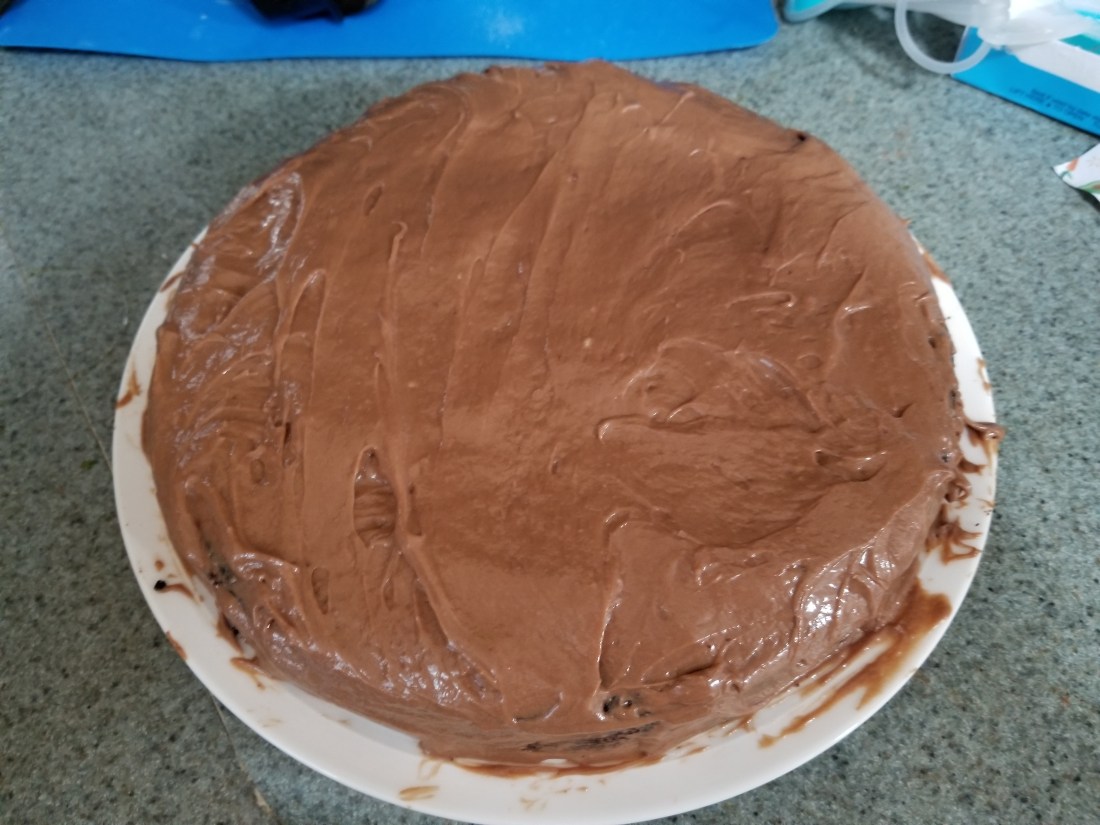
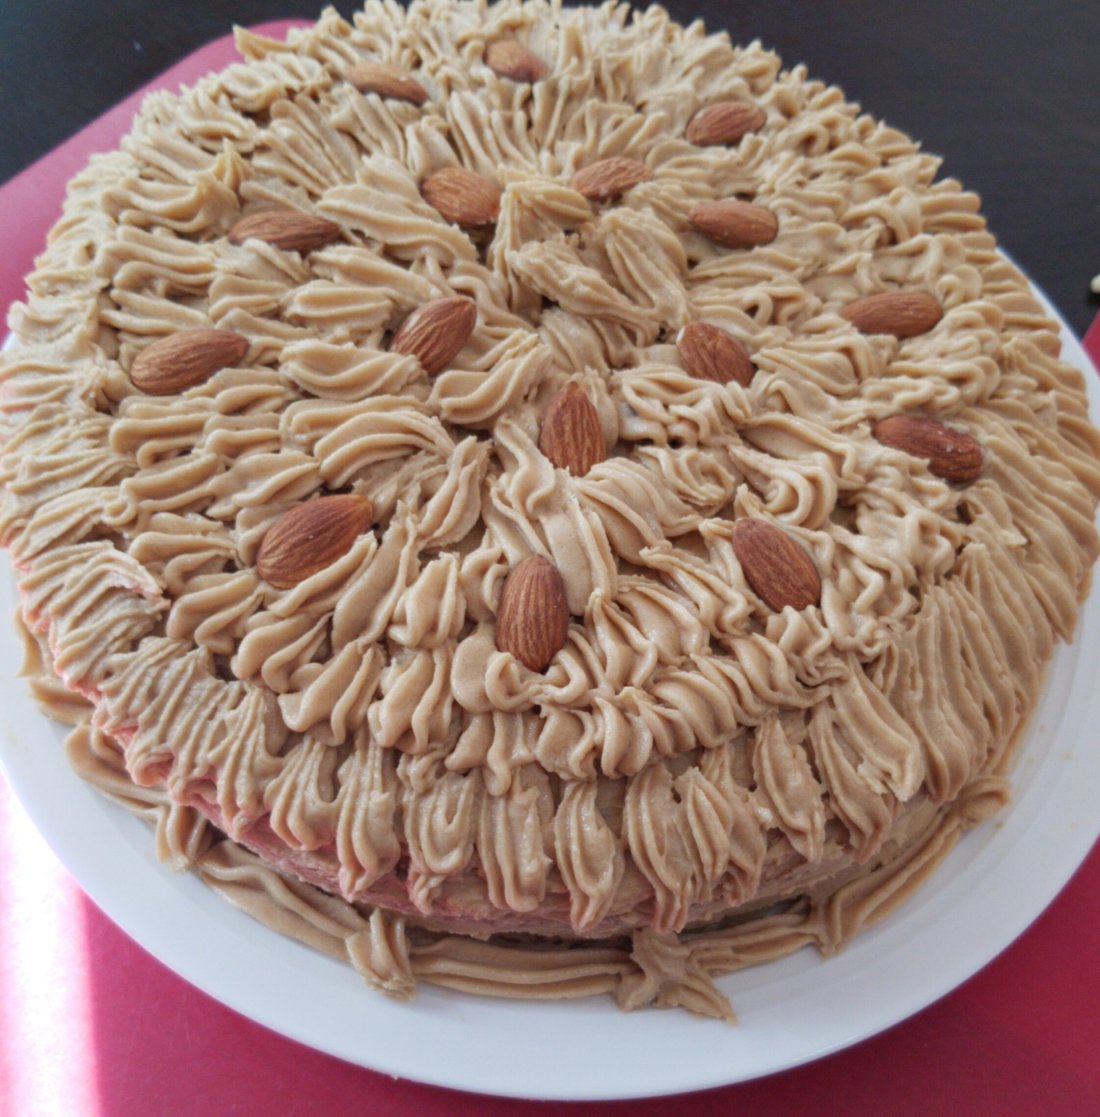
Now for decor I will be using kitkat chocolate mini sized bars as I thought my 4 year old would think its built like a fortress and would have fun when he eats the cake.

So i broke the mini sixed bars from the middle and lined them up against the edges of the cake.

20190513_18091620190515_174117

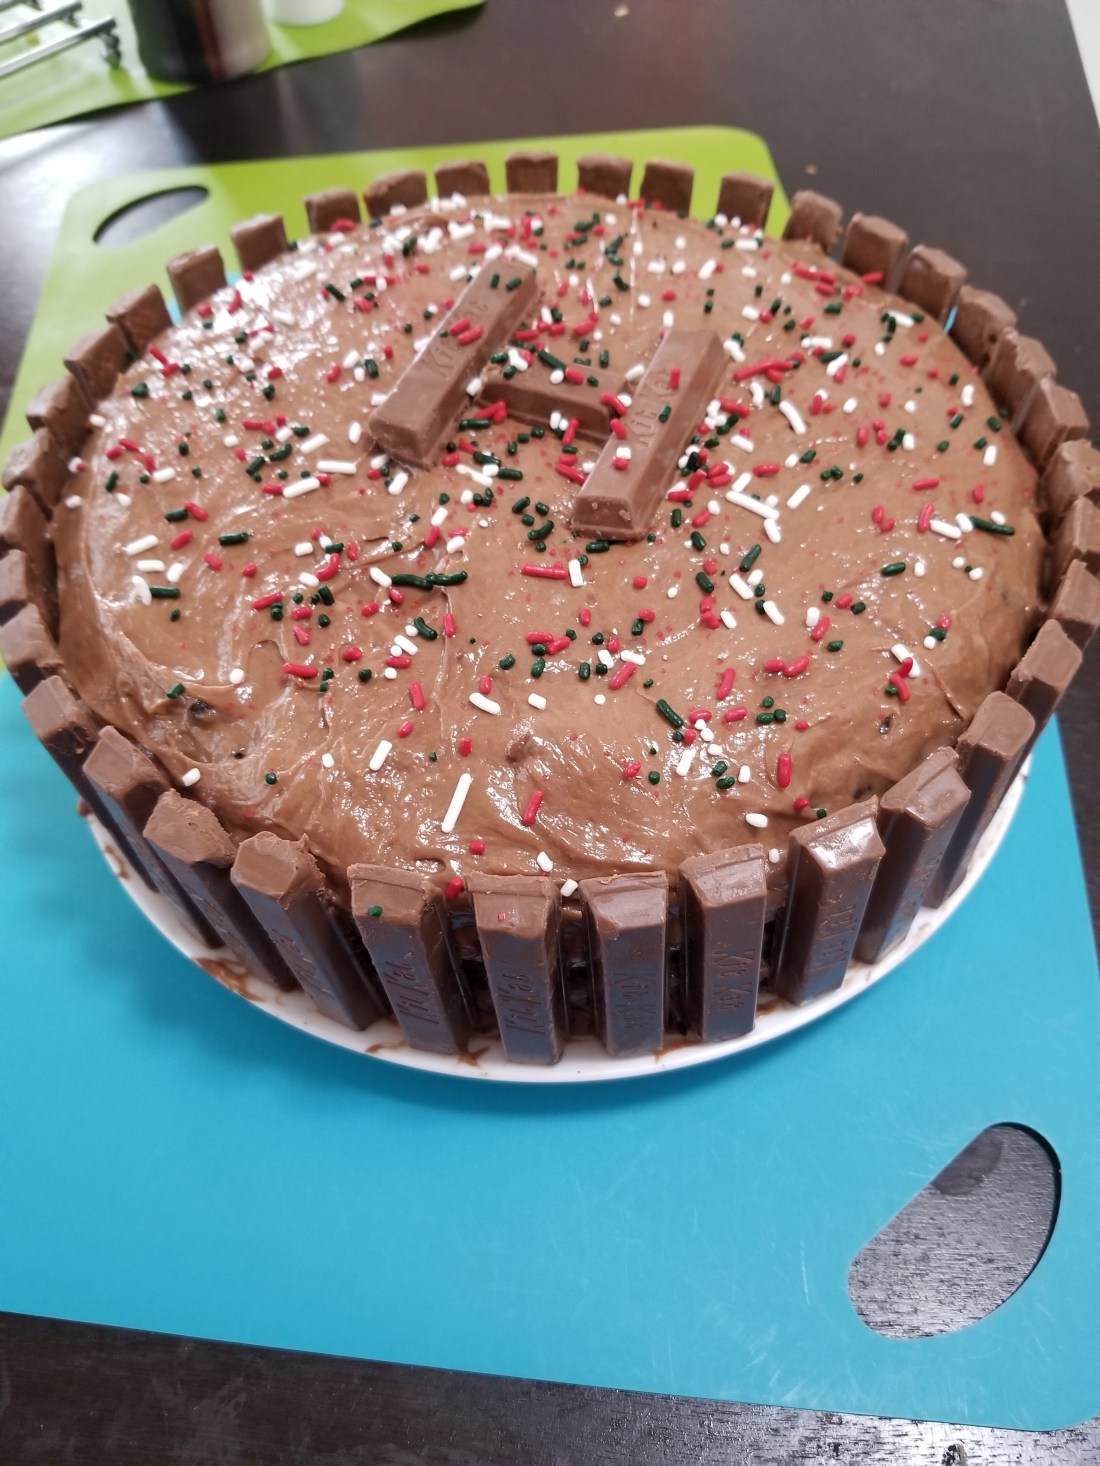
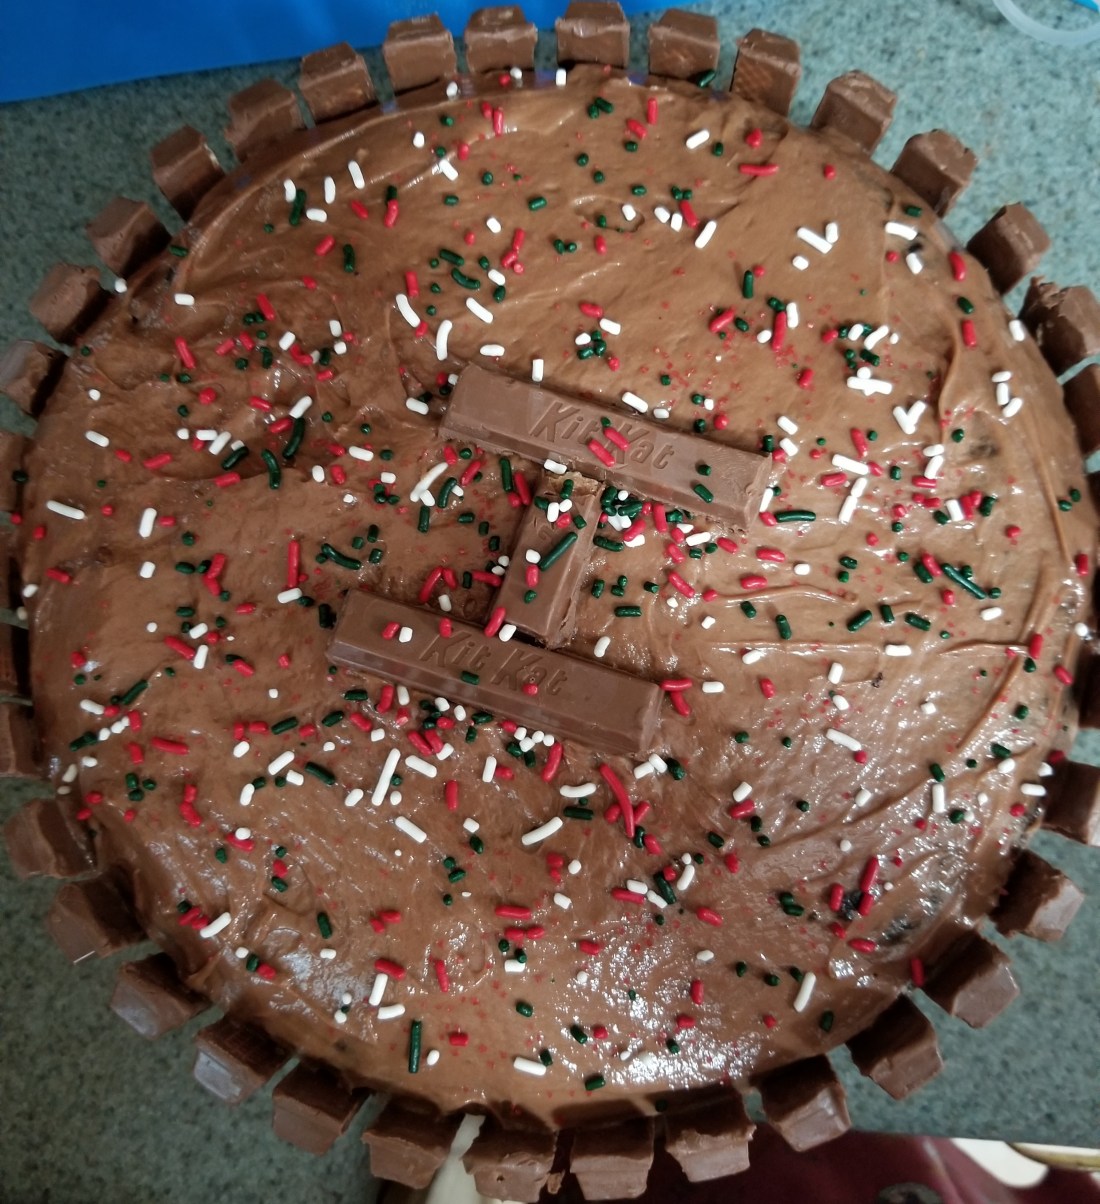
I have used some sprinkles just to add a dash of color but you could always leave it out. No harm in it.

I hope you enjoyed the recipe as much as I did this was my first chocolate cake recipe that I have put on here but I will love to hear all of your thought on its. So for all those out there this is it from innovative foodie this time! Stay Blessed!

Coffee Cake ….for Coffee Lovers:)

Hi y’all! Howz it going? I know I know long time no see but hey I was busy just like any mom who’s kids are gonna go in kindergarten soon and need to get just that much knowledge crammed into them hook by crook so you know your baby has that much in his or her belt before they undergo the change from just the usual storytimes at the library to the biiiiiggg change into a daily yet structured environment called Kindergarten!! Hey! *shrug* 🤗 it’s a major change!! For you and the kids and you know it! It’s exciting!!

Kids learn there is something important like education and life is not all fun and games. Its imperative they learn early on that if you work hard that’s how you get ahead not just playing around. Now now I dont mean snatch the childhood right out of their noses .sheez..theres a balance but they start to understand when they go into pre k or kindergarten that education is vital to help them learn not just to better communicate but how to intermingle..blend in with everyone learn how to deal …exchange …voice their own opinions amongst others their age group whilst respecting others and their opinions and their cultural values. They learn things like responsibility of their actions..

an action

Arrow-Free-PNG-Image

leads to a Re Action..

Learning to raise their hands when prompted to ask a question or even answer one.. to stand in line wait for your turn. I know it’s only the beginning but we even as adults dont recognize the fact that these small and simple steps that start to build the foundation of our little young ones..

Ok. Folks! So back to the title of my blog.. …which is……drum roll please!!! Coffee cake !! I knowwww I know ive done a coffee cake previously but this one is separate usually the coffee cakes I’ve seen people bake or make doesn’t really have coffee in it. Yes in my c4 I do put a lil but in the original recipe there was only cinnamon…

I recently tried the coffee cake from dunkin donuts! Yes coffee cake! But ummm sorry disappointed!! Where in the world was coffee? My understanding is if you’re stating something in the title atleast it should have it inside it.. ..but to my utter shock even the ingredients that they provide say…. various things like palm oil, cinnamon, flour.. ..you know the usual things with preservatives ..but then you stop and think ..hmmm. I got coffee cake? Shouldn’t coffee actually be one of the ingredients in the coffee cake? Whether its decaf or caffeinated but it should be …there right? Please do correct me if I’m wrong.. ..but that’s the usual way of things when you’re buying something you look at the name and decide yea I’m feeling like a coffee cake just to have it with my coffee just before I get back to work or a little break time from the kids to sit and treat yourself.. hey we’re all guilty of that sinful treat and we know that in our hearts … of hearts 🤣😅.

Ok. So my initial reaction was crazy after the first bite and disappointment because all I could really taste was cinnamon and I was like i definitely ordered coffee cake and this is soooooo NOT coffee cake. Come on everyone let’s face it coffee is NOT cinnamon and cinnamon is NOT coffee. These are two very different ingredients. They do make a great combo but they cannot be substituted with each other. That’s a fact.

My receipe is for the real deal. It’s a coffee cake with real coffee not the fake stuff you know;-)

In this receipe I used the simple ratio for 1:1:1 for butter, flour and sugar which is a great balance to make a nice light and fluffy cake but for a coffee cake you need coffee essence. A lot of essences have alcohol in them as well as are not easily accessible..So I made my own. Haha!

Soooo for this deliciousness you will need the following ingredients;

200g butter (at room temperature)

200g self rising flour

200 sugar

2 tsp baking powder

2tbsp coffee essence…(watch out for the “coffee essence” towards the end)

oh and I almost forgot 2 eggs and no that’s not a sugar bunny haha… I thought maybe I should put that out there considering today’s 1st of April so everyone’s thinking of easter and all the bunnies and easter eggs

AND YES NO VANILLA this time…hehe..we’re making coffee cake here people not regular cake.

This cake by far I think is the easiest cake where you just dump everything together and WHISSSSK

until it’s all mixed together and yes even eggs just make sure the butter is at room temperature. I know its tempting but TRY not to overmix 😀

Once the batter is done grease two 8″ pans, I used the springfoam pans because that’s what I had available but you can use whichever you may like as long as you make sure it’s been sticky PROOF’ed lol. It’s a messy business when the cake gets stuck and you’re struggling and wishing you’d remembered to grease the pan when you started!

there’s my greased pan ready for the batter. Make sure to put half in each of the two pans this way you can have the two cakes ready and set to cool the same time so you don’t have to just sit and watch as it cools…time is Precious for us moms! We all know that!.. Yes I see people have figured it out I have one pan so I had to make this cake in half the quantity and then bake so basically I did this process twice but all those wonderful bakers out there if you have two 8″ pans you can save alot of time get this baking business down pat!

You’re probably thinking by now why do you need two cakes?

YES YES I know I’m sneaky, I haven’t told you guys that its a layered cake have I? well it’s part of the surprise…something’s are best left for the last!

Oh and don’t even get me started about frosting!! considering it’s Coffee Buttercream Frosting! Oh yeah! you heard me Coffee and I mean Coffee not cinammon. It gives one hell of a edge to your cake.

Make sure when mixing use a spatula at intervals to gather up the ingredients like flour or extra butter or that bit of egg that gets “spliced” to the edges! Why waste when putting so much effort into mixing the batter?

So well we put the batter in the pan I used a spatula knife to spread the batter equally into the pan and also tapping the pan a little gets rid of excess bubbles in the batter which is always helpful. So once the cake is baked…umm oh bake the cake in the oven (OBVIOUSLY!) haha. Anyway, baking it in a preheated oven at 350f for 20 to 25mins or until the toothpick comes out dry and set aside for 5mins to cool. You don’t want to be touching it when it’s hot do you?

FROSTYYY time!! and no that’s no ad for the Wendy’s frosty LOL..Although umm their chocolate frosty is yummy!! It’s our time to make buttercream frosting that comes with this cake and yes theres coffee in here as well.

First of the ingredients you will be needing are;

12 oz Butter

18oz Icing sugar

2tbsp Milk

2 heaped tbsp of the coffee essence

As before add the ingredients in a bowl, make sure butter is at room temperature so that it’s easily blended in what you can do to make life a lot easier sometimes is that cut the butter in cubes and mix it a little with a spatula so the ingredients stick to each other so when you beat it with a hand mixer icing sugar doesnt fly everywhere! I mean it still will a little but not as much when you get it to stick to the ingredients just a little tip I thought to put it out there. We all face some obstacles and easier when we find these neat tricks to help us make a lot less mess to clean up afterwards 😉 yes i know! the dreaded cleanup after making something yummy!

Ok.

So once the ingredients are mixed well and creamy and SHINYYY it’s time to put it on the cake. I’m sure by this time both cakes will have cooled. So we set about spreading our coffee buttercream frosting on the cake. What I do is I take one cake tip it over so its bottom side is up and that gives me a round and flat surface to work with. So I put the frosting on it take a good chunk and POP it on top of the cake surface…..

Like so, and then using a spatula knife or a spatula help yourself to spread the frosting all over the surface, I chose to do it on the sides as well but at this stage we just make sure we have a nice thick layer on this cake so that when we add the second cake on top of it there’s enough frosting.

So here’s a picture of my second cake covering the frosting that we put on the first cake ….

Then using the rest of the frosting I take it and put it all over the cakes so we get a nice neat look and I decided to decorate the cake with the same buttercream frosting and a piping bag using the “closed star” nozzle which gives me a great effect.

Also I used a handful of almonds for decoration on the cake. So the final result looked liked this..

I decided to keep the decoration simple and let the Flavor of the cake do all the IMPRESSIONS:-)

Please do try this receipe and follow me so that I may show you much more tasteful adventures next…

Tips:

Coffee essence hmmm I took 4tbsp of instant coffee (you can use brewed coffee as well but I prefer instant because I can make it when I need it and the amount I need. I used Nescafe Regular coffee not decaf)and i put that in a lil pyrex dish and took 2tsp of water and mixed it until it all got mixed in. Try not to use too much water because then it won’t be considered essence as it would not be concentrated enough. Some people do recommend putting a small amount of sugar in it whilst mixing but to be honest you dont want it too sweet because then you can’t guess how much sugar really went in wherever you used the coffee essence that you just made. However, if you like riddles and you want to add the sugar by all means go ahead.

Also;

For all those out there who can’t find icing sugar i.e. confectioner’s sugar easily accessible you can always make it at home I use the ratio of 1 cup Sugar to 1 tsp of Corn Starch and then blitz in a nutribullet or any blender and then just before use just use a thin sieve to make sure there is no clumps. I mean imagine having frosting with clumps of sugar when you bit into it.:-S

Well that’s it from me today….stay Blessed!

Simply marvelous Marble cake

Hey everyone! Halloween’s here so everyone get their spooks ready! I have already seen so many great costumes Today of little kiddos dressed up and even adults dressing up to take the theme another step forward and have you all seen the various decors people have already put together!

Anyhooooo..today’s receipe is simply marvelous. It’s a simple marble cake which has some chocolate sections and some vanilla sections. Some people have made this into a checkered designs or whatnot. But for this receipe I’ll be sticking to the basic round cake.

For the ingredients you will need the following;

12 oz butter

12oz sugar

12 oz all purpose flour

6 eggs

2 tbsp cocoa powder

4tsp vanilla essence

3tsp baking powder

Preheat the oven to 350′ f. And also grease a 9″ springform cake mould. Once these are prepped we put them to the side and get on with the cake batter by creaming the butter and the sugar, then add in the egg, vanilla essence and flour alternatively. This way the batter will mix in evenly.

Once the batter is mixed in separate half of the batter into a separate bowl and mix in 2 tbsp of cocoa powder till the mixture resembles the batter of a chocolate batter in color.

We then take a 9″ cake pan and take a table spoon or spatula and take a spoon of the vanilla batter and put it in the pan starting from the edges of the pan. And then alternate it with the chocolate batter. So you have vanilla chocolate vanilla chocolate batter and in the middle whilst being careful that you dont put a vanilla next to a vanilla.

And then at the end take a fork and very shallowly run it across the batter in a a circular motion this will create what is known as the marble effect when the cake bakes in the oven.

Mind you it can take up to 45mins to an hour but always make sure using a toothpick to check if it comes out clean to make sure the batter is cooked through.

This cake is not too sweet but it tastes really nice with a hot cup of coffee. I recently made it for a baby shower for one of my teachers and everyone loved it!

Please do try and like and comment on my website. Also follow me and I’ll share with you lots of more simple and fun recipes that come out great in a short amount of time.!

Until next time folks…stay blessed!

Tips:

I tend to leave the butter out beforehand so it reaches room temperature and therefore easier to mix in with the rest of ingredients

When using eggs and since this receipe uses both yolk and whites it’s best that when you take the eggs out whisk them with a form so they resemble a liquid and I usually mix in the vanilla in the eggs too this helps simplify your ingredients and the quantity of ingredients is reduced when you are trying to make sure you have added all the components to make a successful cake batter!

C4

Boom!

Now if it was an explosive that’s probably what would have gone through everyone’s minds. But I like to call this recipe C4 because frankly it’s a mouthful! But I assure you every “mouthful” is equally delicious till the last bite.

Chocolate Chip Coffee Cake

Think about it….a nice moist vanilla based cake with chocolate chips inside and the essence of coffee floating through the air as it comes out of the oven. Perfection!

This recipe requires a 9 inch cake pan but I sometimes use an 8 inch cake pan because then it gives the cake some height otherwise if you’re not fussy then it’s perfectly fine.

This cake can be enjoyed around any brunch time or at your regular coffee break during work hours 🙂 it’s not too heavy but since it’s a coffee cake it really works well with coffee! And hey it can be a great crowd pleaser especially if it’s given to your employees on a Friday just before they’re about to start their weekend.

Anyway, this receipe will require the following ingredients;

There’s also a YouTube link for my video https://www.youtube.com/watch?v=0l-gZXAntcY for anyone who has problems viewing them on the blog!

2 cups of flour

1 and 1/2 cup of Sugar divided

1/4 cup milk

8oz cream cheese

1 cup butter

1/4tsp salt

1/4 tsp Baking soda

1/2 tsp Baking powder

1/4 tsp ground cinnamon

1 tsp vanilla extract..(I use 1.5 tsp because I use imitation because it’s alcohol free)

1.5 tsp instant coffee

2 large eggs

6oz semi sweet chocolate chips

Before we start Anything just like any baking recipe we shall preheat the oven at 350F. Then we will take 1.5 tsp of instant coffee and mix it with the 1/4 cup milk and keep this coffee mixture to the side.

In this recipe since we’re using butter and cream cheese it’s best they’re at room temperature because when we put these two ingredients in the stand up mixer, we need to mix it till it reaches a creamy texture. We need to be careful not to over mix the ingredients because this makes the batter runny and the cake dense. Therefore; having them at room temperature beforehand is very handy.

OK! Moving on to the….OH SUGAR!!! 🙂

We start adding the sugar…at this time we only put 1 and 1/4 cup. The remaining 1/4 cup we leave to use for later.

This gives the batter a nice glossy look as the sugar gets mixed in:-)

C4 vanilla

Then we add the vanilla and eggs but try to add one egg at a time so that the ingredients are fully whisked in with the butter cheese sugar mixture. This completes the wet part of the ingredients.

Now we come around for the dry ingredients.. So remember we left that 1/4 cup of Sugar, we bring that back in the picture and mix it with the 1/4 tsp of ground cinnamon and this will turn into a light brown mixture. We keep this separate like our milk and coffee mixture.

Then we take our 2 cups of flour and we put in 1/4 tsp Salt, 1/4 tsp Baking Soda and a 1/2 tsp Baking Powder and mix it in well.  I usually just take a sieve and put all these dry ingredients and sift it into the mixing bowl every couple of seconds this way it mixes in well with the batter and while you are adding the dry ingredients try to alternate with the coffee mixture so you put about 1/4 of the dry ingredients and then you add like a 1 tbsp of the coffee mixture and then you mix and then you repeat the process until both ingredients have mixed in.

c4 dry ingredients

mixing batter after dry

When the batter starts to come together we add in the 6oz of Chocolate chips and fold in the mixture. I find that by folding it rather than whisking in a standard mixture they tend to not sink to the bottom of the mixing bowl and that way you get an even amount everywhere in the cake so no one loses out! Haha! There’s always someone in the audience who’s looking for that extra special piece where they’ll get alot of chocolate loaded in:-)

folding choc chips

After this step we carefully grease our cake pan and then put in half the batter using a spatula and slow circular motions to spread out the batter so it reaches the sides of the baking pan. Take the cinnamon mixture sprinkle it all over the batter that you just placed in the pan leaving about one fourth of it for later. Placing the rest of the batter and using the spatula carefully spread it in the same slow circular motion trying to cover the bottom batter so that the cinnamon mixture is sandwiched between the two batters.

final batter

When the batter is ready Tap!! Tap!! Tap!! Tap a couple of times that no air bubbles remain in the batter. This helps spread the batter evenly in the pan giving you a uniformed look from all sides.

Then we place the cake pan in the oven and bake for 30 minutes uncovered and then 30 minutes after covering it with tin foil. After inserting a toothpick we can be sure that if it comes out clean it is fully baked and ready to serve. Just sprinkle some cinnamon sugar on top before serving 🙂

baked cake

Whoops! this picture is when I had already started sprinkling the cinnamon and had to stop in the middle to take the picture but I’m sure you understand this is how it will look when it comes out the oven minus the Cinnamon haha.. Sometimes I take it a step further and  bake it for a couple of minutes after putting the cinnamon sugar on top which gives it a nice crust on top due to the caramalization that takes place …..yumm and gives it a nice golden brown appearance…


If there’s any sugar mixture remaining I sprinkle it on top that adds another layer for decor. you can also go for nuts like pecan or walnuts at the top..but of course that’s optional and up to the individual.

On a side note this cake even though is vanilla based but it does have some coffee in it which gives this cake a darker appearance than the usual cream colored appearance we’re all used to.

CRUNCH TIME!!


Key Tips:

  • We’re using  both cream cheese and butter in this recipe therefore it is really important both ingredients are at room temperature beforehand this will make it easier for them to form a creamy consistency.
  • When you use the butter don’t throw away the butter wrapper this can be used to the baking pan without having to use something extra because usually there’s enough leftover on the wrapper that will be gone to waste if just trashed after putting the butter in the bowl.
  • For this recipe I have used a 9″ baking pan however if you would like a high rise cake it will be good if you use an 8″ pan.
  • Several chefs recommend that before you enter the chocolate chips into the mixture take a fistful of flour from the same flour you will be using in the batter and mix the chocolate chips in it, this will prevent them also from sinking once the cake has been put into the baking pan.


Ok Folks….Until Next time Stay Blessed!