 Totally Turtley Fudge!!
Fudges or fudge whether Chocolate or peanut butter or some other flavor entirely! The soft or the hard variety, the sweet …to bittersweet to the nutty variety I know all fudges are exquisite adventures!!
Today, I am here to share a personal favorite..my take on the Turtle pecan Clusters…except tasting through the fudge tunnel . 😀
For this recipe you will need the following ingredients;


For the fudge part…
1 lb chocolate…(preferably bittersweet to give it a more rich chocolaty base)
1 14oz can of sweetened condensed milk
1.5 tsp to 2 tsp Vanilla essence
———————————————————————————————————————————-
1.5 cup cashews ( I used cashews because that’s what I like to use but you’re welcome to use anything you have easily accessible)
1.5 cup of Caramel sauce ( I make my own at home and will be soon posting a link for it up here so everyone who’s interested can see how it’s done!)
Ok! so the chocolate fudge usually consists of the chocolate aspect that usually comes with either using cocoa powder or in this case chocolate pieces/morsels..I find it gives it a richer more yummier because it already contains the “butter” that gives it’s stability in texture where as coco powder may give you the darker taste but it’s not as smoooooooooooooooooooth and with fudge you want smooooth that melts in the mouth..
Then you need the chewy aspect which comes from the melted marshmallows or the candy chewyness of the sugar but here you get best of both worlds and also helping my fellow vegetarians who worry about things like gelatin. Using sweetened condensed milk you get the sweetness and also the creamy consistency and the chewy softness that when cooled gives the texture similar to that of marshmallow.
Come on everyone let’s get this show on the road shall we?
First of all we’re going to take a mixing bowl, I tend to prefer pyrex over plastic or tupperware because I can easily warm things up and especially since in this recipe we will be using the microwave quite a bit. So here we add in all the ingredients of the fudge. The chocolate that I’ve broken into smaller pieces then I added in the vanilla essence/extract…and then the sweetened condensed milk.
I use a spatula and i mix in the ingredients a little bit so everything gets wet by the condensed milk this way none of the chocolate should get burnt if left on although we will be taking out the bowl every 30 seconds just so that we can stir in the ingredients it always helps if the ingredients aren’t too dry and otherwise they bring a very crumbly texture that here we would like to avoid…so here goes..

I have used both chocolate because we need a 1lb of chocolate for this recipe and the chocolate in the picture above was only 10oz so I had to add some 6 oz more of the semi sweet chocolate morsels..and the rest is just vanilla and condensed milk..we mix it in and then microwave for 30 seconds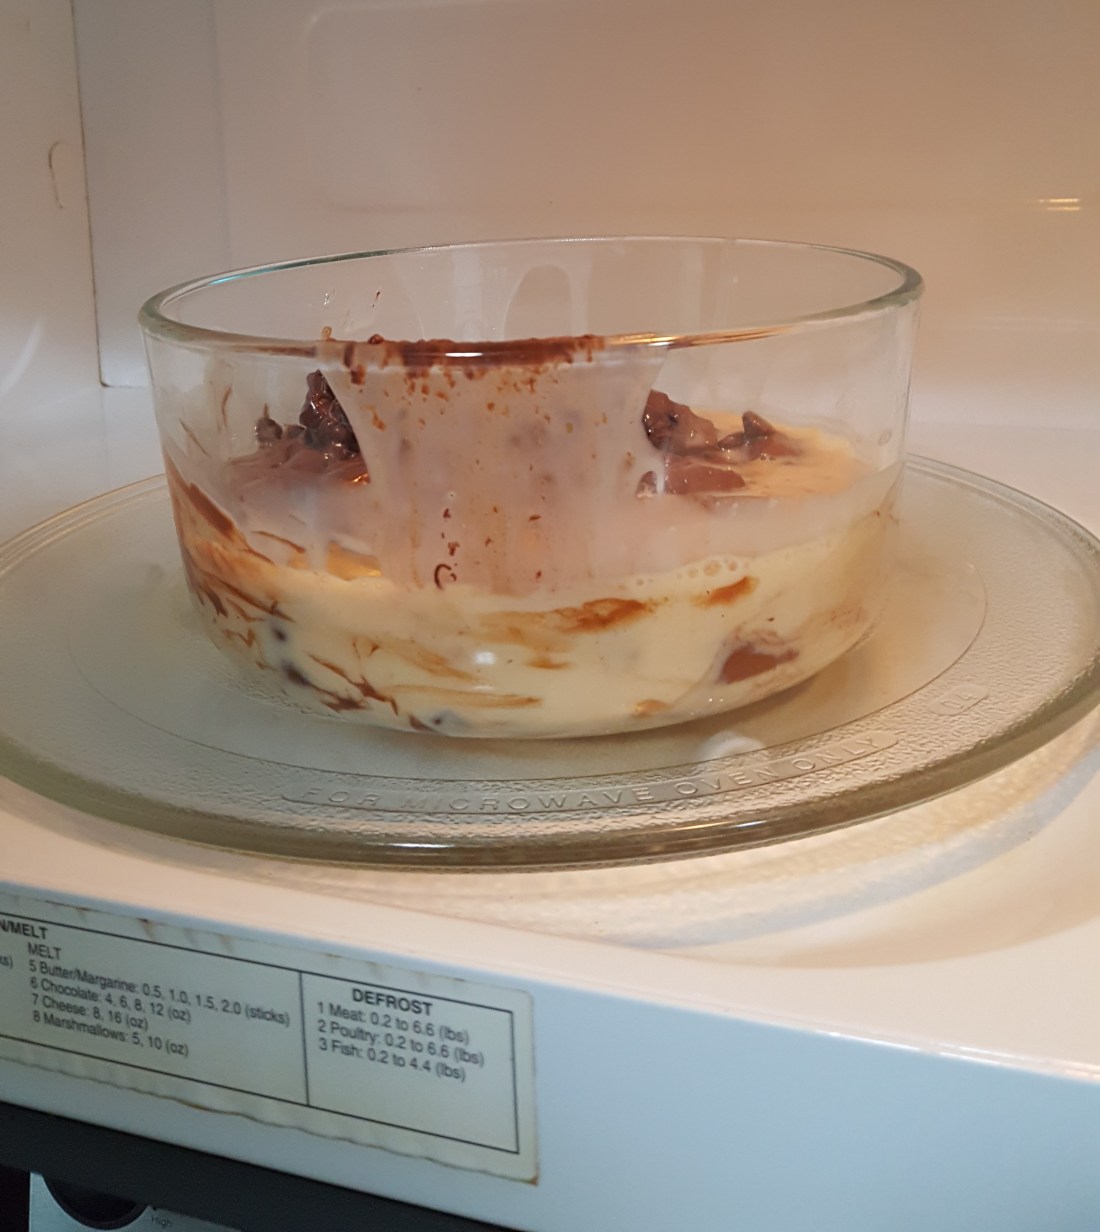
then take out the mixture fold in using a spatula for a couple of seconds and then back in the microwave for another 30 seconds
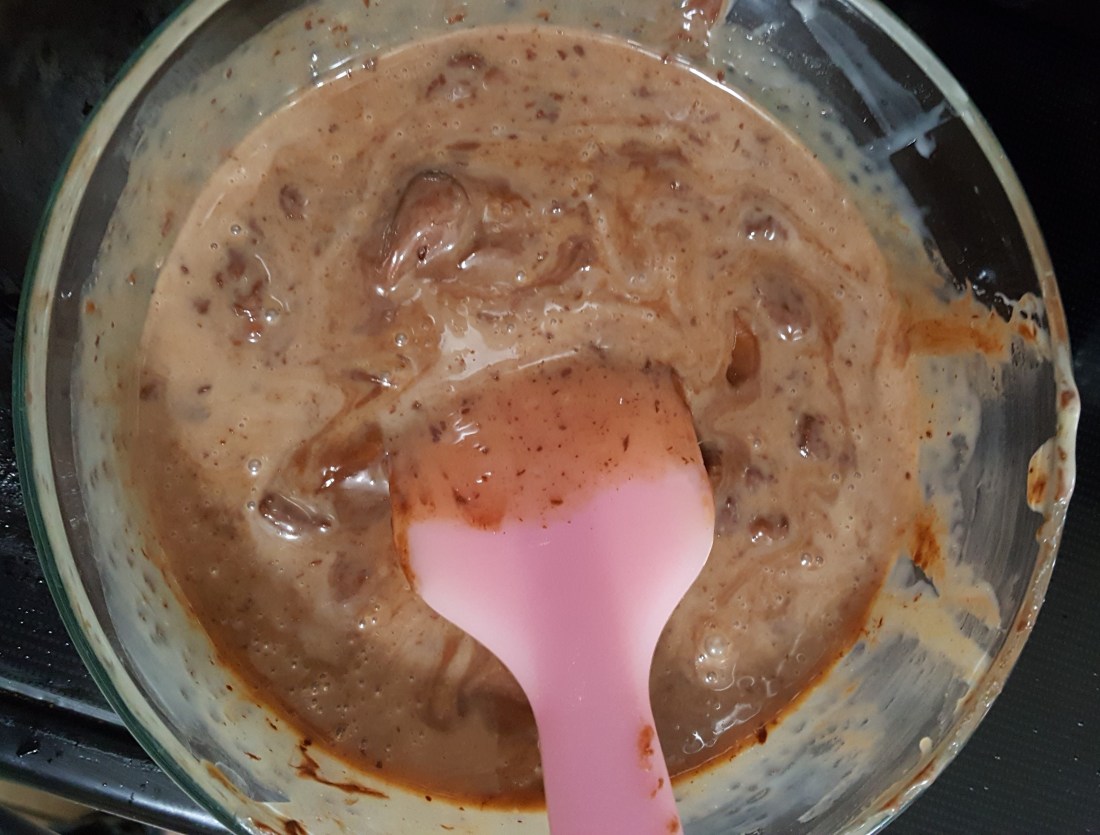
until you start seeing the consistency becoming more thicker and smooth. After about a minute of microwaving make sure to keep an eye as the mixture tends to quickly overboil/ burn. I would say at this point make sure the increments increase only by 10 or 15 seconds and then we take it out of the microwave till it is completely dissolved the chocolate in the condensed milk and is one medium….
Moving on to deciding what tray we will be using for the fudge you can use any really depending on how high or spread out you want the fudge to be I used a 9x 13 inch tray because I am looking for some height..Anyyywayy…
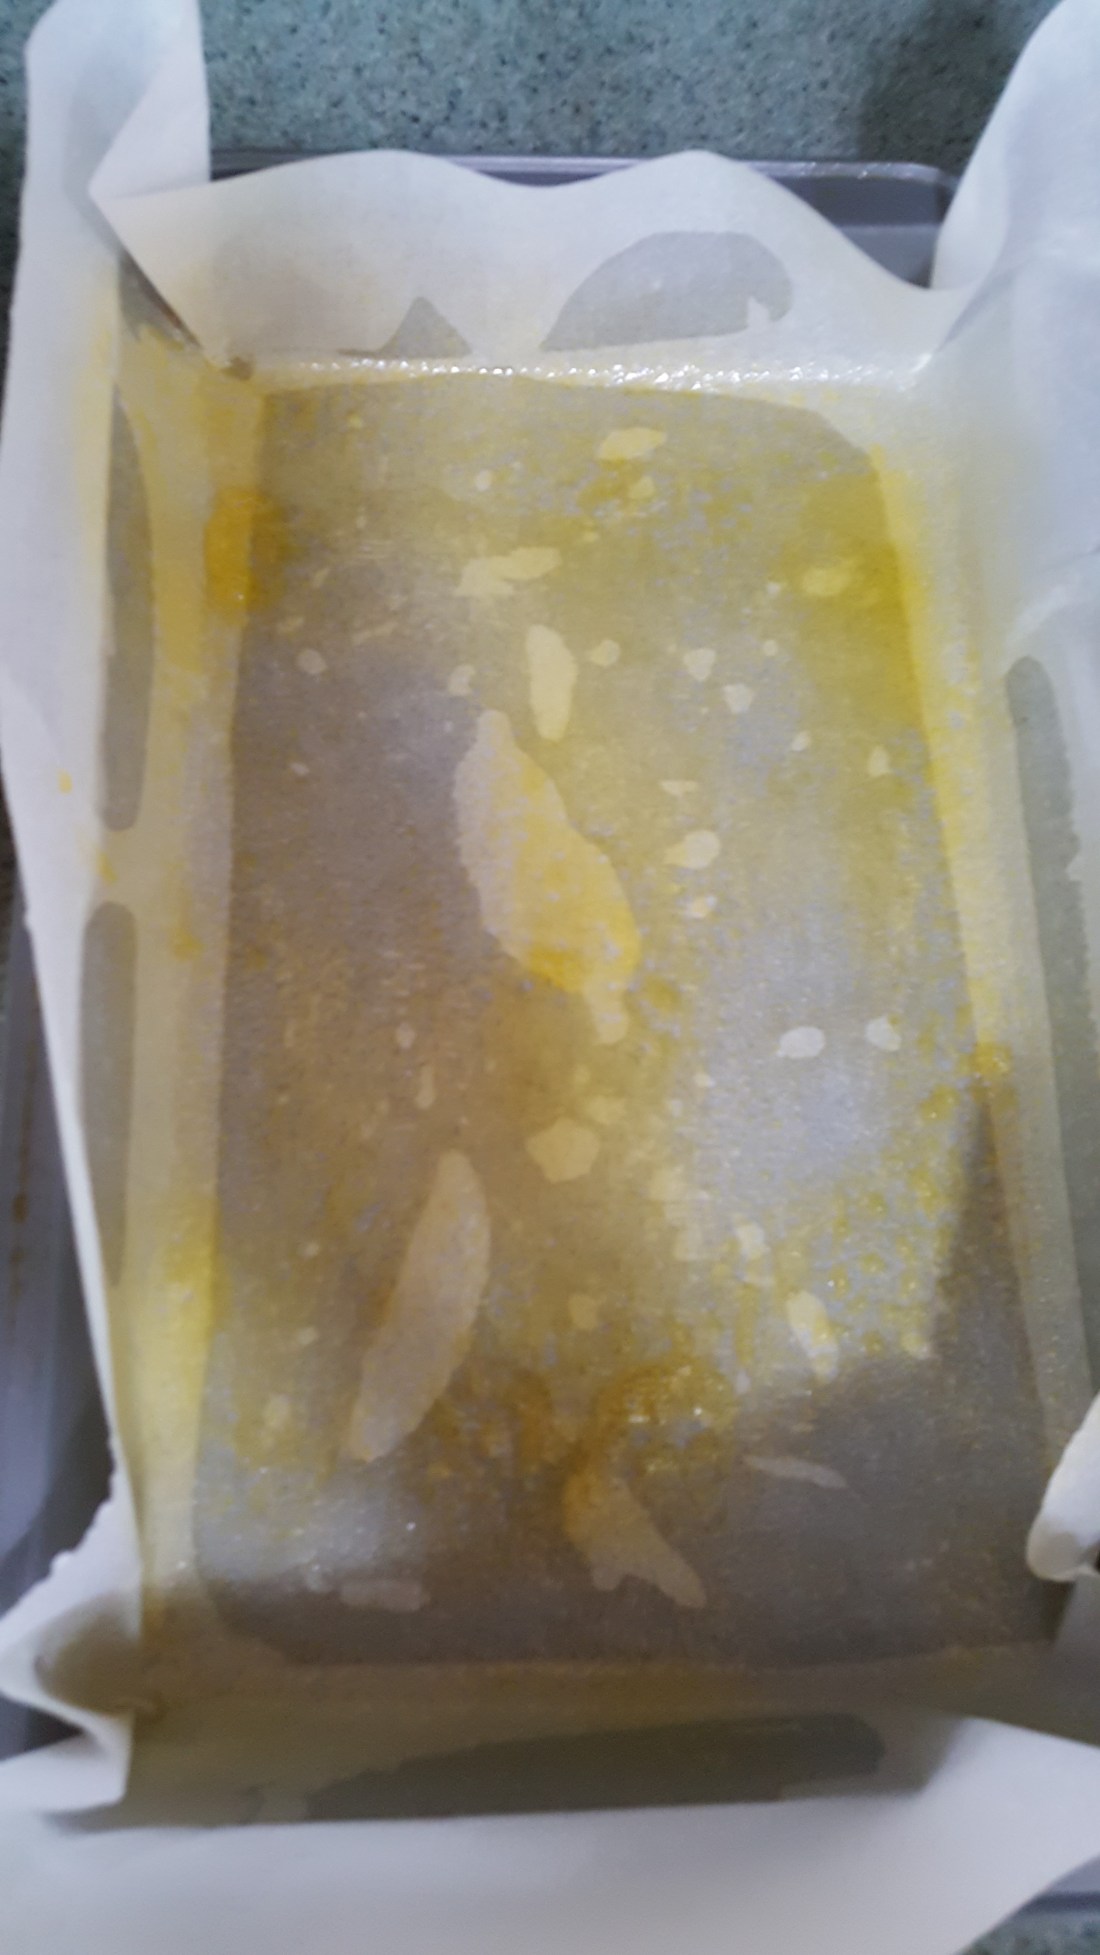
The most important part of making fudge as you all know is getting it out of the tray so we can cut it. Therefore I use parchment paper whilst leaving some extra to hang over the sides of the tray this makes taking it out AFTERWARDS….WHOLE LOT EASIER…
and it’s much cleaner because when we’re starting out Fudge layers tend to be really sticky and this way it’s less clumsy.. I tend to go another extra step and use the butter spray to oil the parchment paper from the top where the fudge layers will go this just it the extra insurance that it won’t stick to the paper after chilling 😉
So here’s my tray lined with parchment paper and butter spray…
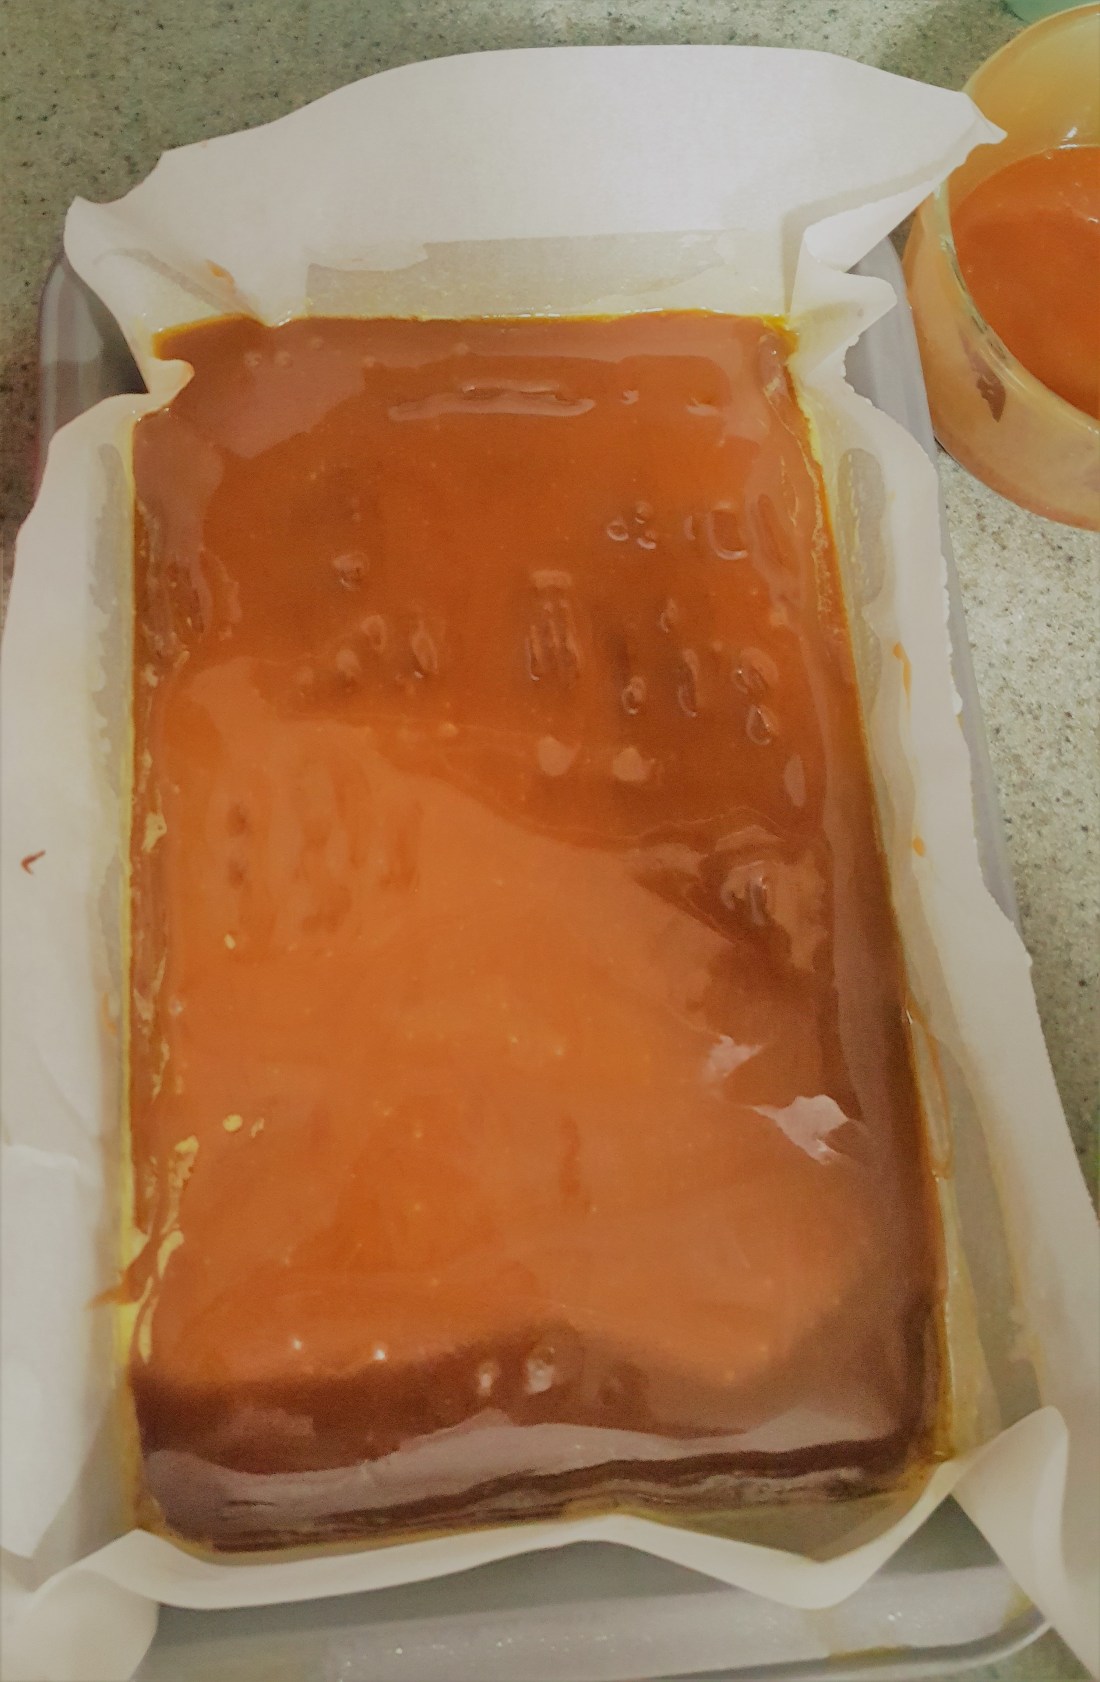
So once the fudge mixture is slightly cooler you will see that the consistency resembles very much like a ganache and so it is easily pour able which makes it easier because of the butter spray it acts like a little helper on wheels” because as you pour half of the chocolate mixture it will automatically spread it all around your tray which is what you need to get an even layer..
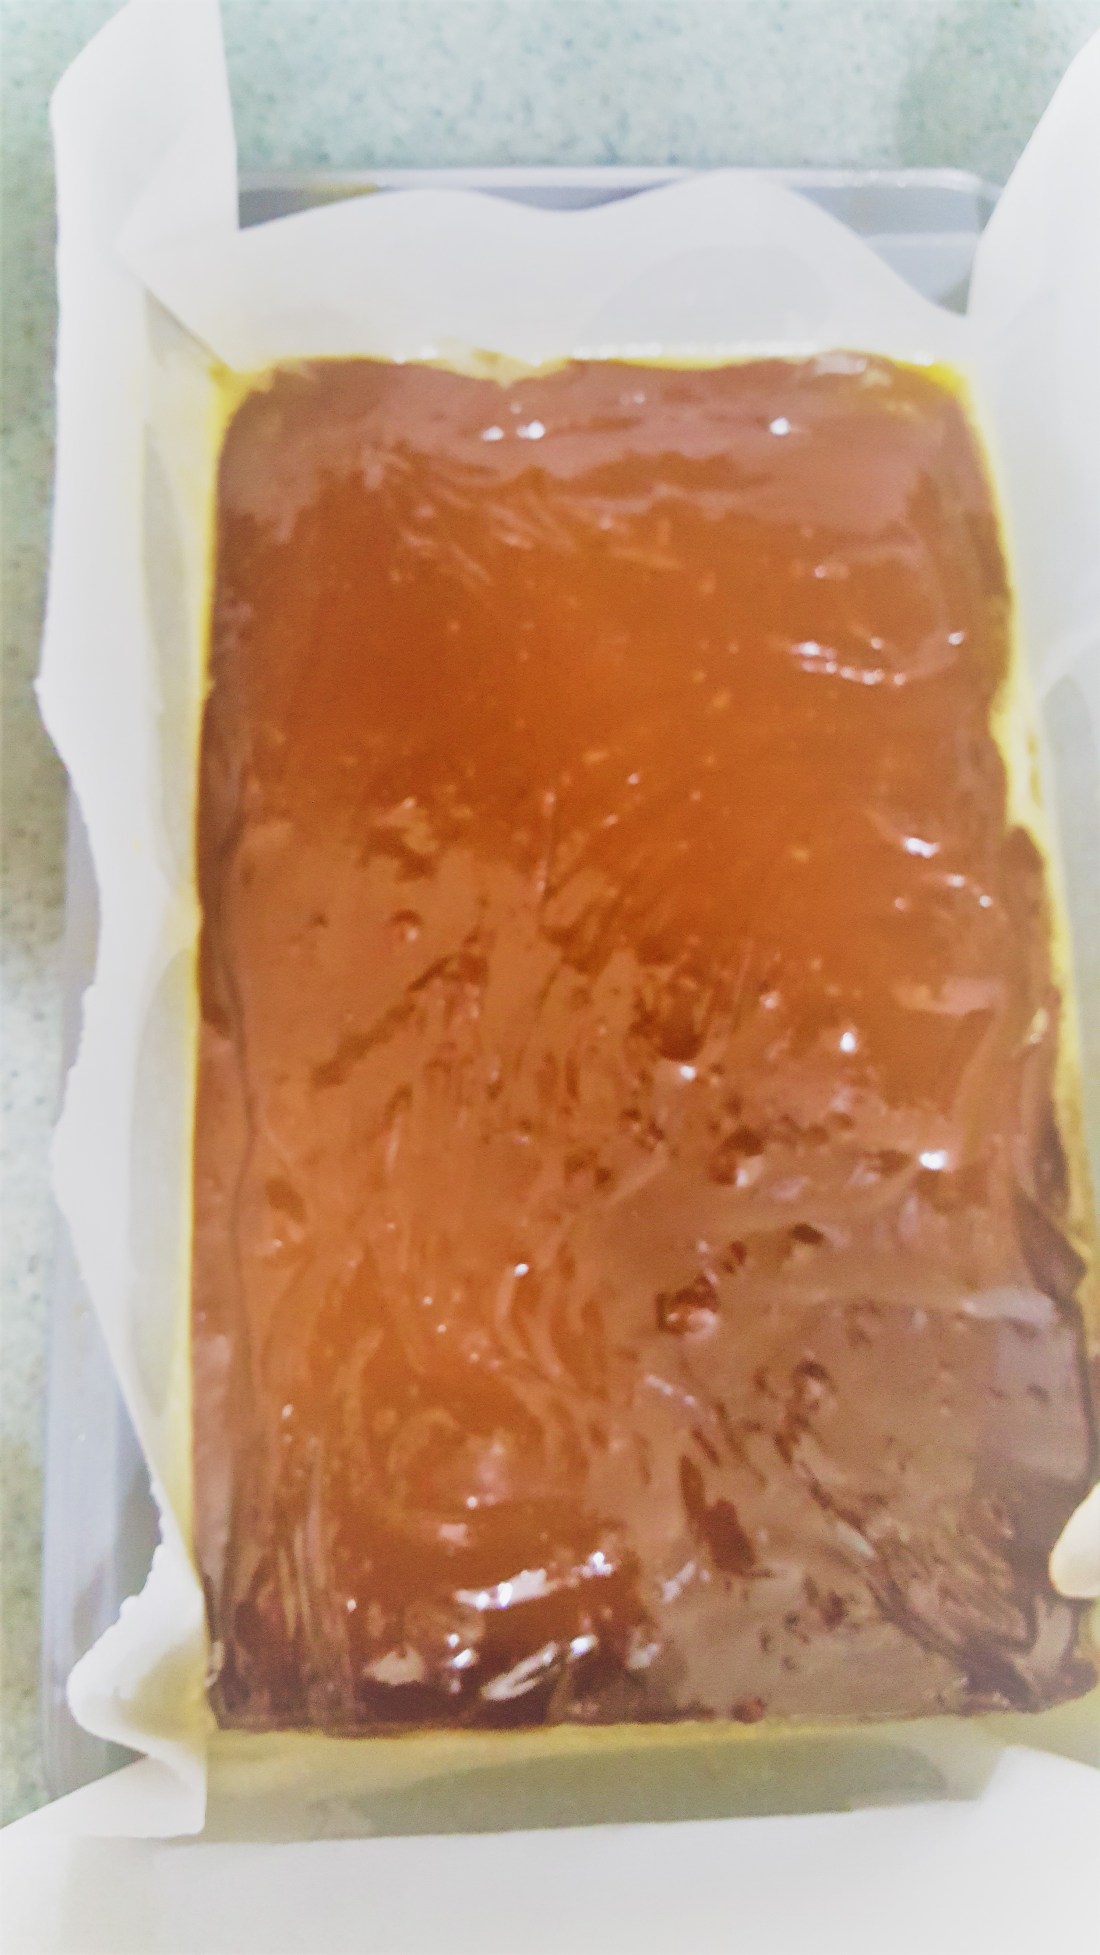
Once the chocolate layer has been spread out we put this tray in the freezer for an hour this will give the boost the fudge layer to cool down and toughen up so it can hold its shape before we start pouring the caramel sauce….
From here we bring our homemade caramel sauce ( you can use melted storebought caramel candies as well..no harm in that…I just happened to have some handy so I used this) …so once the caramel sauce is spread on top of the chocolate layer it should look like this…leaving half of it for the next layer.
Using caramel is usually a very messy business….why? well because it sticks to everything…and then you’ve got a sticky mess.. haha!
However I love caramel and the added depth it puts into the FLAVOR when I put it in my recipes so once we’ve covered the chocolate layer with the caramel we move on to the cashews.. I used cashews because I like the way they add flavor but don’t take over power the rest of the ingredients. Such as brazil nuts and walnuts they’re very BOLD in nature and in any dish i tend to feel they take over by some extent not saying don’t use them but in comparison I find cashews much more versatile.
So I took the cashews and I put them in a plastic bag and pounded them a couple of times with my tenderizer this broke them into the same size as small chunks that suited me for this recipe…
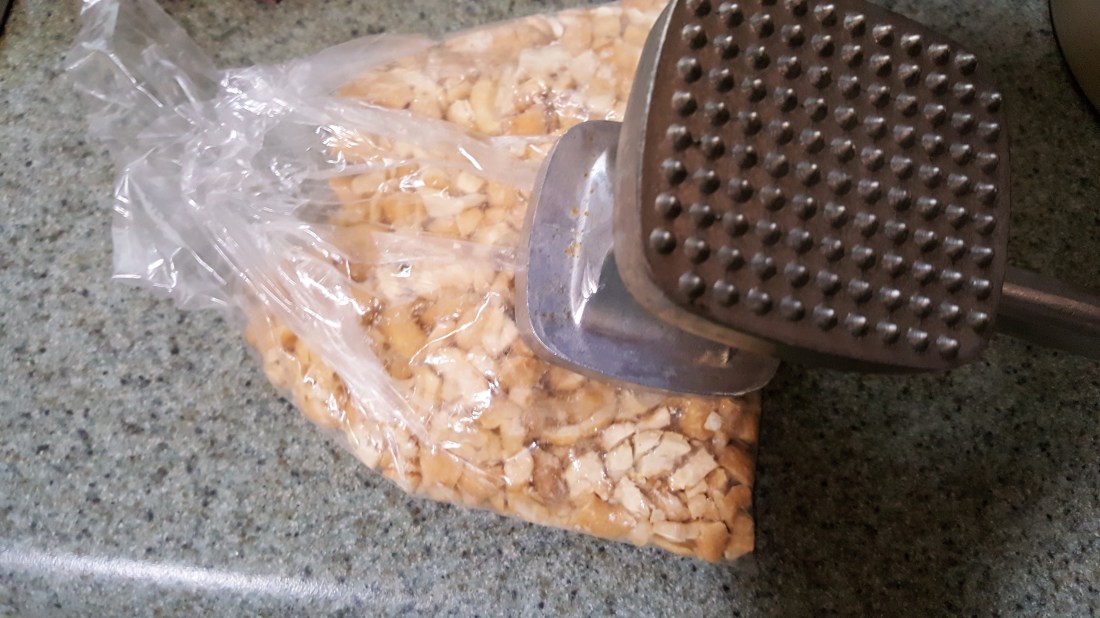
I was not looking for something too fine but big pieces that can come in the mouth when you take a bite and find one so you get the texture as well as the taste when you bite into the fudge..once this is done…I sprinkled it over the caramel layer so that it was covered in chunky pieces of cashews as you can see below;

From this layer I spread over the rest of the caramel that I had leftover so that the nuts are sandwiched between the caramel layers …..any ideas what’s coming next?
YEP! you guessed it right we put it in the fridge for say about 30 minutes so the caramel layer has time to set and then we pour over it the chocolate fudge
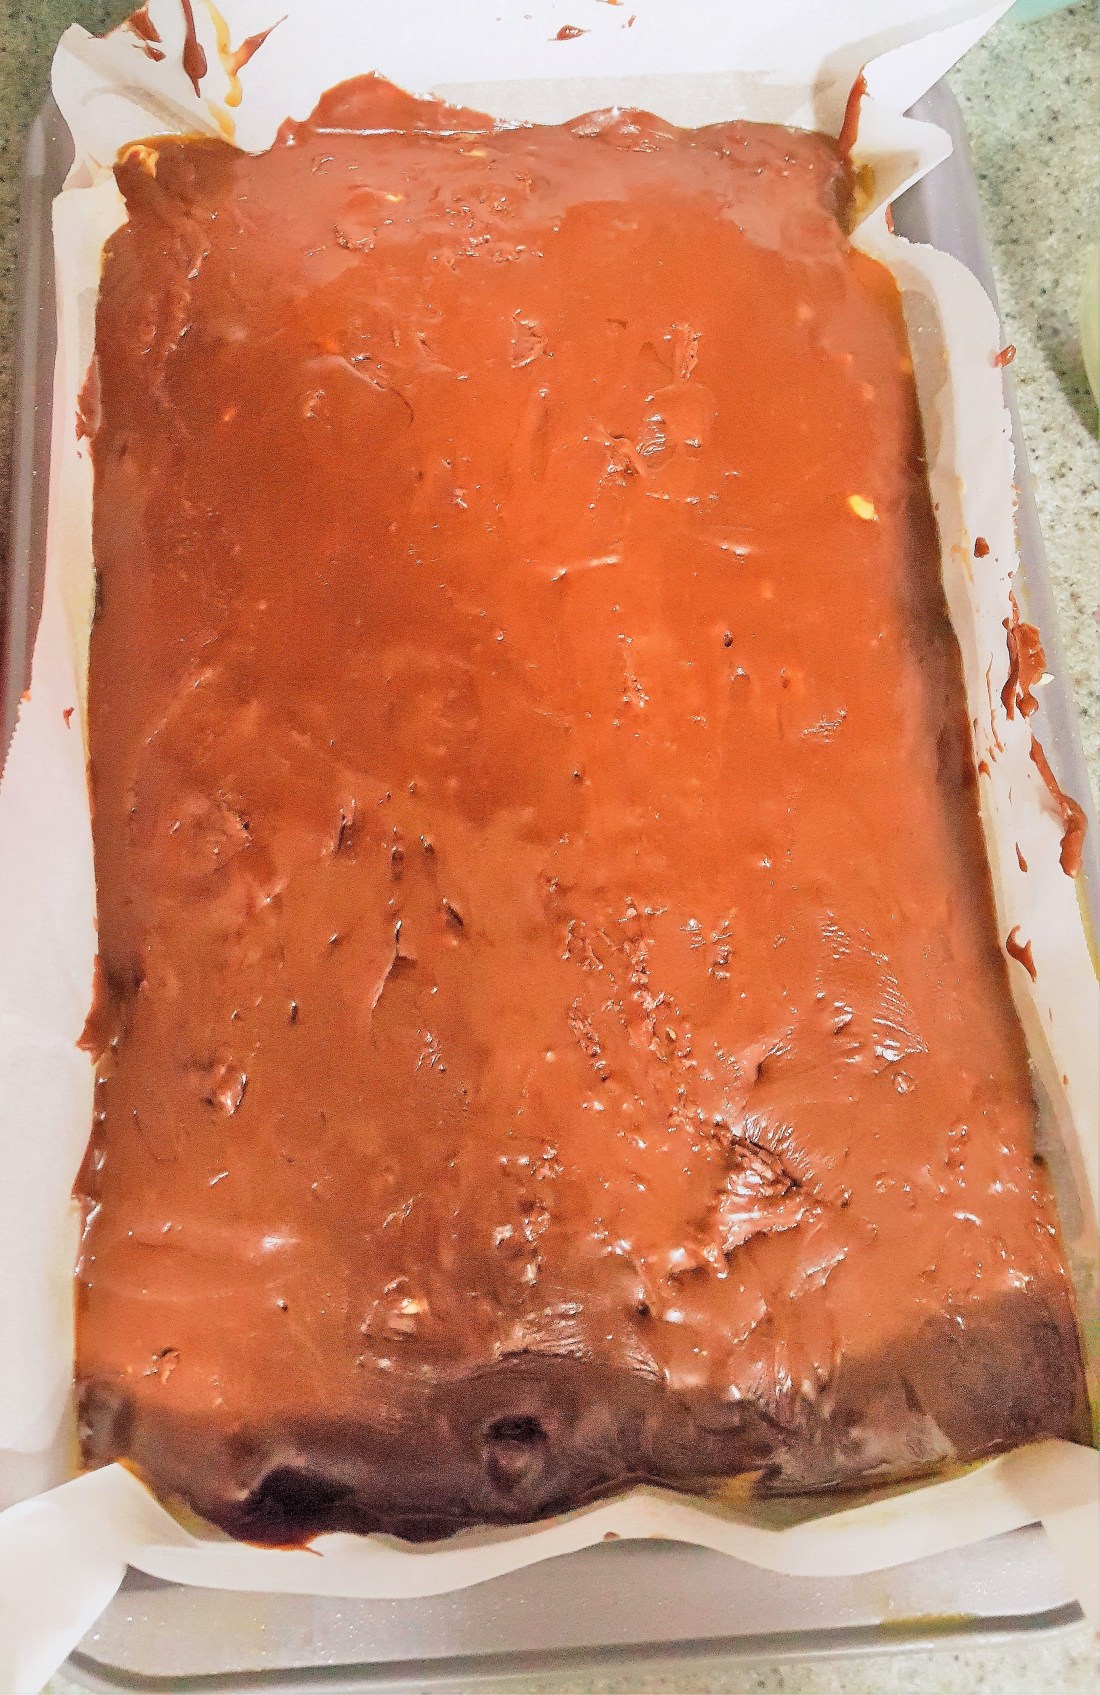 and tap the tray from the bottom so it set up nicely and if it doesn’t you can always use a spatula to spread out the edges neatly…
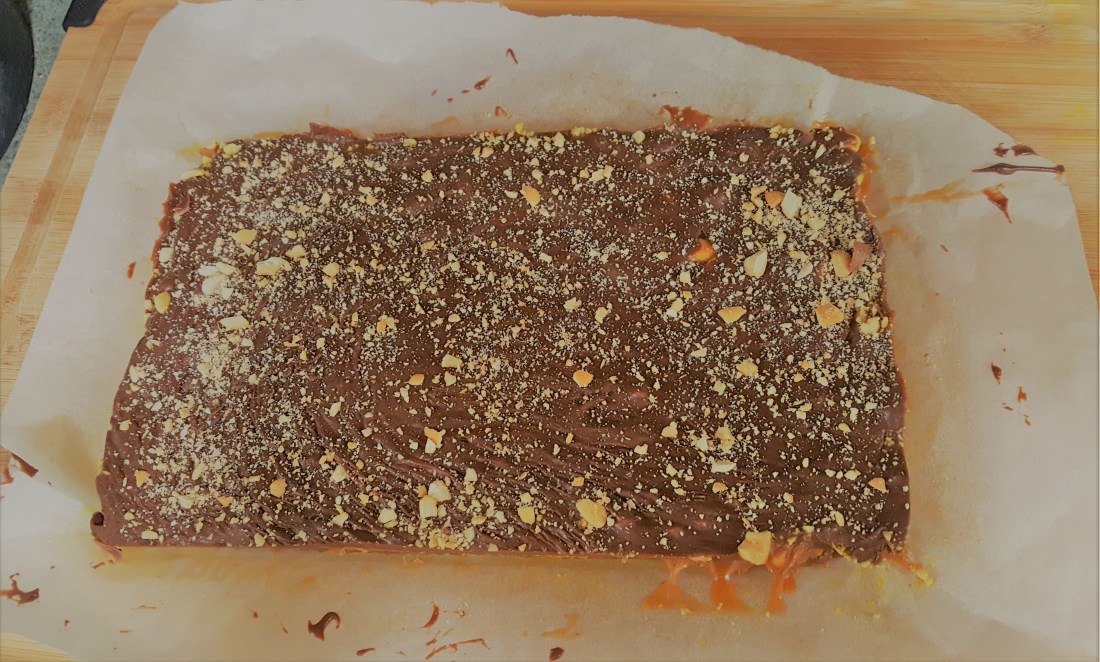
When we used the cashews that we bashed with a tenderizer we had some cashew powder leftover which I just sprinkled on top to give it a nice finish…and into the fridge to set overnight…
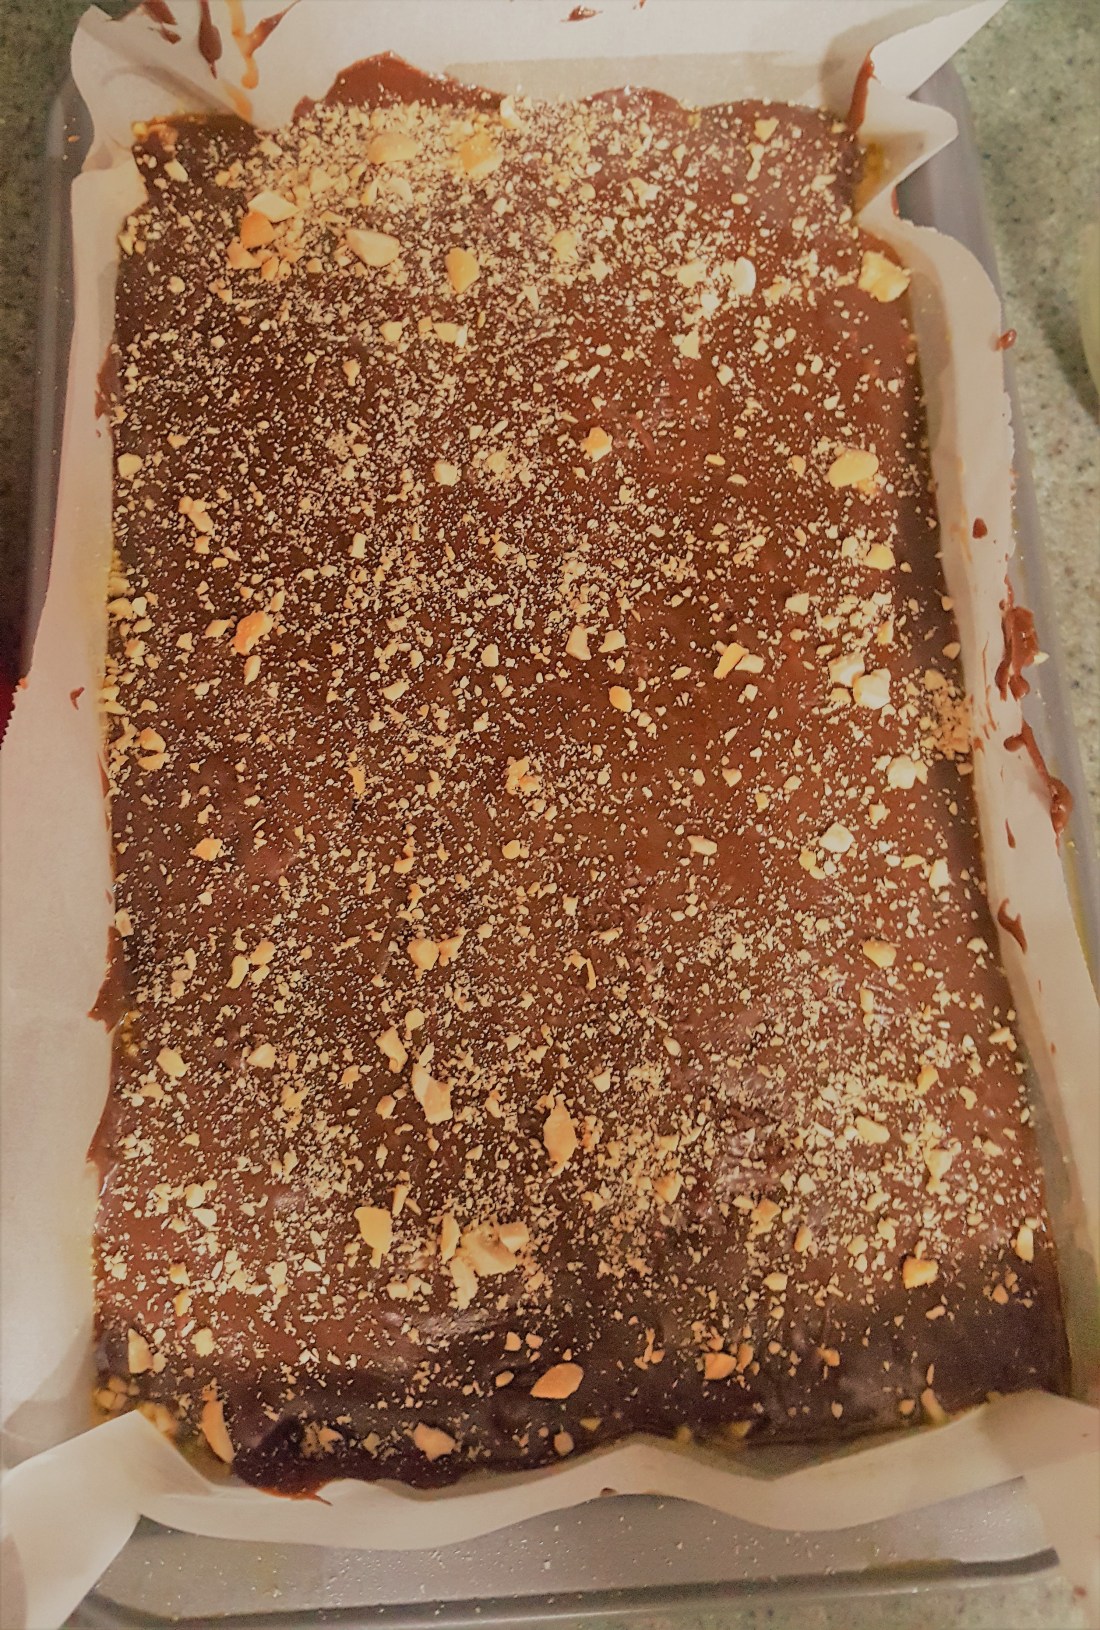
In the morning I took it out and it had firmed up quite nicely so I pulled the edges of the parchment paper and carefully slid it across on to my big and WIDE cutting board which would make my cutting the fudge that much simpler…
and i tend to cut them just under an inch cubes because they’re really rich and hey if someone wants to eat more they can but it just nice where you can have that balance between the richness and the overindulgence…haha
These work great for us women when we’re CRAVING for that something chocolate with ULTRA DECADENCE…you know what I’m talking about ladies!!
After cutting them up to the appropriate proportions they will look like these yummy fudgies….think about ALL THE CHOCOLATE….THE CARAMEL……THE CASHEWS …………,mmmmmmmhmmmm YUMMM


So here we are! these are best served chilled if you’re looking for a chewy texture or at room temperature where the caramel just melts in your mouth…mmmhmm
For easy storage and less mess I tend to individually wrap them in clingfilm/thin plastic but of course you may choose whatever you deem appropriate and then I put them in a container or even a ziplock and store them in the fridge…for long term just freeze and just thaw in fridge to defrost..


These are a favorite among my kids and folks I am sure it will be one for you too…..until next time..Stay Blessed!
